


Shopify
General Settings: Store Logo (Shopify)
Uploading your Store Logo in the General Settings tab ensures your branding is displayed throughout the BAGS (Build A Gang Sheet) app, including in the gang sheet builder. This guide walks you through how to upload and display your store logo.
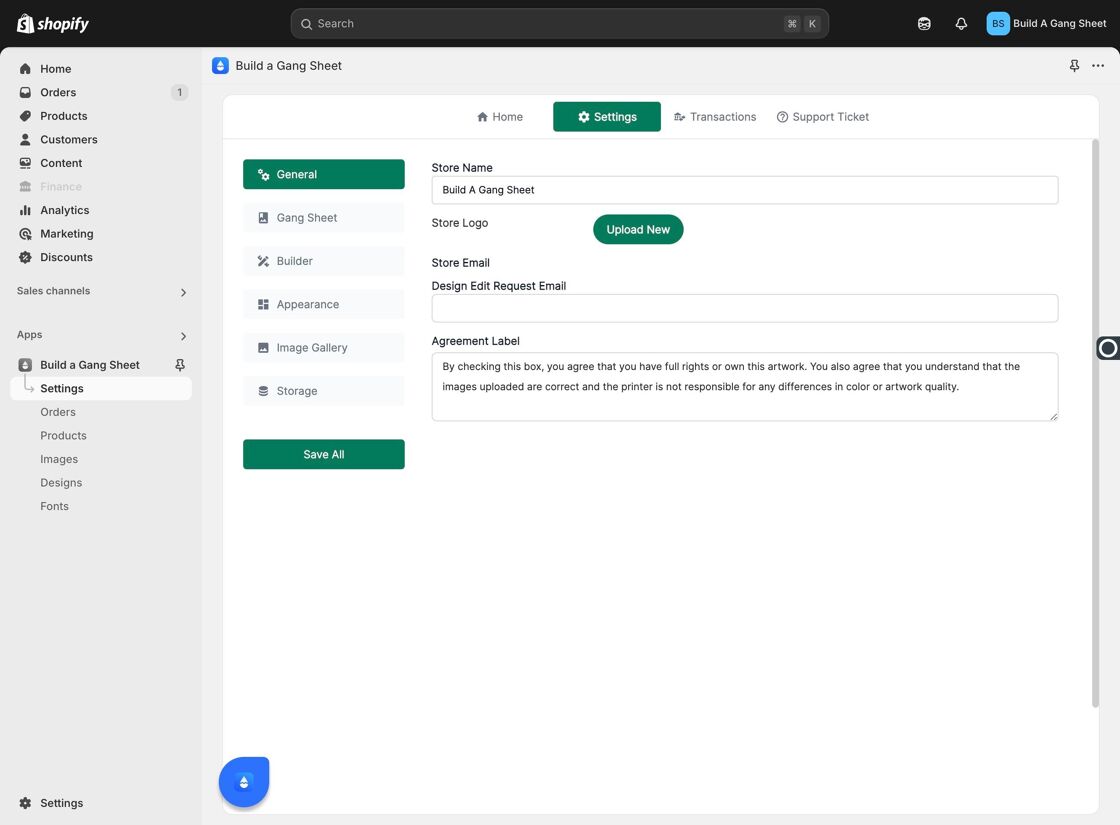
1. Access the Settings Tab
From within the BAGS app, click on Settings to begin editing your general store preferences.

2. Navigate to the General Tab
Click on the General tab within the Settings menu to view your store’s key branding fields.

3. Upload Your Store Logo
Scroll to the Store Logo section and click "Upload New" to select your logo file. Use a high-resolution image that fits your brand’s guidelines.
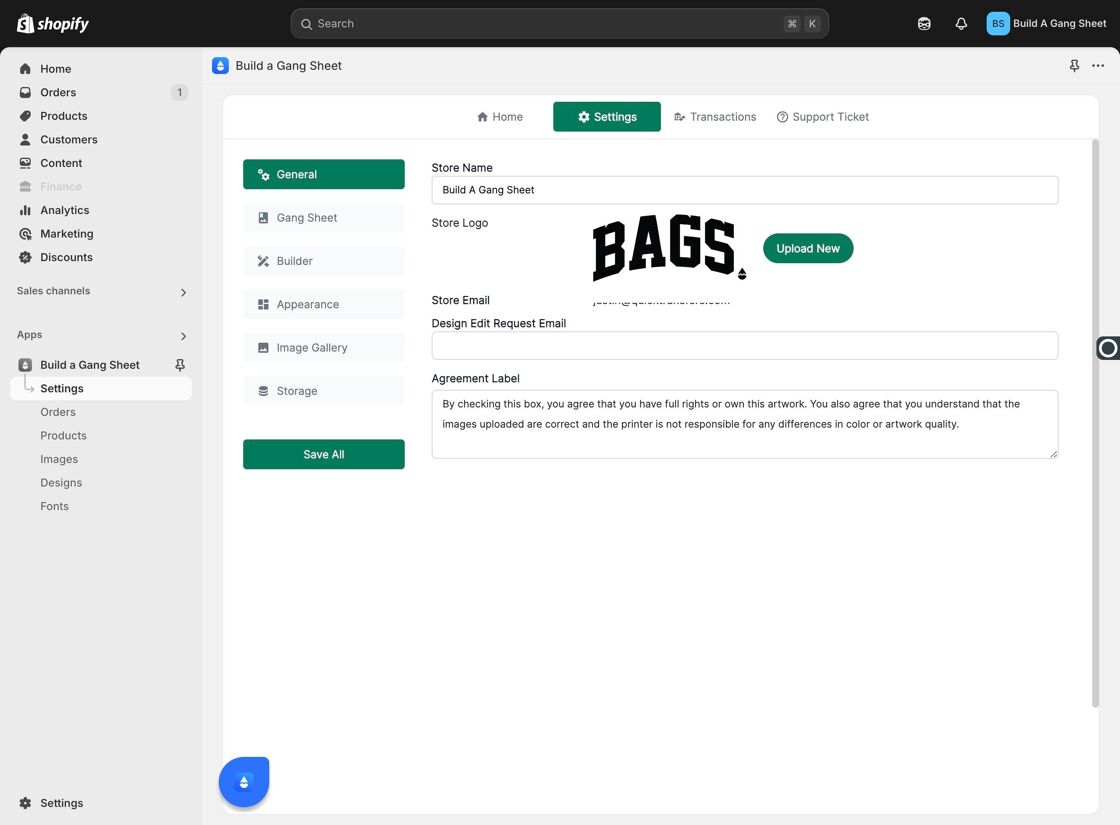
4. Preview the Logo
After uploading, your selected logo will appear in the preview box to confirm the correct image has been chosen.

5. Save All Changes
Click "Save All" to apply your new logo. This ensures the change is reflected throughout your Shopify store and gang sheet builder interface.
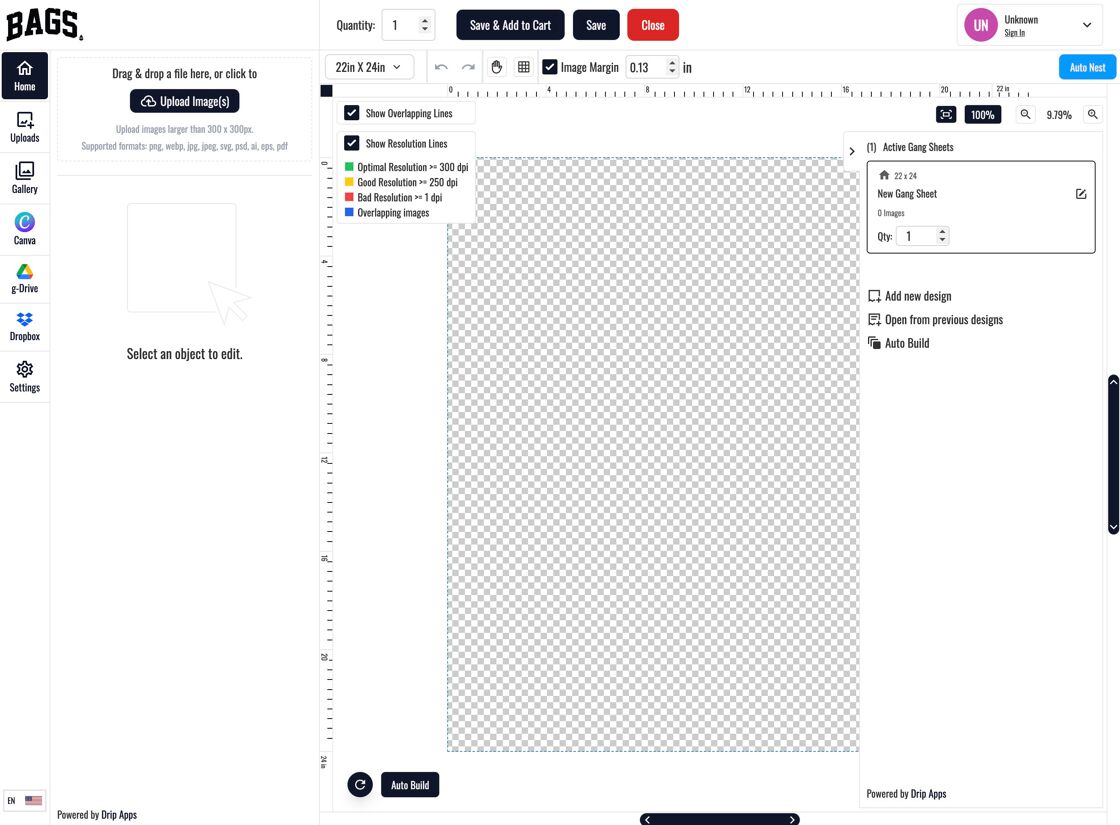
6. Logo Displayed in Gang Sheet Builder
Once saved, your logo will automatically appear in the Gang Sheet Builder, reinforcing your branding in all design views and gallery displays.
Why Add a Store Logo?
- Boosts brand recognition and consistency across your storefront and builder.
- Creates a polished, professional appearance for your Shopify gang sheet experience.
- Visually ties your customizations back to your business identity.
Tags
store logo, branding, general settings, Shopify, BAGS app, upload logo