


Wordpress
Builder Settings: Auto Resize Image To Meet 300 DPI
Ensure all customer-uploaded artwork meets printing quality standards using the Auto Resize feature in Builder Settings.
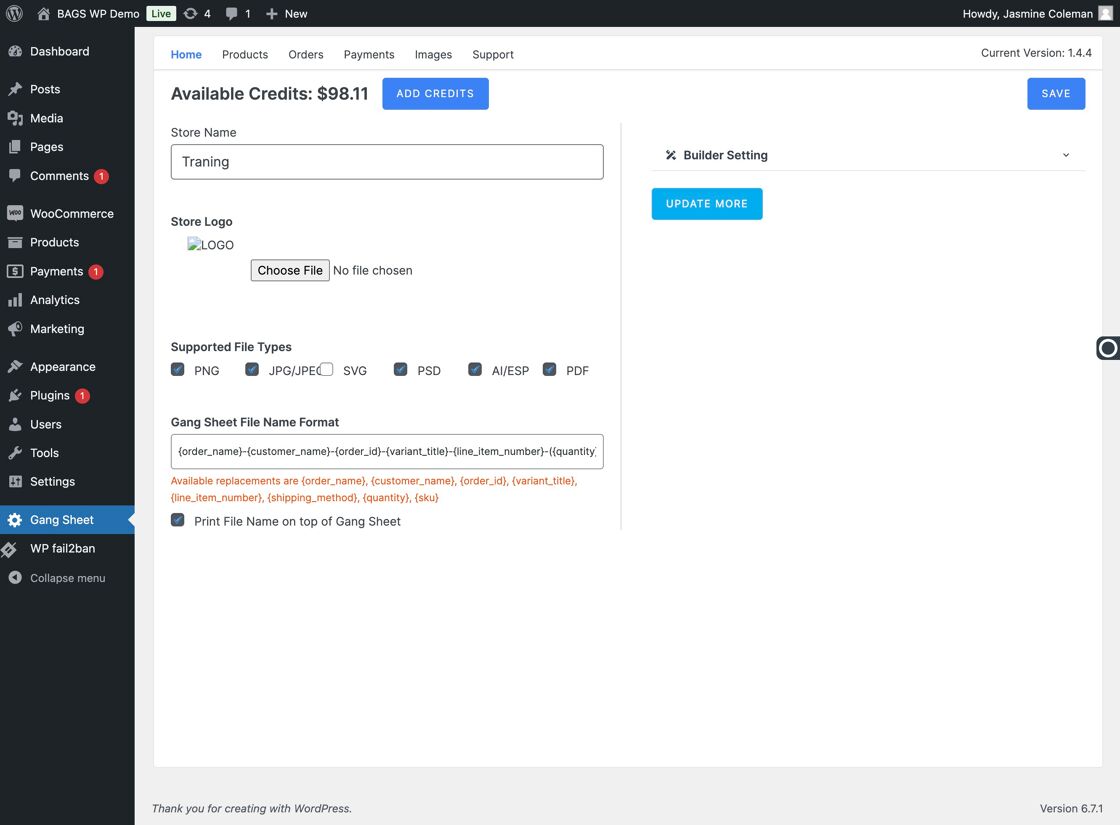
1. Navigate to "Gang Sheet"
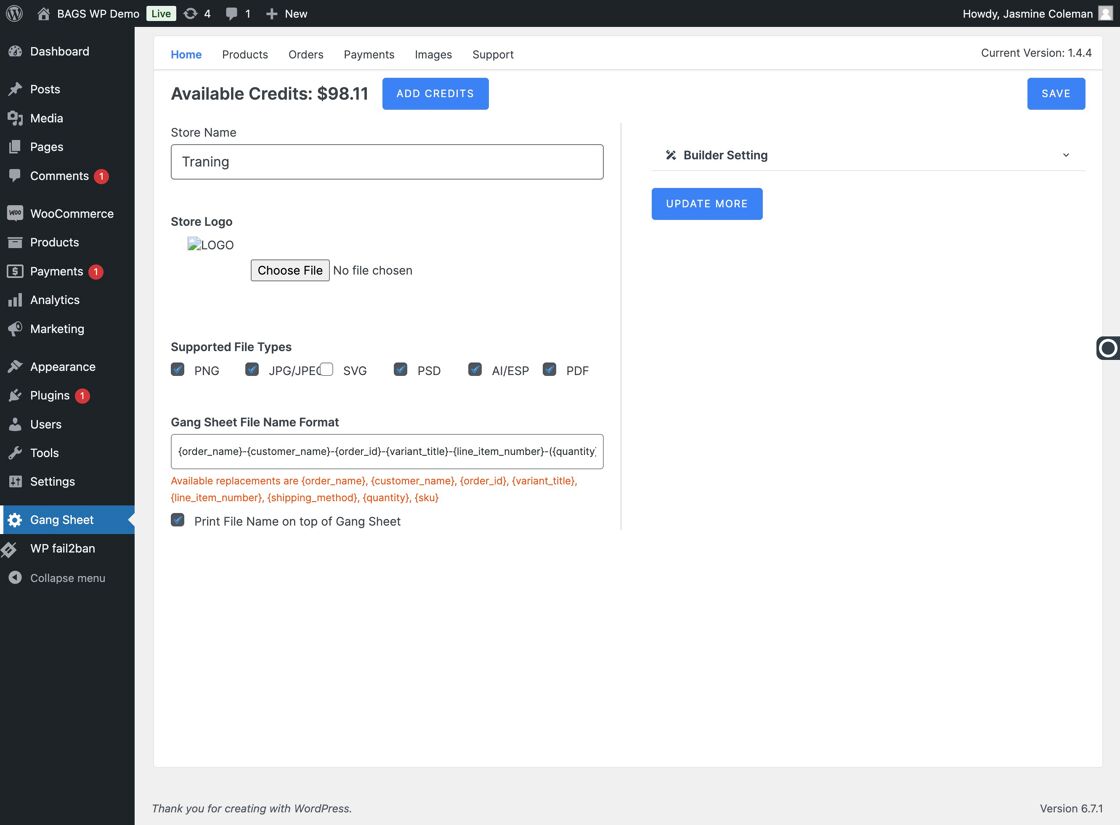
2. Click "Update More"
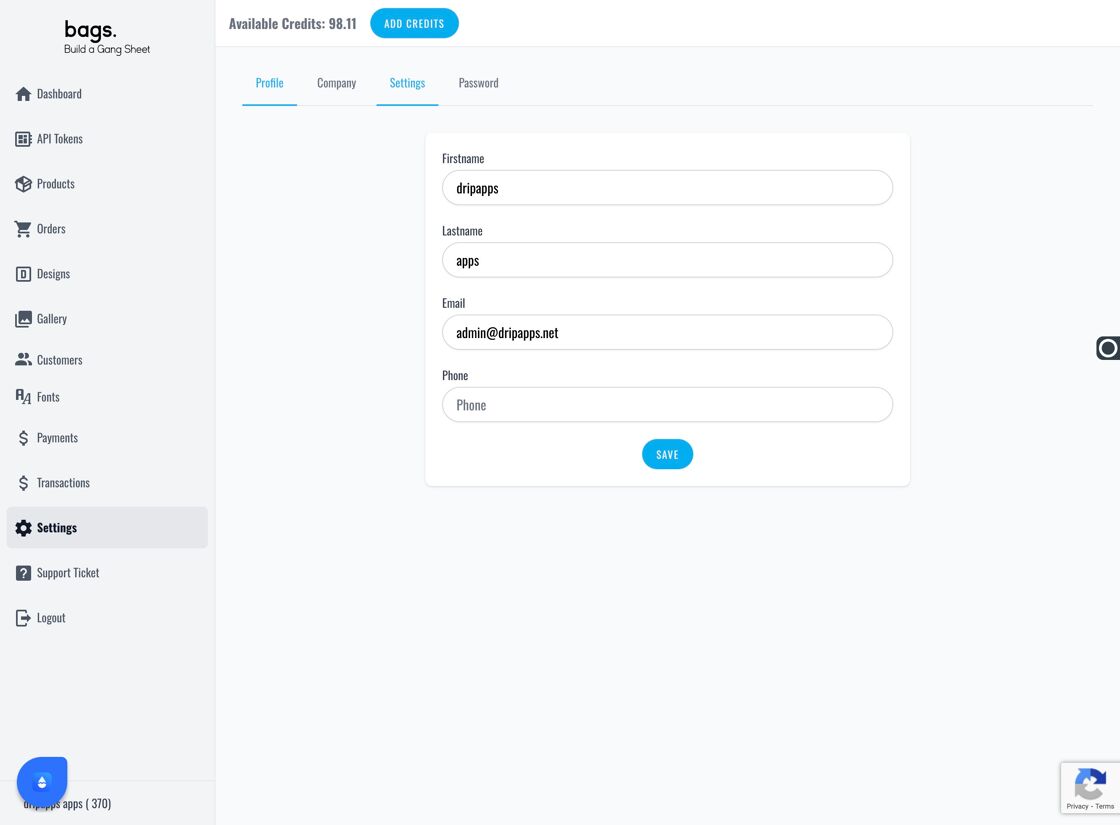
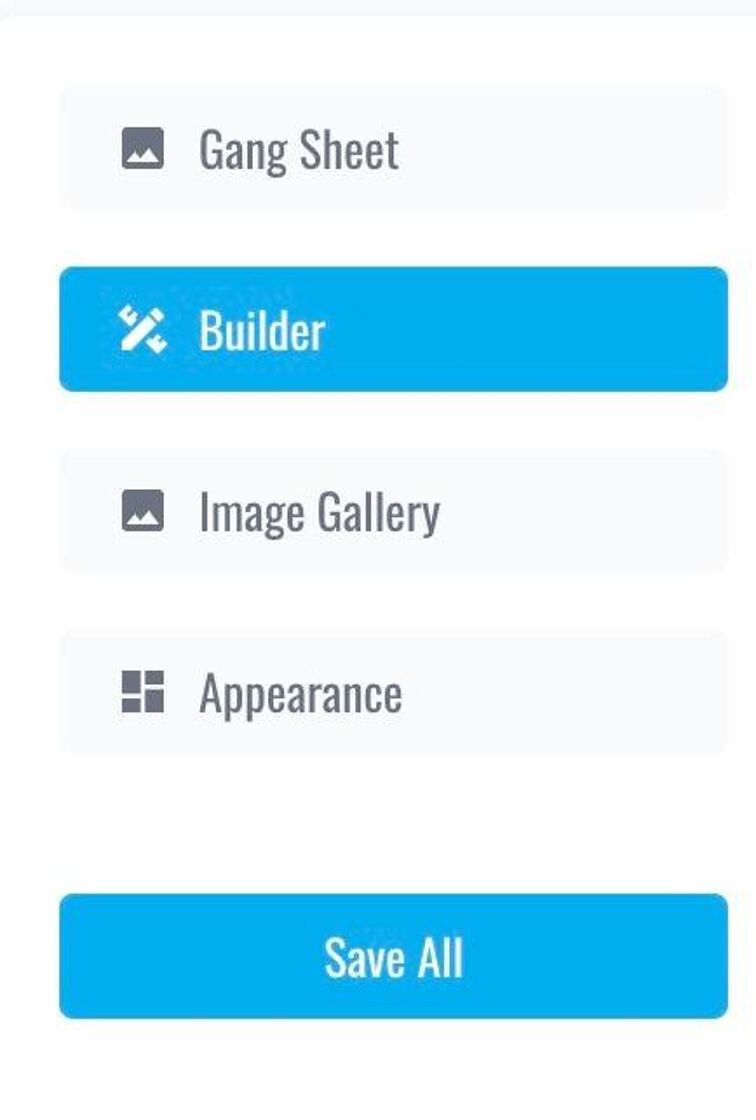
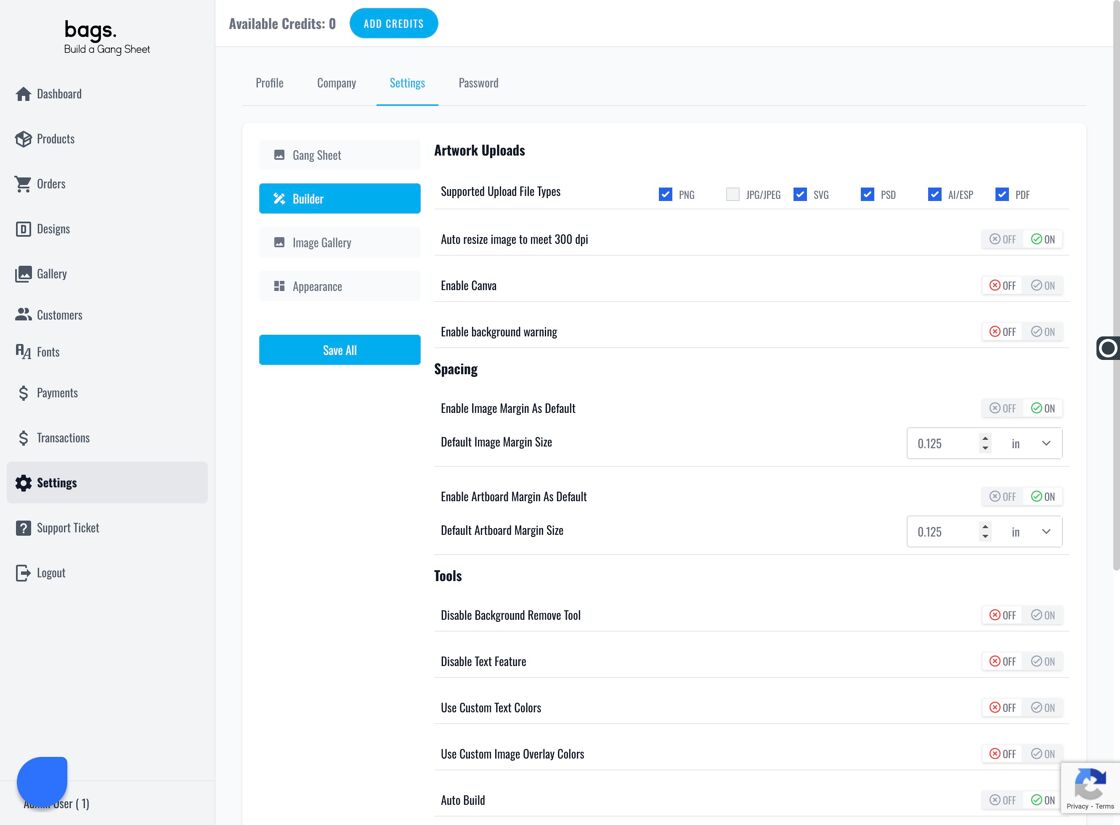
3–5. Access Builder Settings
Click on Settings, then Builder.


6. Locate the Auto Resize Option
Find “Auto Resize Image to Meet 300 DPI” within the Builder tab settings.
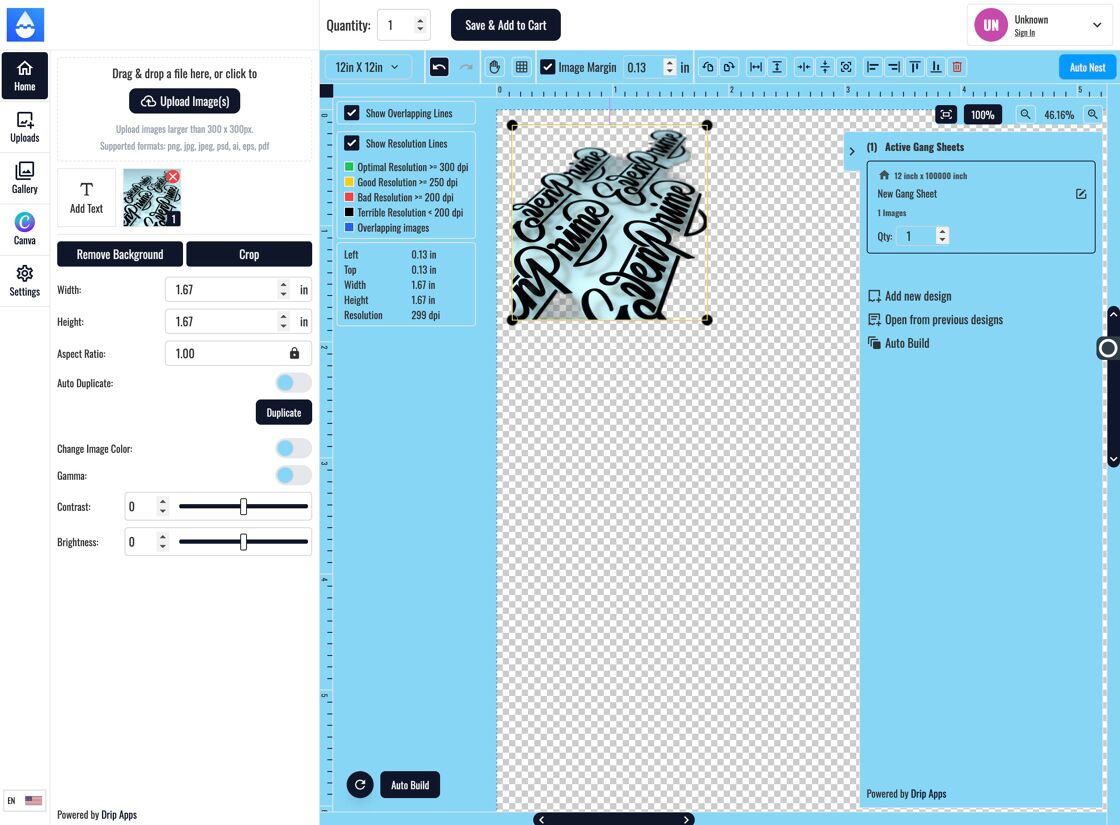
7. Activate the 300 DPI Auto Resize Feature
This ensures that uploaded images automatically shrink to maintain optimal DPI for printing.
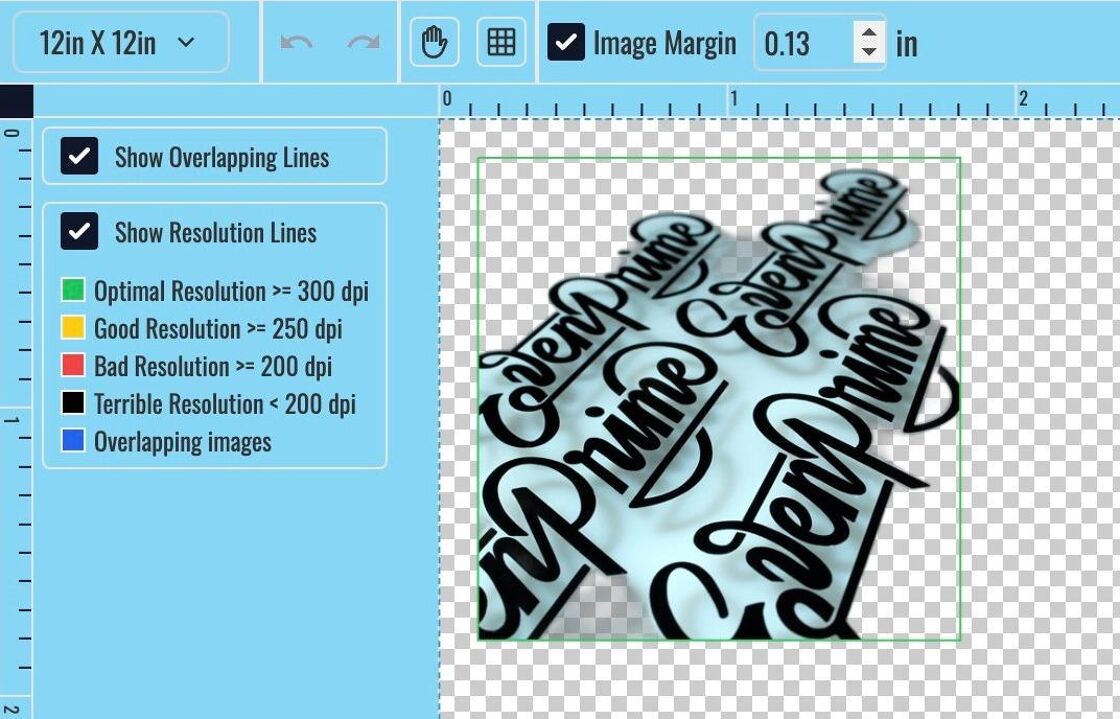
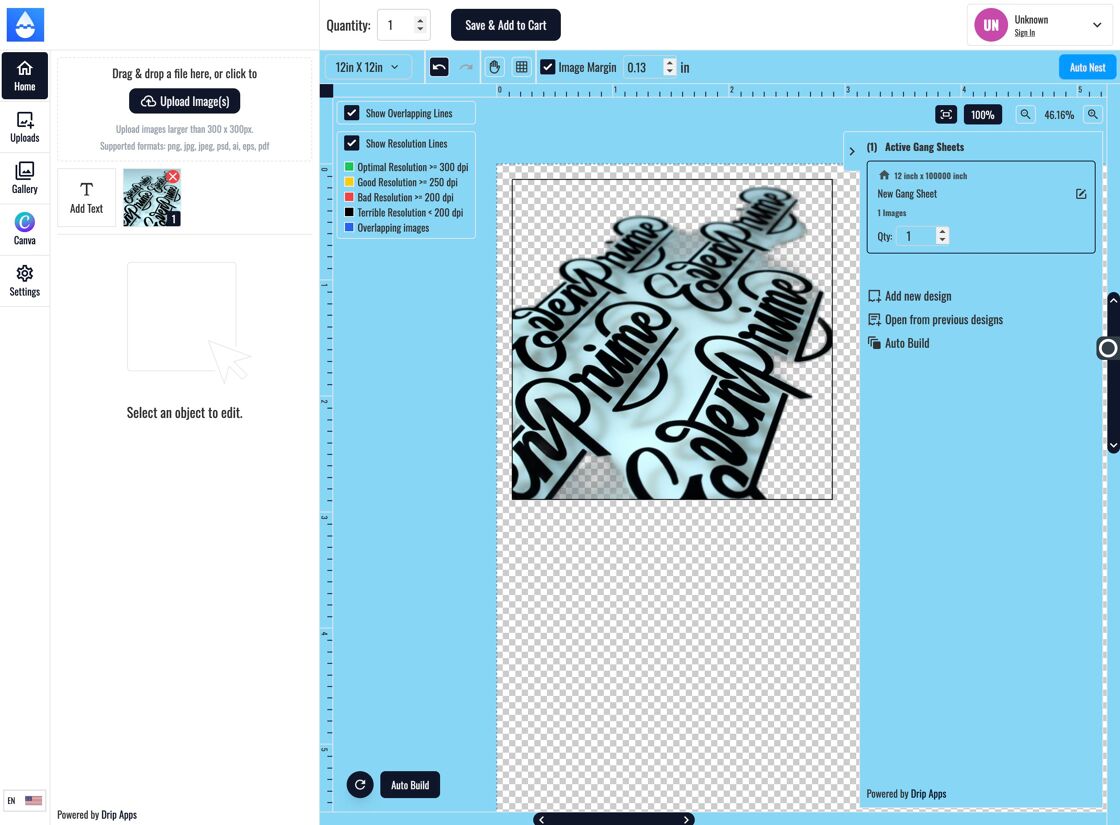
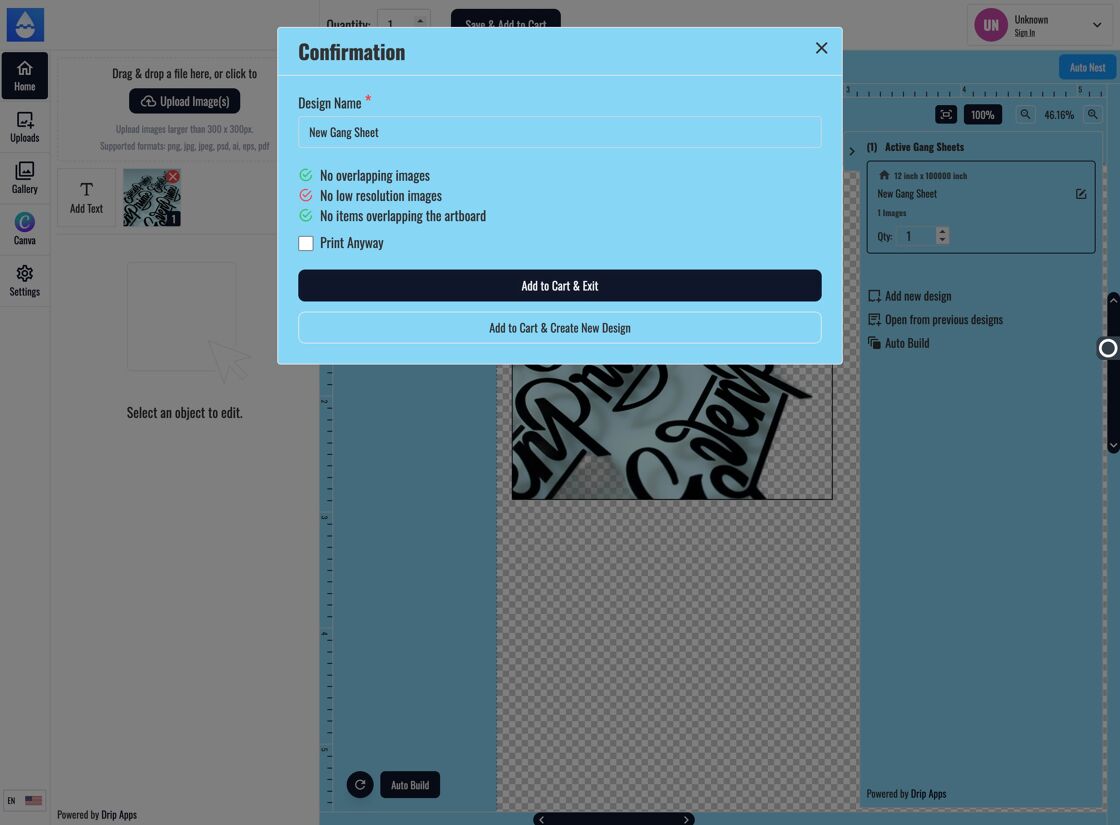
8–9. Resolution Warnings for Customers
As images are enlarged, customers are visually warned up to three times about poor resolution via outlined boxes and alerts.
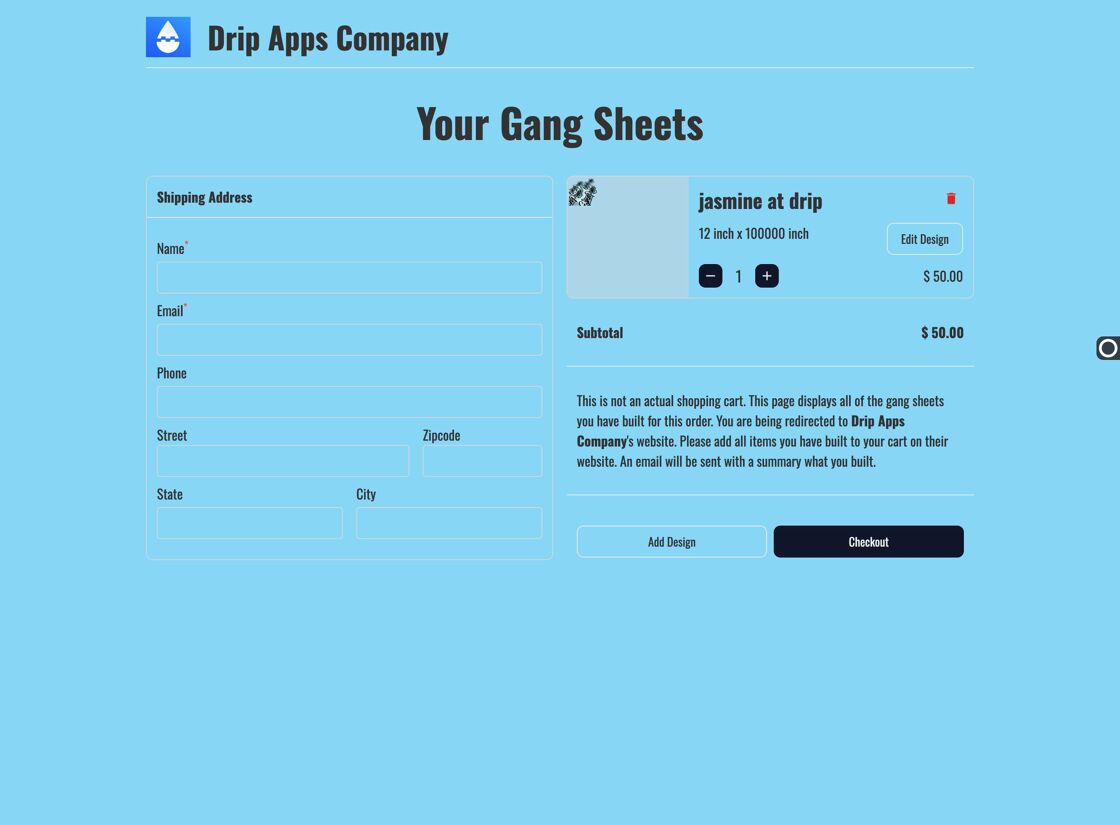
10–11. Warning at Add to Cart
Low-resolution warnings are shown again when customers attempt to save and add to cart.
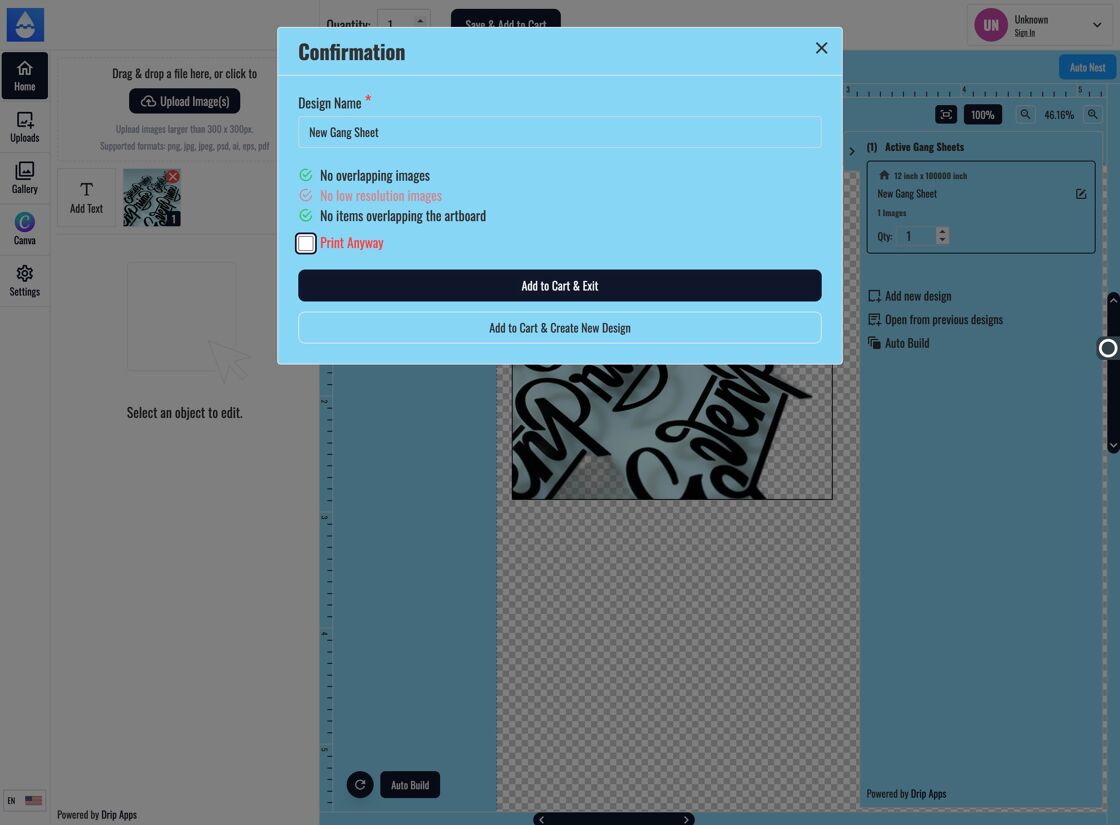
12–14. Confirmation Required for Low-Res Images
Customers must click "Print Anyway" before they are allowed to proceed to checkout.

Tags
builder settings, dpi auto resize, image quality warning, print resolution, gang sheet optimization