


Shopify
Image Gallery Settings: Watermark Opacity
The Watermark Opacity setting allows you to adjust the transparency level of watermarks applied to images in your gallery. This feature helps protect your visuals while keeping designs visible to customers. Follow this guide to locate and configure watermark opacity in the Image Gallery settings.
1. Go to the Apps Section
From your Shopify admin dashboard, click on Apps to access your installed apps.
2. Click "Build a Gang Sheet"
Select the Build a Gang Sheet app to begin customizing your gallery features.

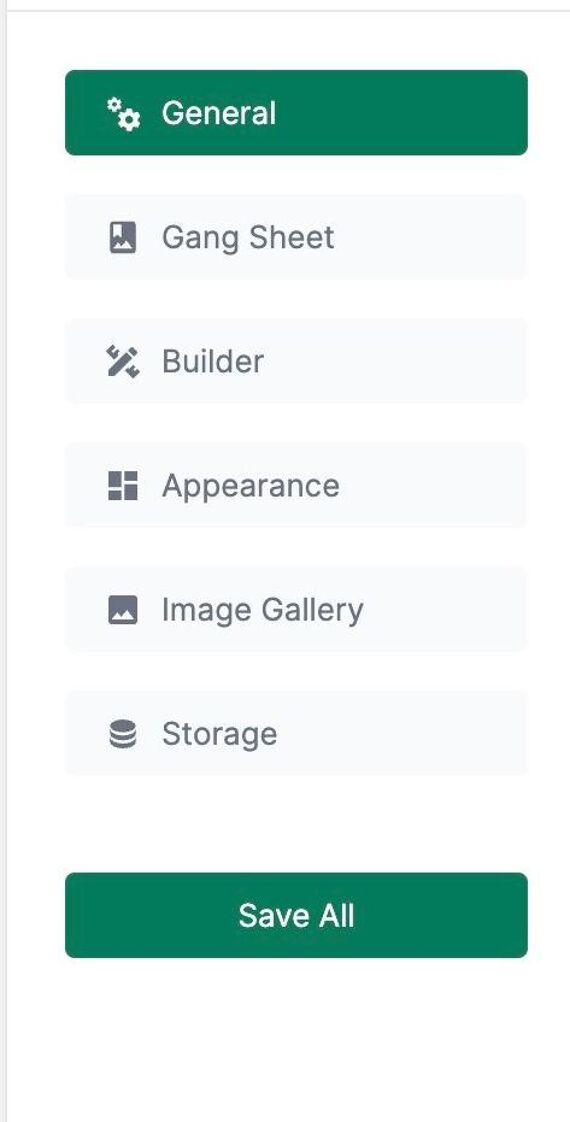
3. Open Settings
Once inside the builder, click on the Settings tab from the navigation bar.

4. Click "Image Gallery"
From the list of available setting categories, select Image Gallery.
5. Adjust Watermark Opacity
Locate the Watermark Opacity setting. Use the slider or numeric input to set how transparent your watermark should appear on gallery images. A lower opacity means the watermark is more transparent, while a higher opacity makes it more prominent.

Why Use Watermark Opacity Controls?
- Protects your artwork from unauthorized reuse while allowing customer previews.
- Improves branding with subtle watermark visibility.
- Lets you fine-tune how aggressive or minimal the watermark appears based on your store’s visual style.
Tags
image gallery, watermark opacity, visual protection, custom builder, Shopify image settings