


Shopify
Image Gallery Settings: Enable Sort
The Enable Sort setting allows customers to organize images within the image gallery by different criteria such as name, date, or custom order. This improves navigation and user experience, especially when browsing large libraries of designs. This guide walks you through enabling the sort option in your image gallery settings.
1. Go to the Apps Section
In your Shopify admin, click on Apps to access installed applications.
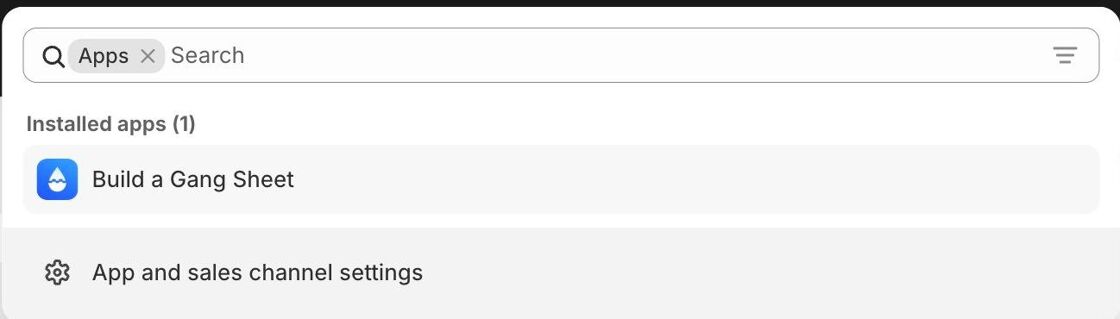
2. Click "Build a Gang Sheet"
Select the Build a Gang Sheet app to open the custom builder where gallery settings are configured.
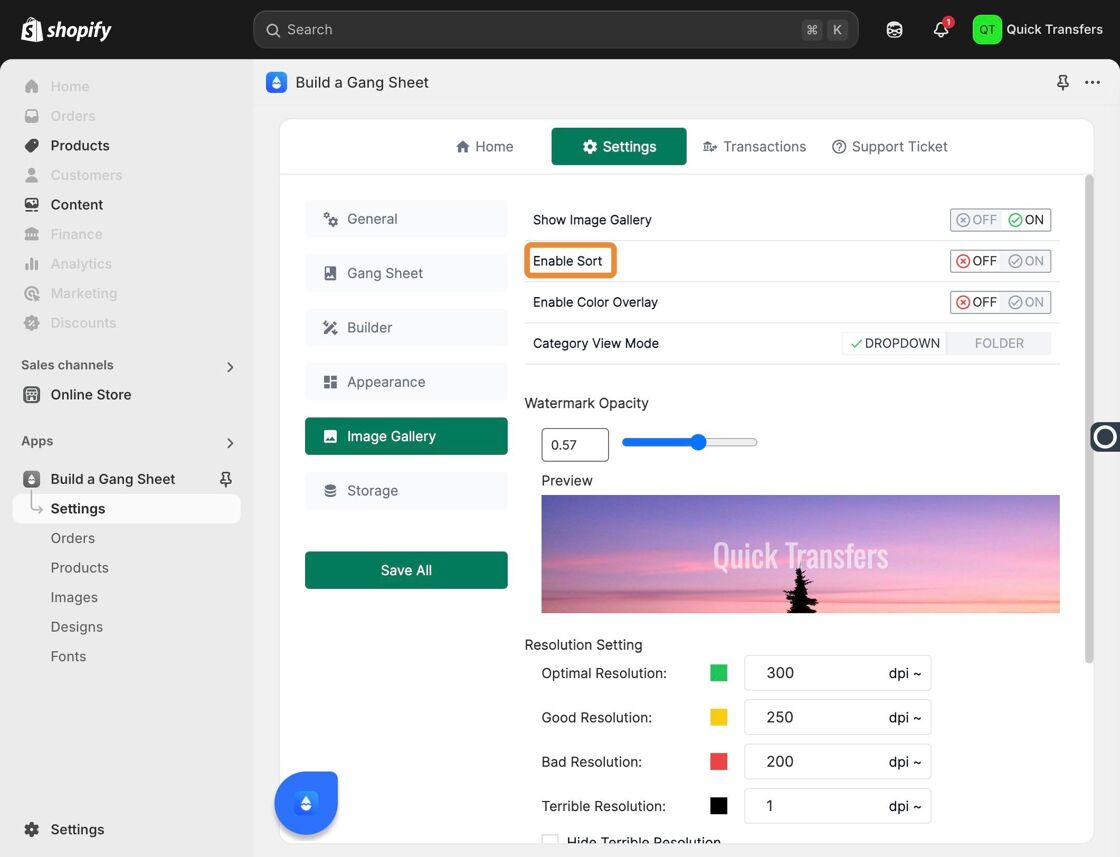
3. Open the Settings Menu
Within the app interface, click Settings from the navigation bar at the top.

4. Click "Image Gallery"
From the left-hand settings panel, select Image Gallery to view image-specific customization options.

5. Enable the Sort Feature
Find the Enable Sort option and switch it on. This allows your customers to organize the image gallery contents according to their preference.
6. "Sort" Appears in the Gallery UI
Once enabled, a Sort dropdown menu will appear at the top of the image gallery interface, visible to your customers.
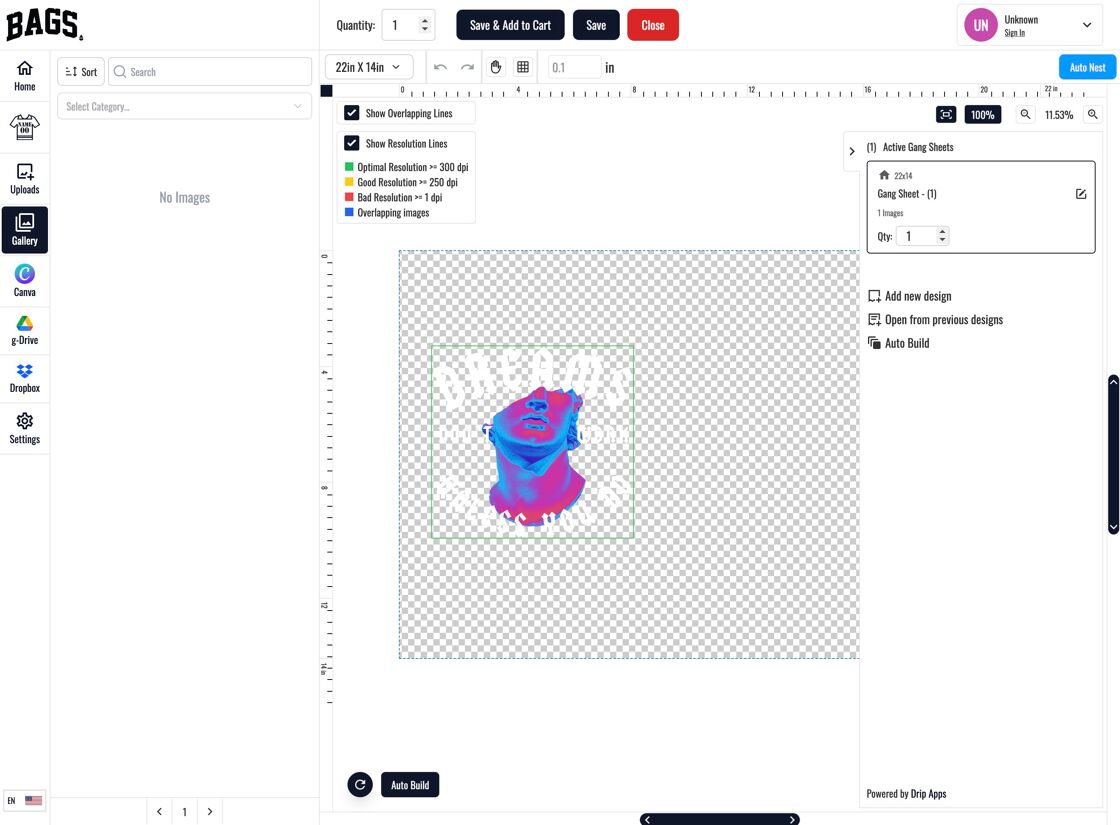
7. Customers Can Sort Images Easily
With sorting enabled, customers can reorder gallery content by name, date, or other available filters—enhancing usability and organization.

Why Use the Sort Feature?
- Makes it easier for customers to find designs quickly.
- Improves browsing experience across large galleries.
- Gives customers more control over how content is displayed.
Tags
image gallery, enable sort, customer sorting, Shopify builder, gallery UX