


Shopify
Products: How to Add or Edit Sizes
This guide shows you how to add or edit size options for a product using the Build A Gangsheet app in your Shopify admin. This is helpful for enabling customers to choose from predefined sizes when placing orders.
1. Navigate to the Product
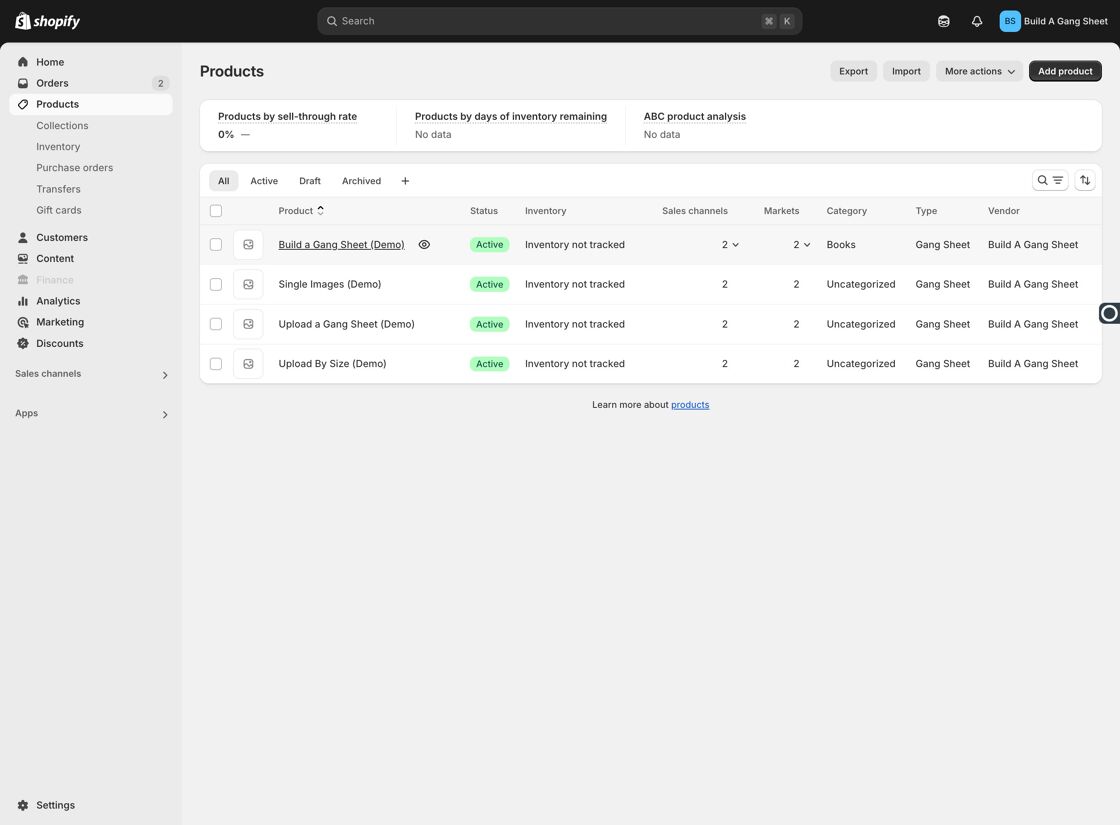
From your Shopify admin, click Products.
Select the product you'd like to modify, such as Build a Gang Sheet (Demo).
2. Add a Size Option
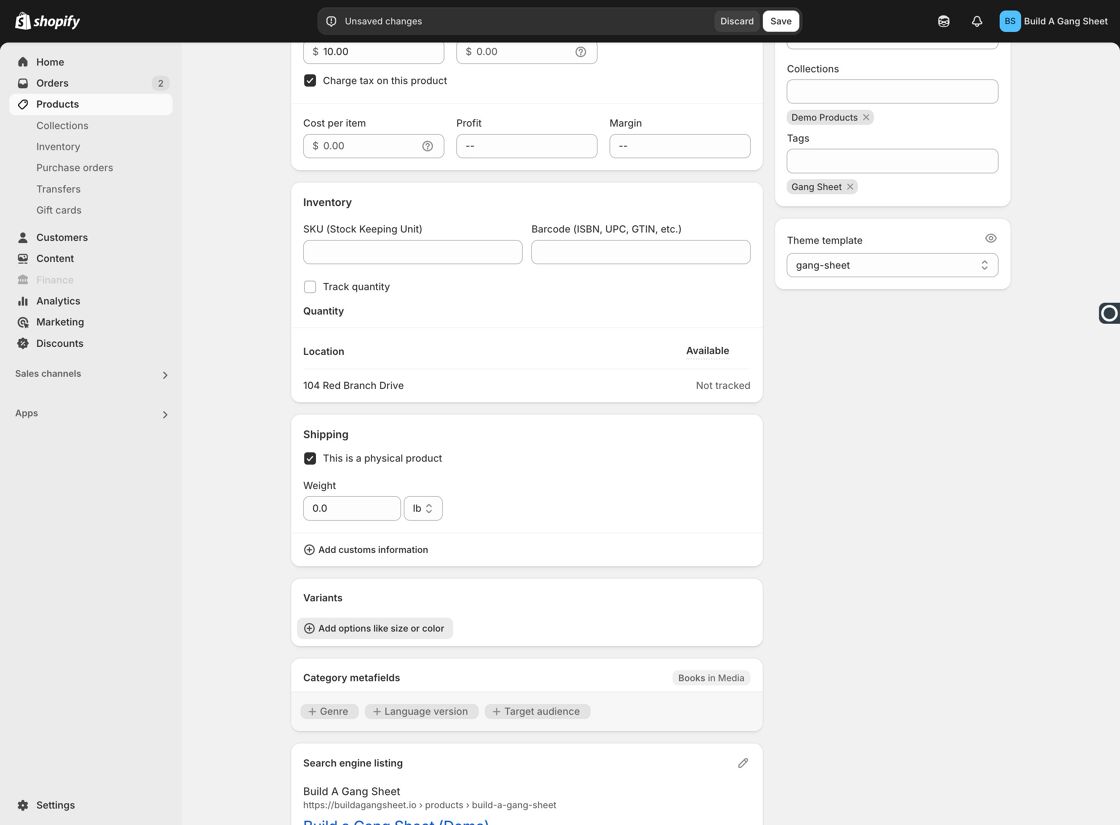
Click "Add options like size or color" to open the variant customization panel.
Type Size into the option name field and click "Create 'Size'".
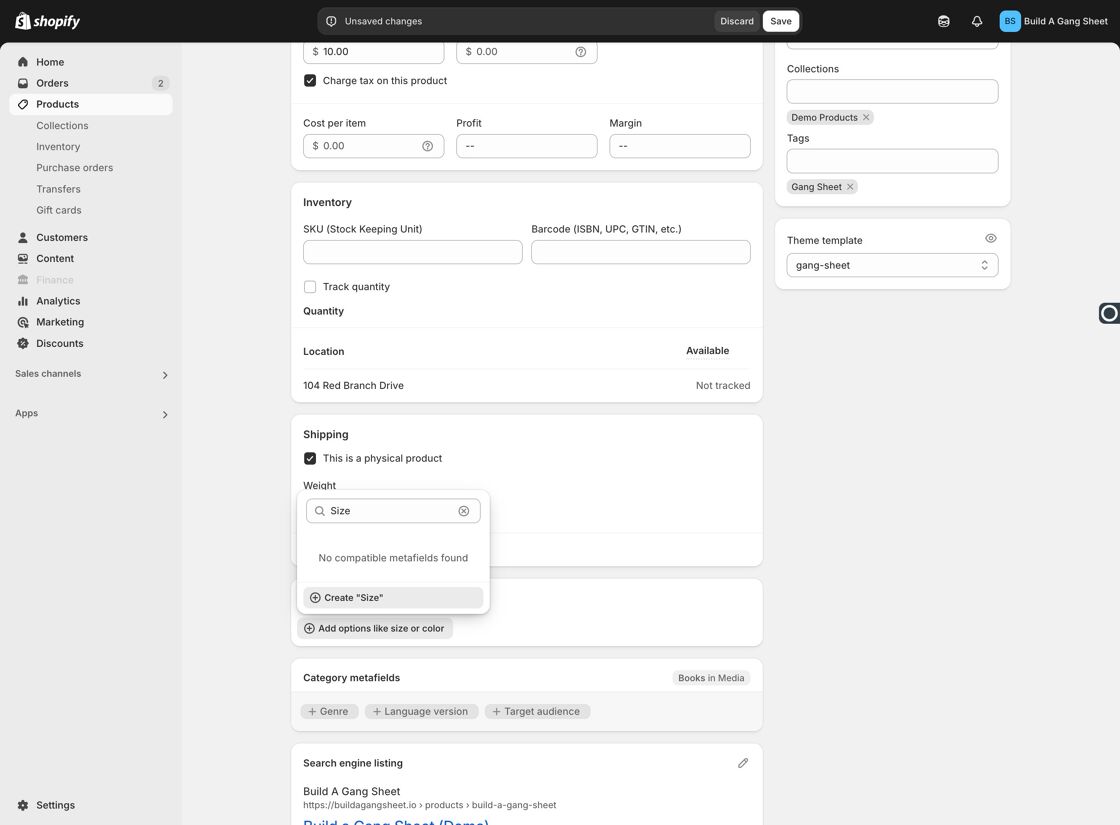
Click into the Option value field and type your desired sizes (e.g.,22x14, 22x24, 22x30).
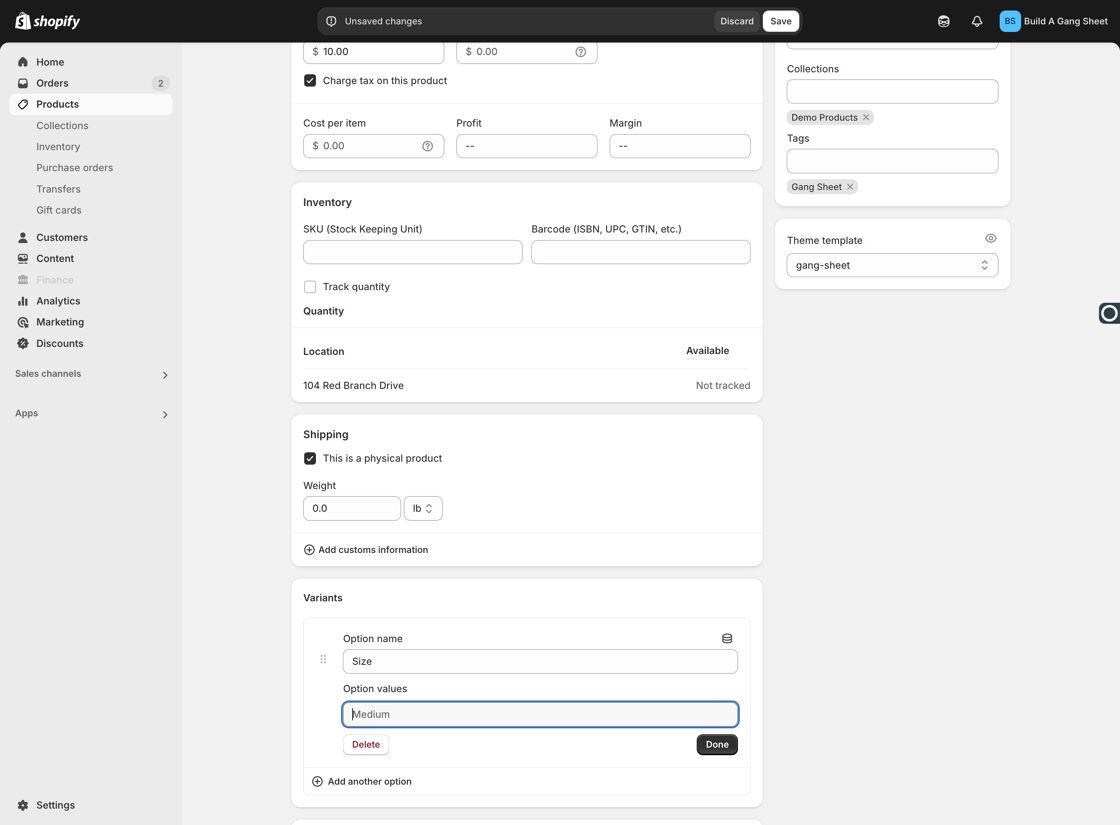
Once done, click Done to save the options.
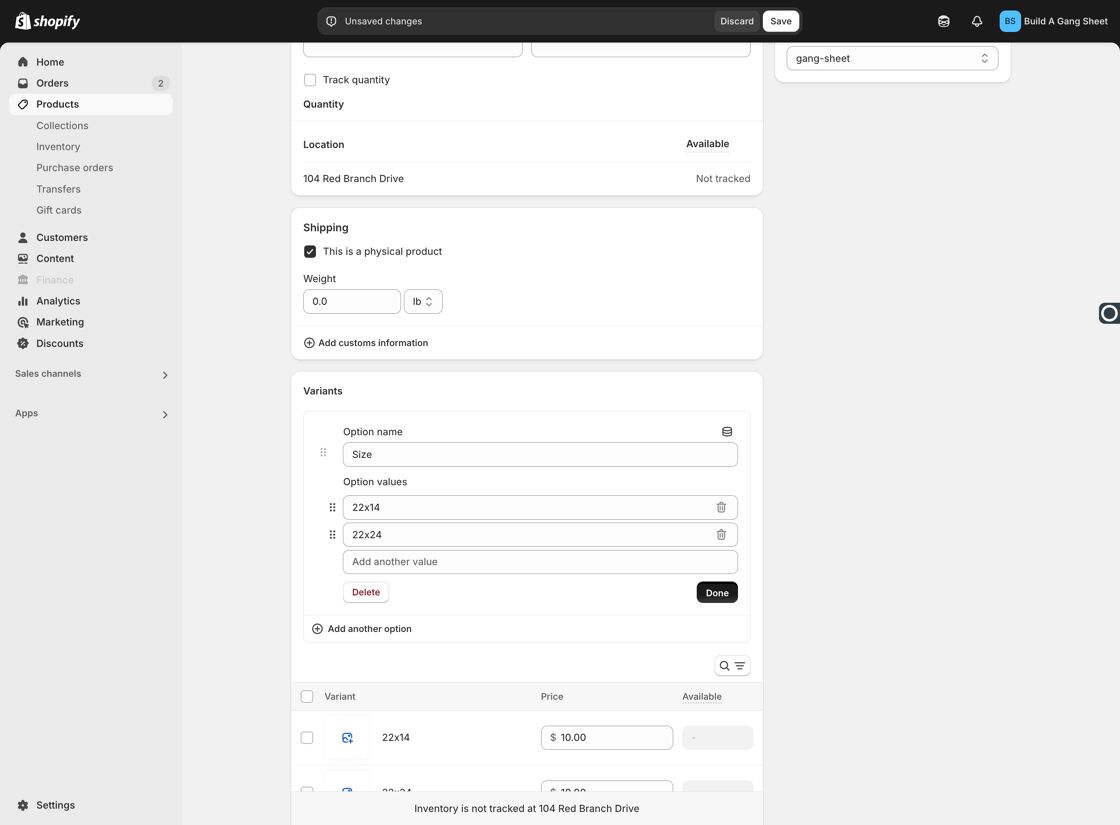
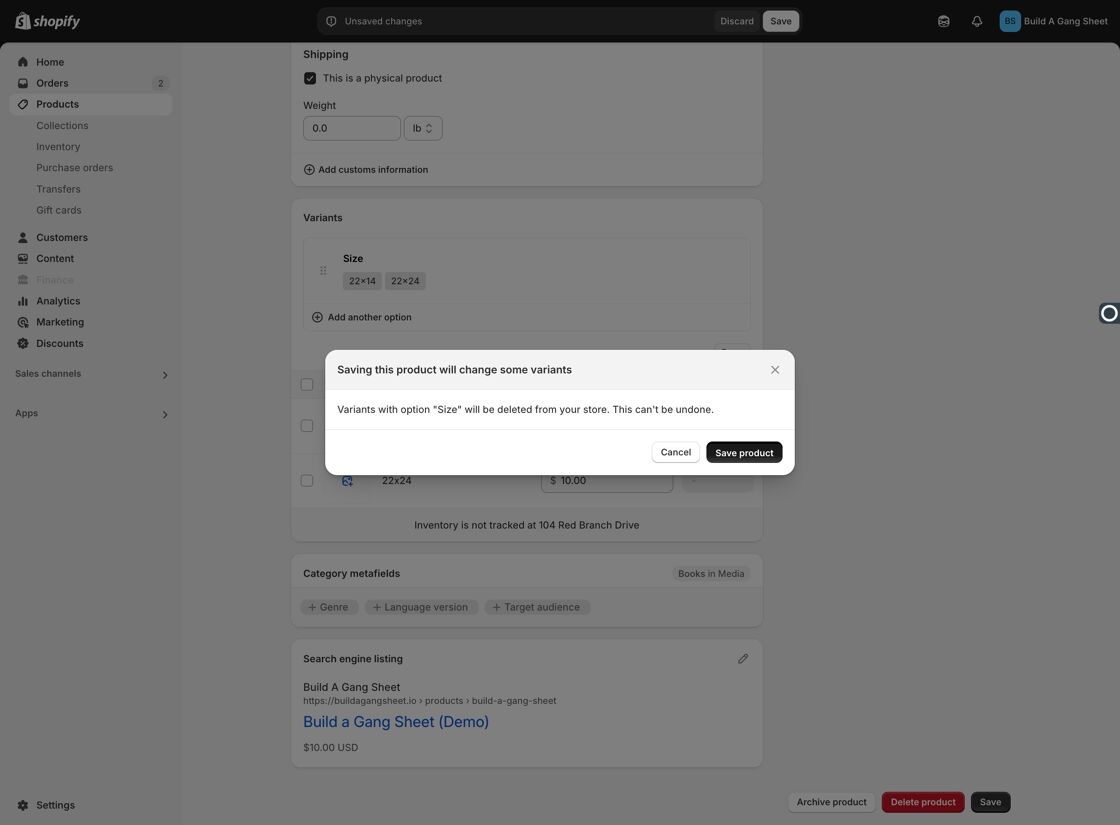
3. Set Pricing for Each Size
After adding size variants, set individual prices for each one as needed.
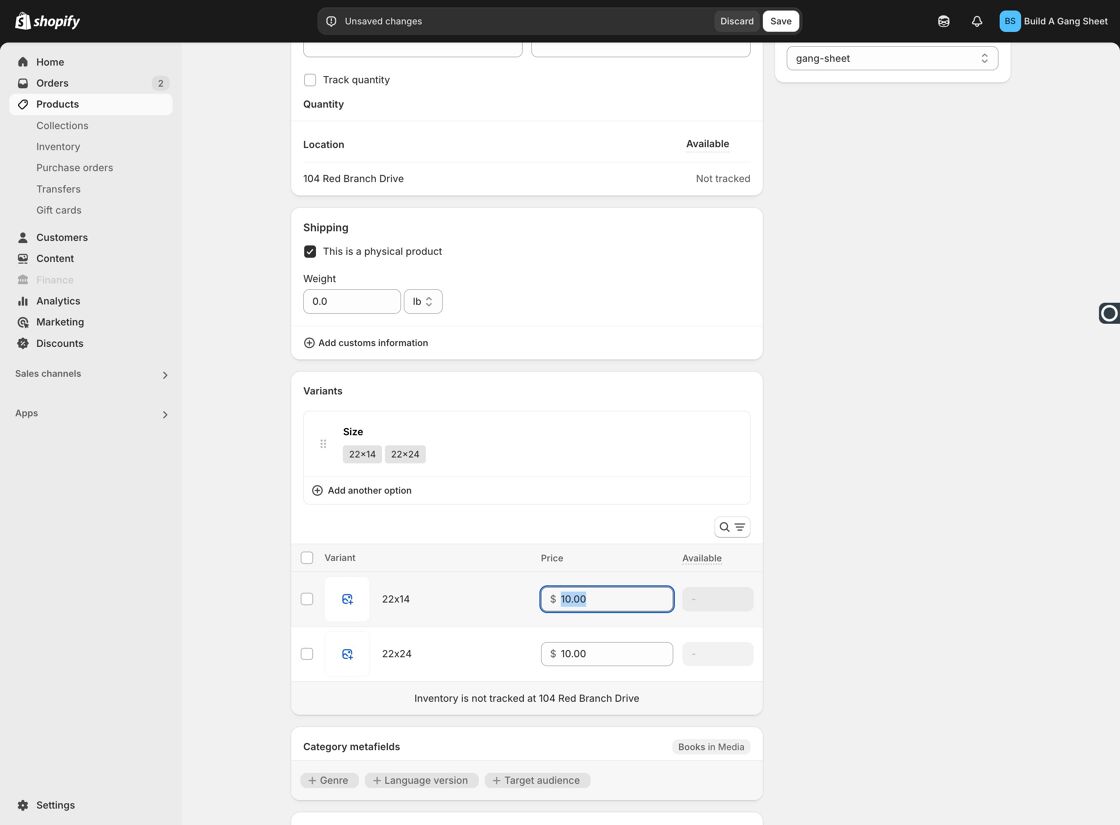
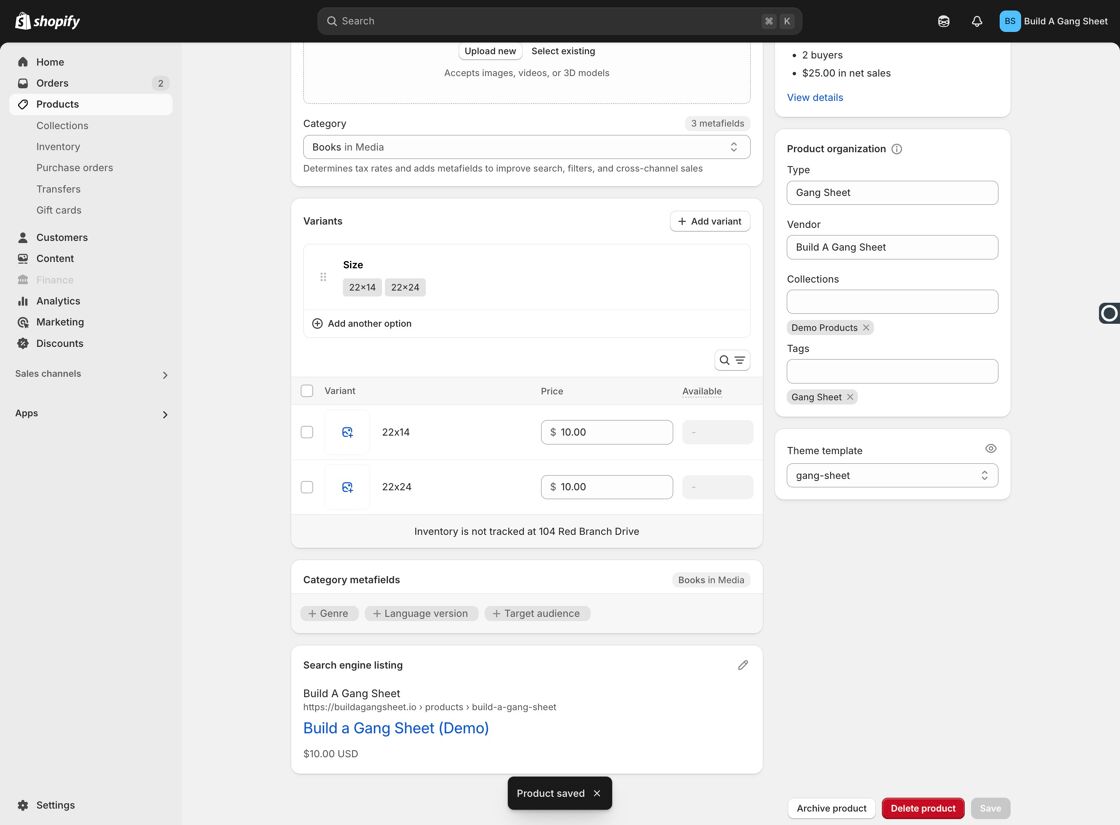
Click Save to confirm the changes.
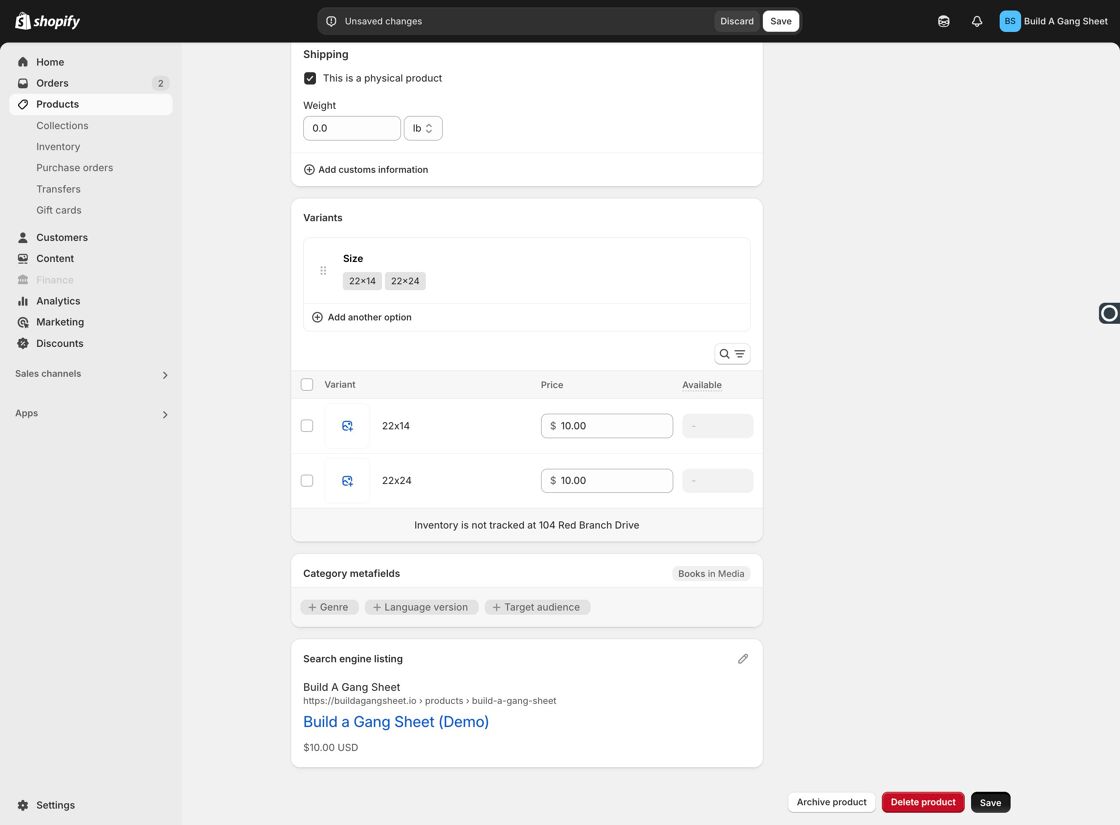
Then click Save product to finalize your updates.
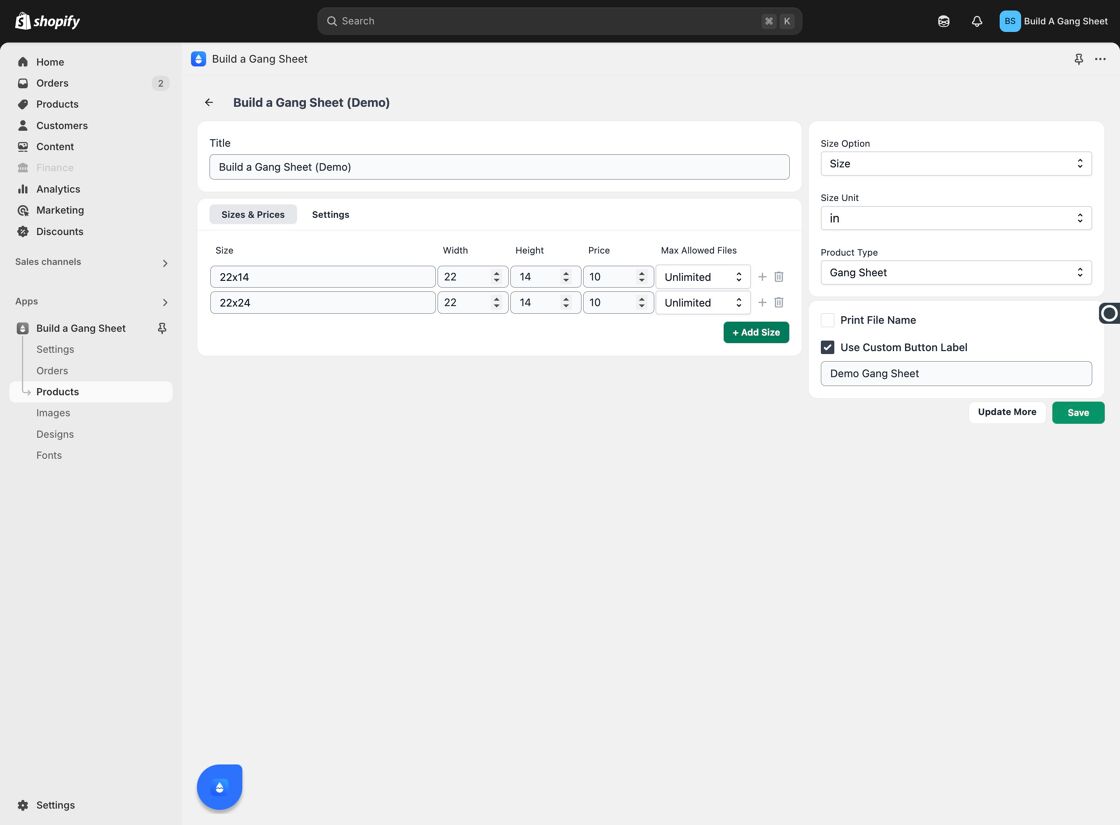
4. Configure Size in the App
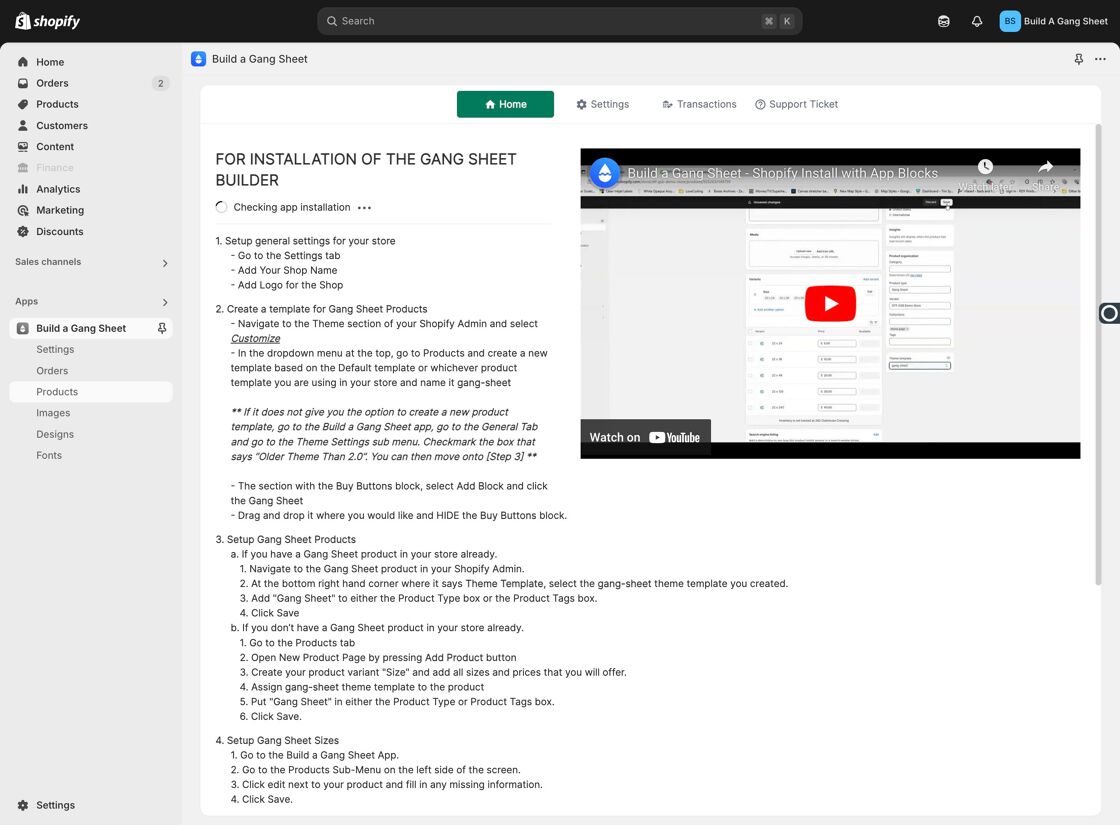
In the Shopify admin, go to Apps and open Build a Gang Sheet.
Click Products inside the Build a Gang Sheet app.
Click Edit for the product you want to update.
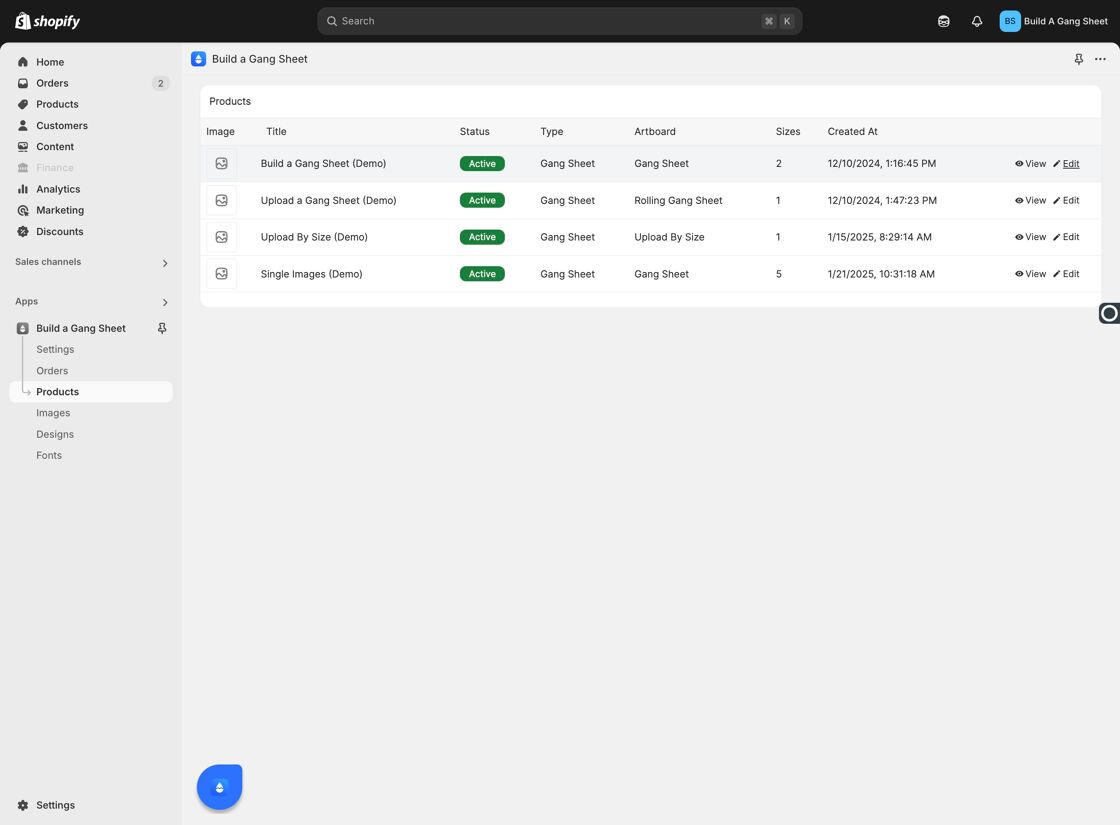
Enter the width and height dimensions for each size and ensure pricing is correct.
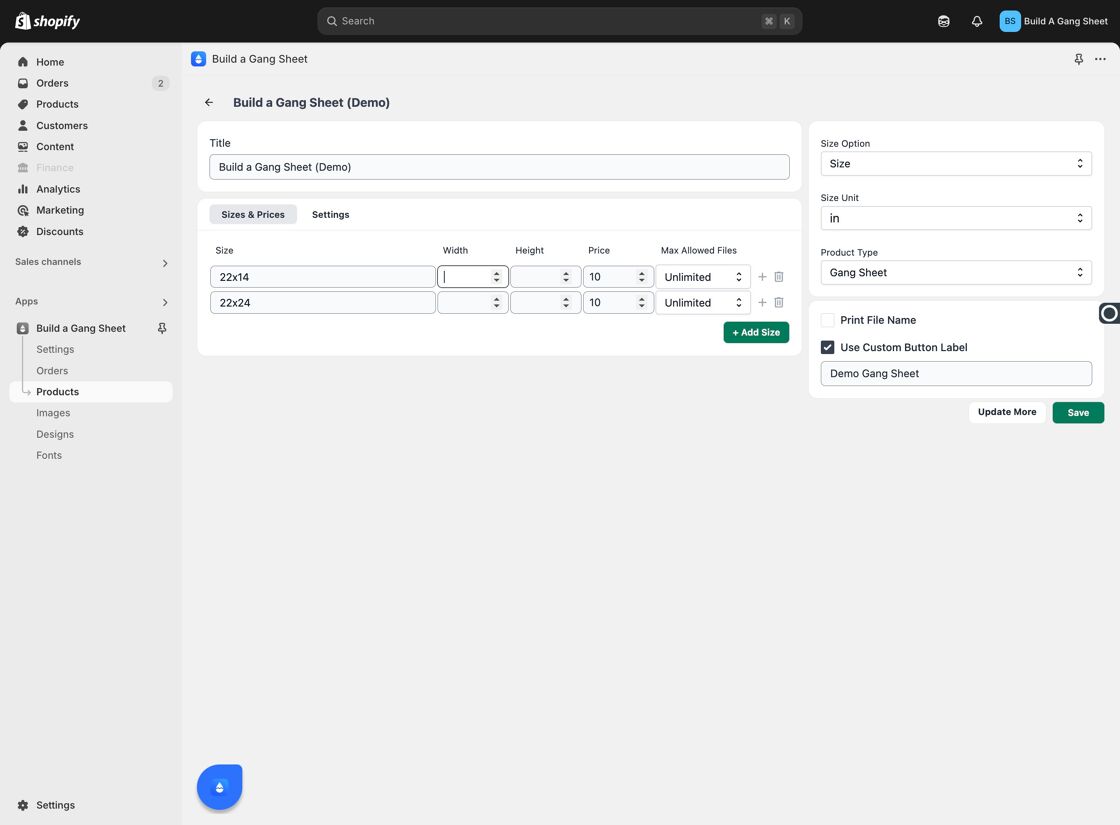
Click Save to apply the changes in the app.
Why Add Size Variants?
- Allows customers to choose from multiple size options at checkout.
- Enables price customization for each size.
- Supports better organization and inventory tracking for print products.
Tags
product sizes, variant options, build a gangsheet, size customization, shopify products