


Shopify
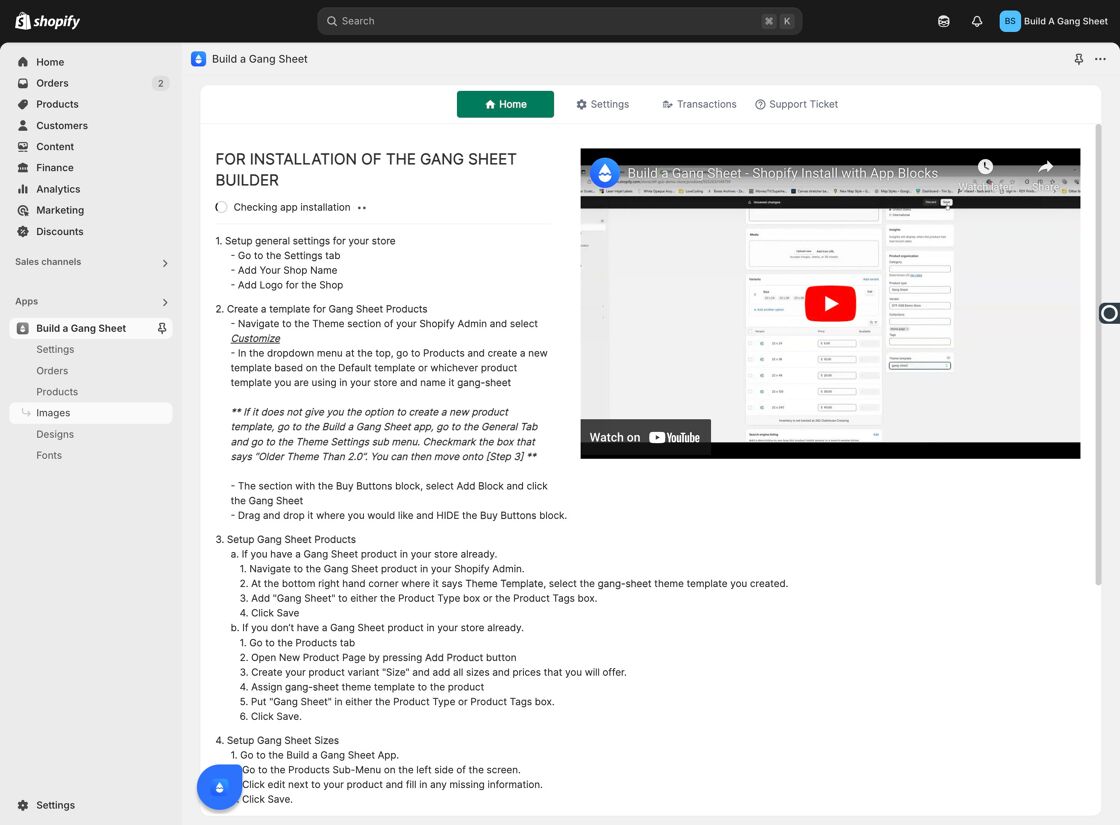
Images Tab: How To Use Image Settings
The Images Tab in your Shopify builder allows you to manage categories, upload images, organize content, and apply advanced settings like overlays and tags. This guide walks you through how to fully utilize image management tools to streamline your store's visual assets.
1. Open the Images Tab
Click the Images tab in the app interface to begin setting up your gallery.
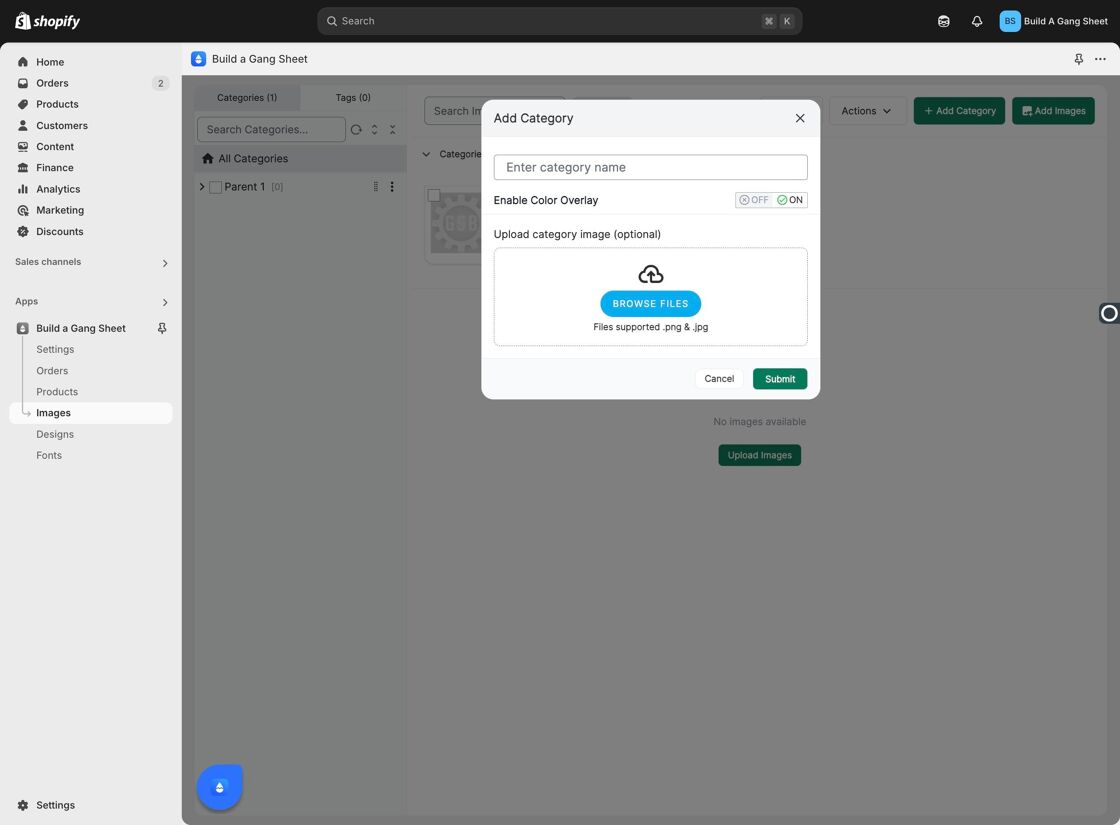
2. Add a Category First
Before uploading images, click Add Category to create a folder where images will be stored.

3. Name the Category and Set Cover Image
Enter a category name (title). You may also toggle Enable Color Overlay for customers to use blend and overlay features. The uploaded image here will act as the cover photo for the category.
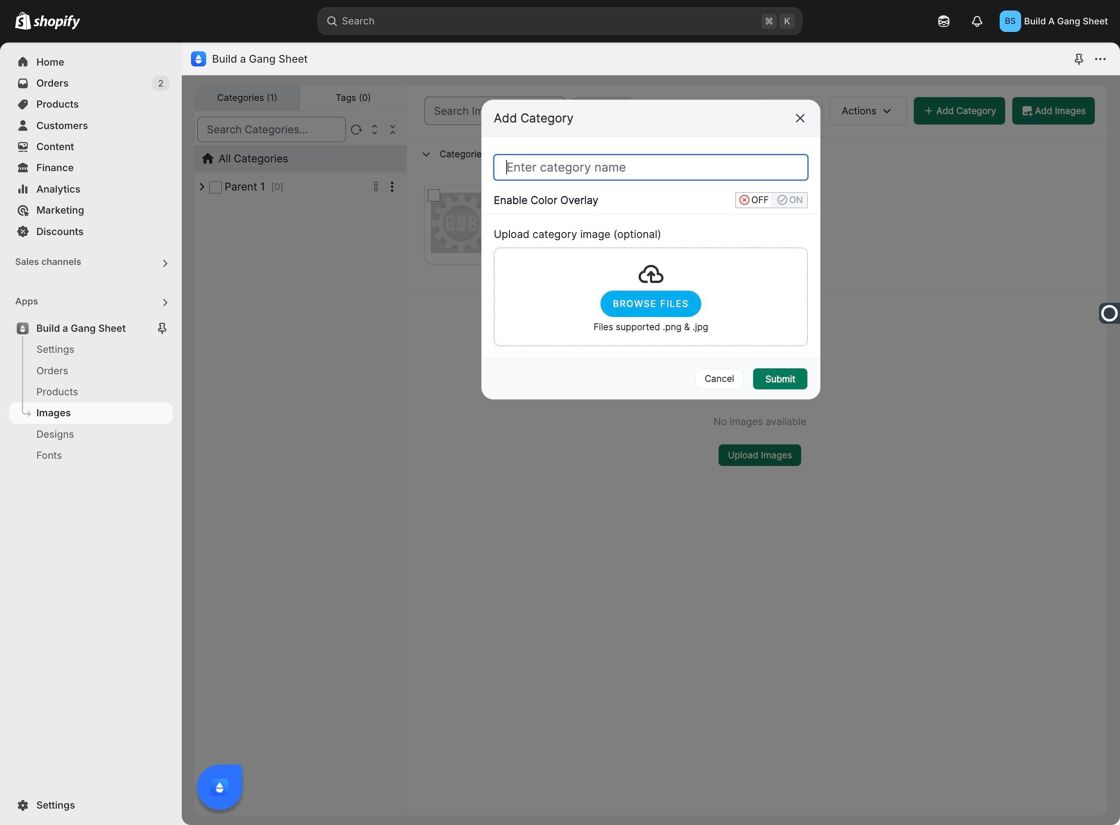
4. Submit the Category
Once your category setup is complete, click Submit to save it.
5. Add Images to the Category
After creating a category, you can now click Add Images to begin uploading photos.

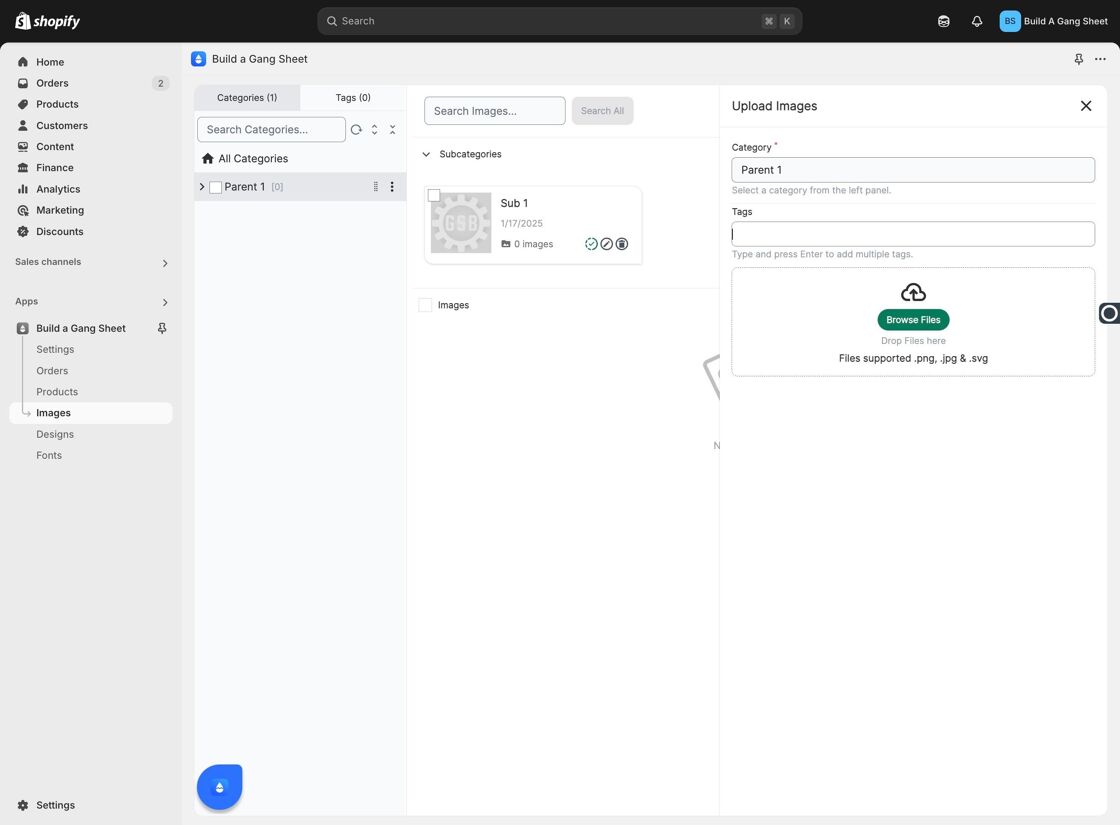
6. Select a Category for Upload
You must choose an existing category to upload images to. Images cannot be uploaded outside of a category.
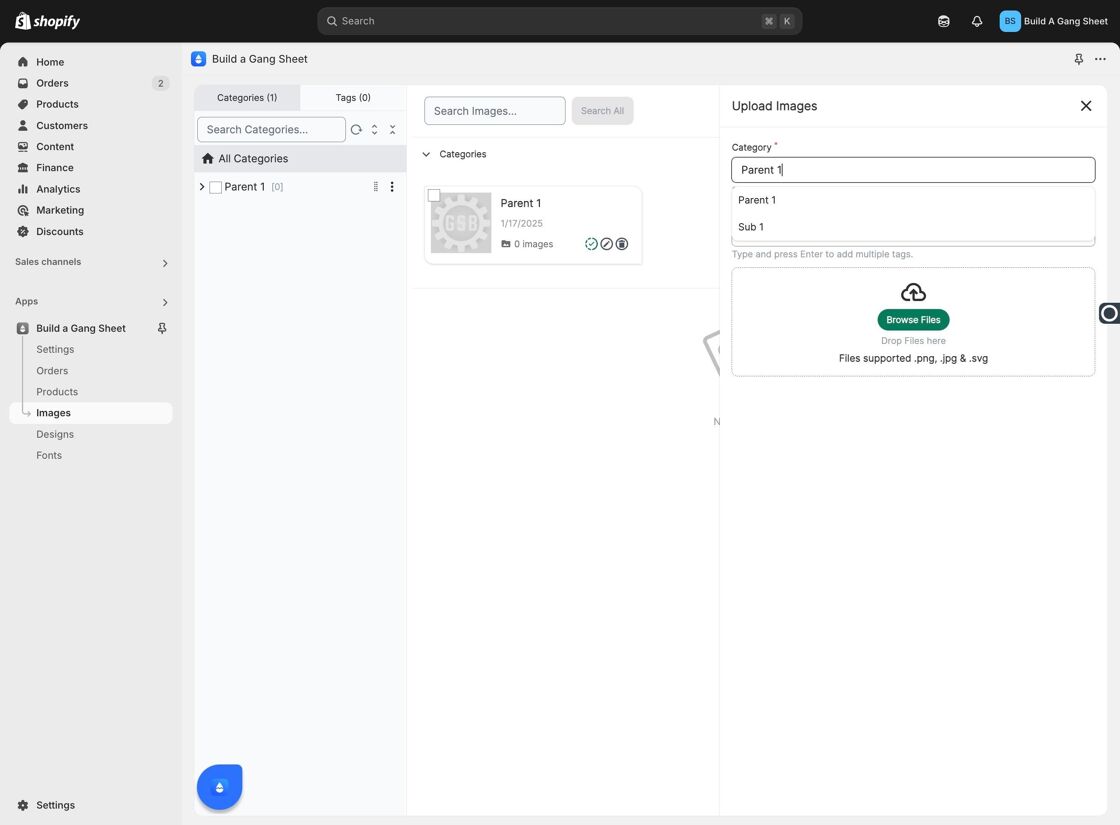
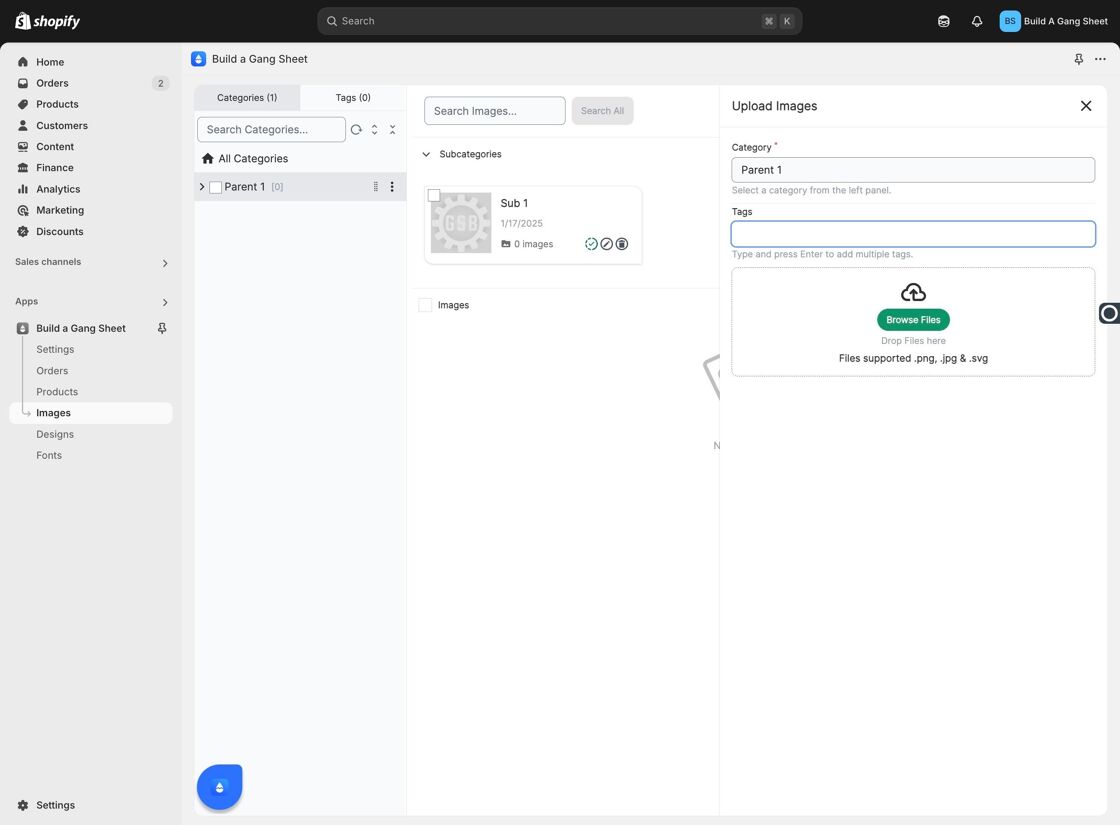
7. Add Tags to Images
Tags help customers and store admins filter or search for specific images. Add relevant tags during upload or editing.
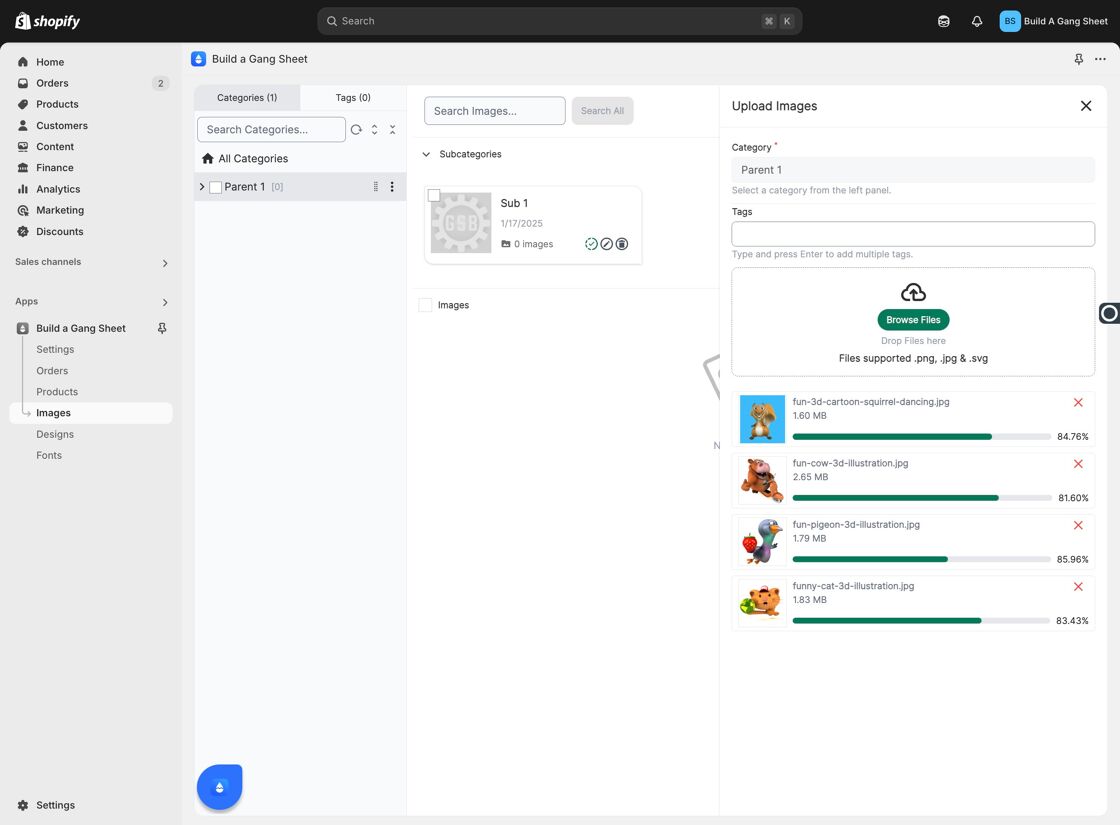
8. Upload Images via Browse Files
Click Browse Files to upload up to 100 images at a time. Storage is unlimited, making it ideal for bulk uploads.
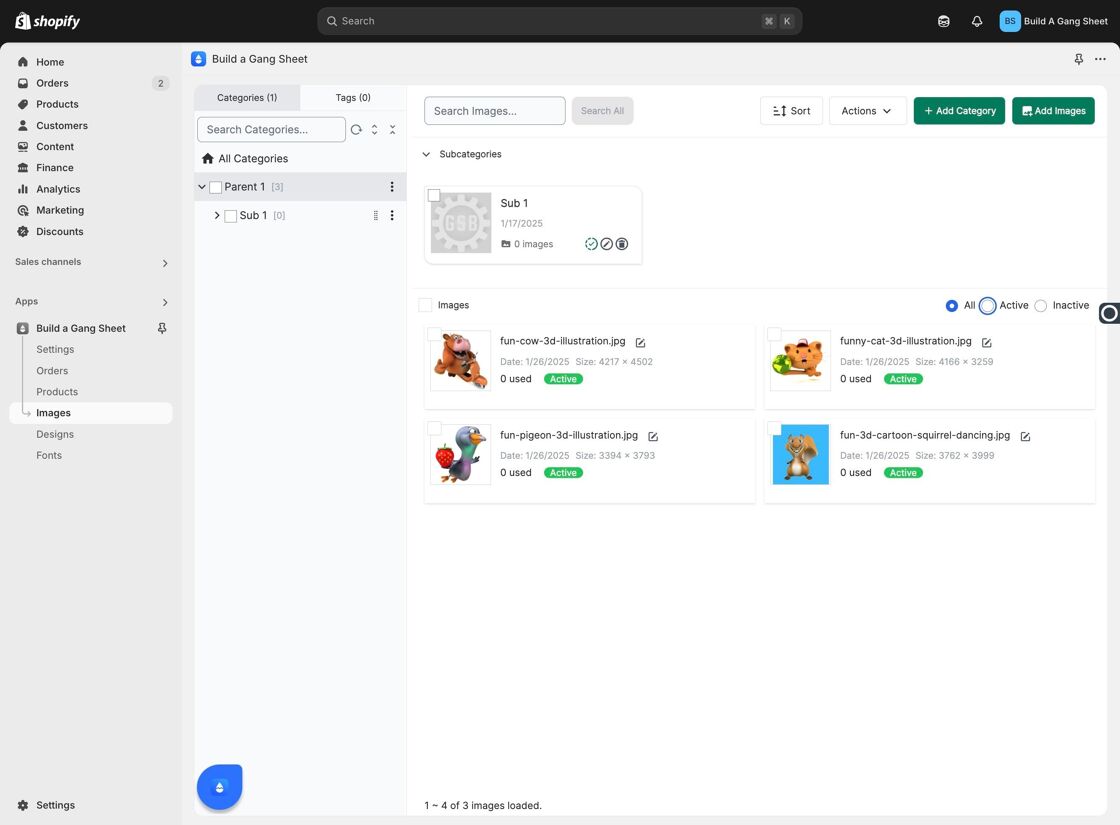
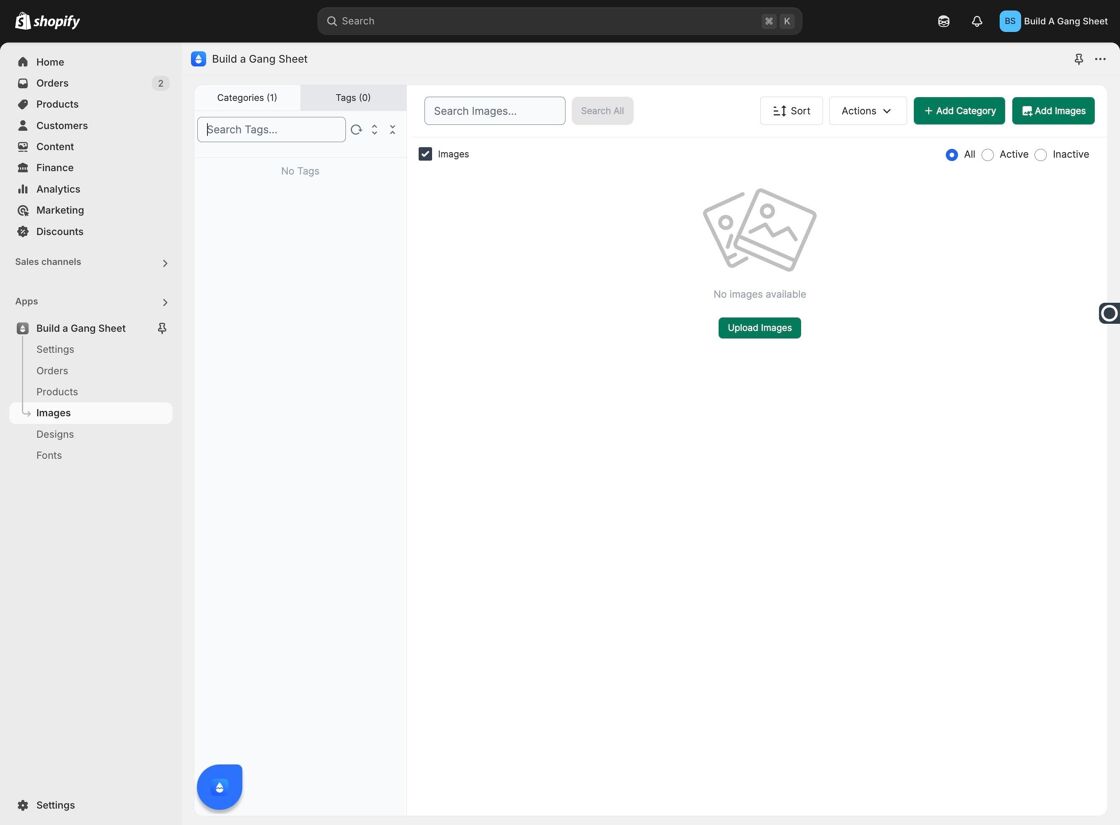
9. Uploaded Images Display in the Preview Area
All uploaded designs will initially appear in the gallery preview area before being categorized as Active or Inactive.
10. Use Tabs to Filter Active or Inactive Images
Click All, Active, or Inactive to view your image status filters.
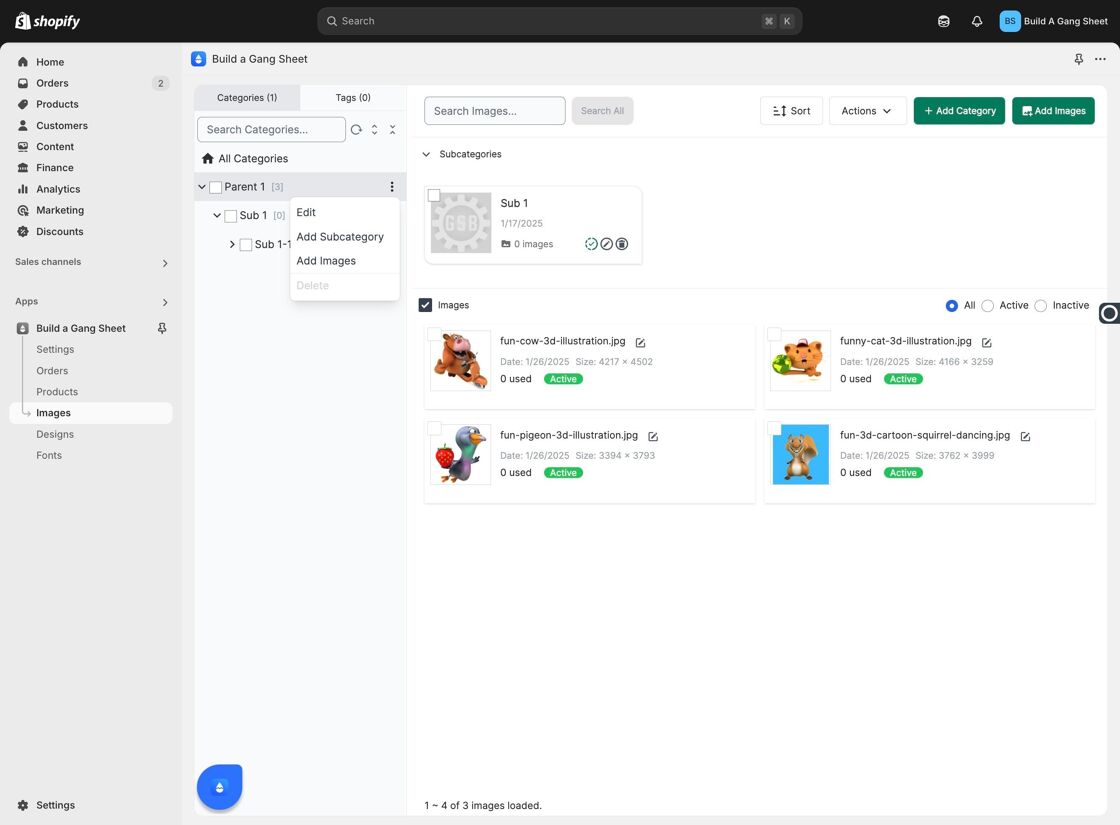
11. Use the Three Dots Menu for More Options
Click the three-dot icon beside each category to edit, add a subcategory, or add more images.
12. Use the Search Bar to Find Images
If your library grows, use Search Images... to quickly locate specific files.

13. Filter Images Using Tags
Use the Search Tags... field to filter images by tag metadata.
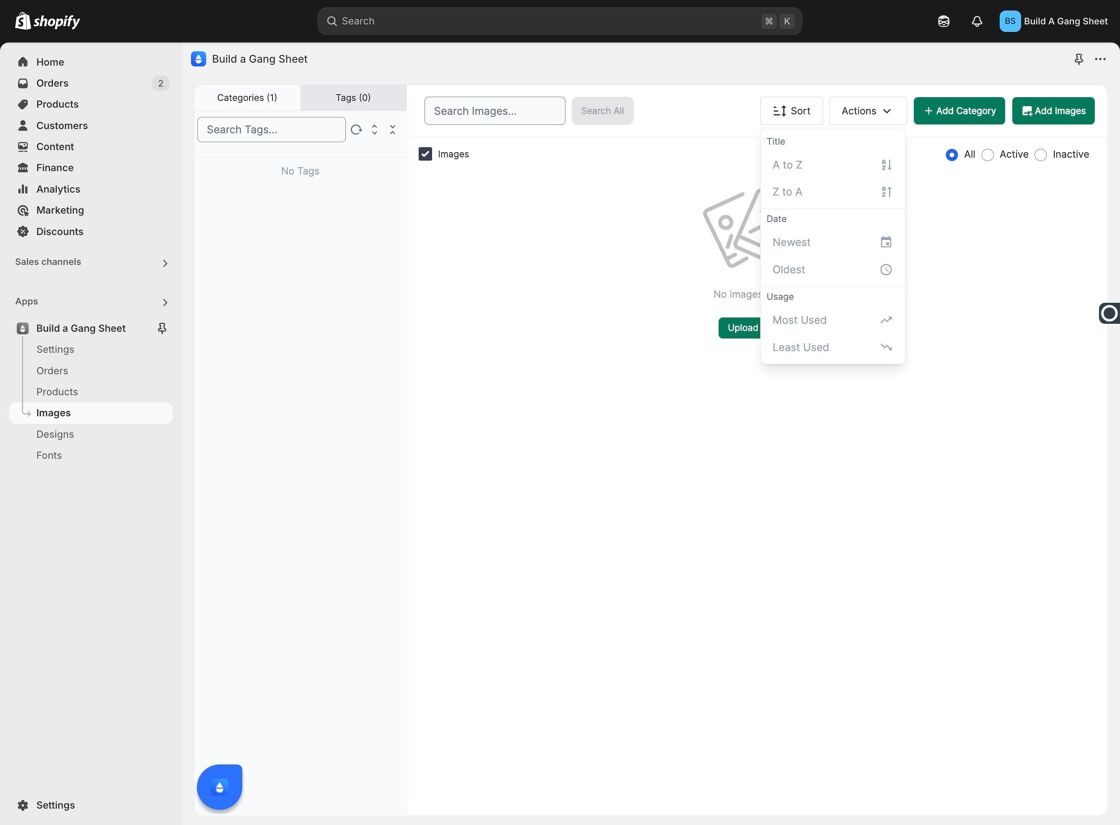
14. Use Sort to Reorganize Images
Click Sort to rearrange images based on your preferred criteria (e.g., newest, alphabetical, etc.).
15. Refresh to View Changes
Click the Refresh button after updates to ensure all changes display correctly.

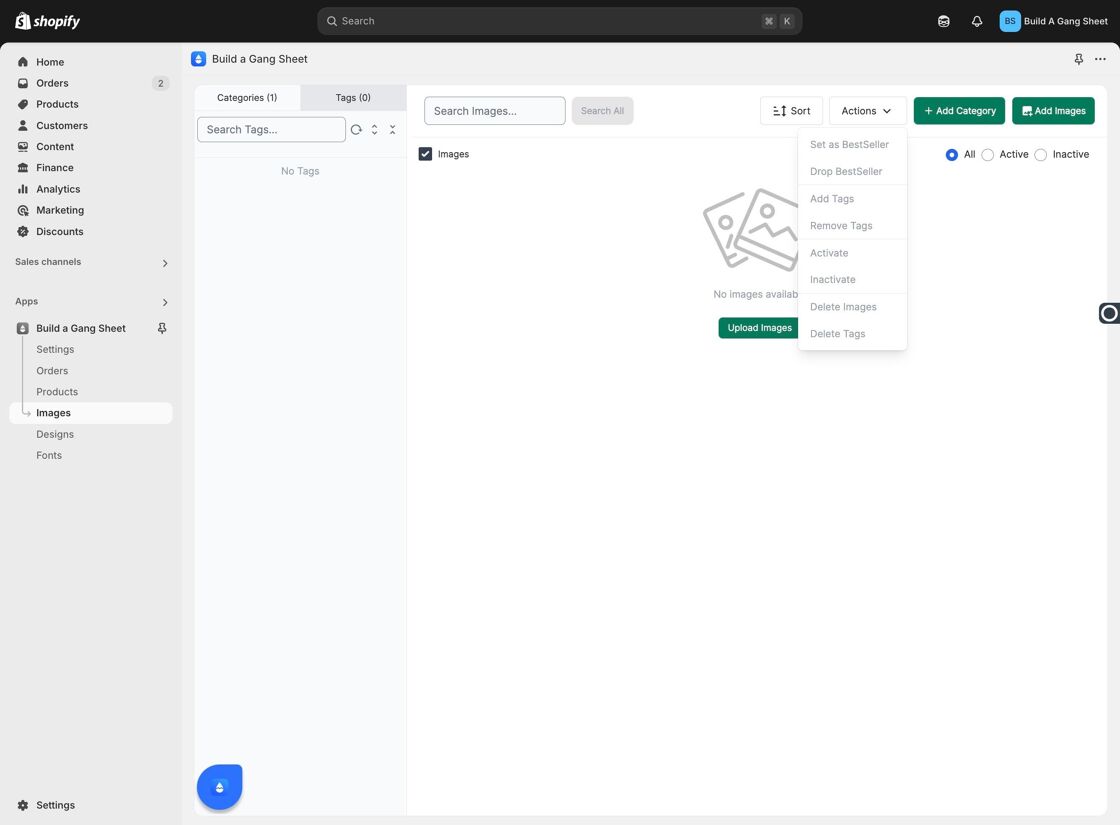
16. Use the Actions Menu to Edit
Click Actions to edit or manage your uploaded images directly from the gallery view.
Tags
images tab, gallery settings, upload images, image categories, color overlay, image management