


Shopify
Builder Settings: Image and Artboard Margin
Fine-tuning image and artboard margins ensures precision and professional output in gang sheet layouts. These margin settings in the "Build A Gang Sheet" app help you define customer spacing, enforce design constraints, and create better results with less manual correction.
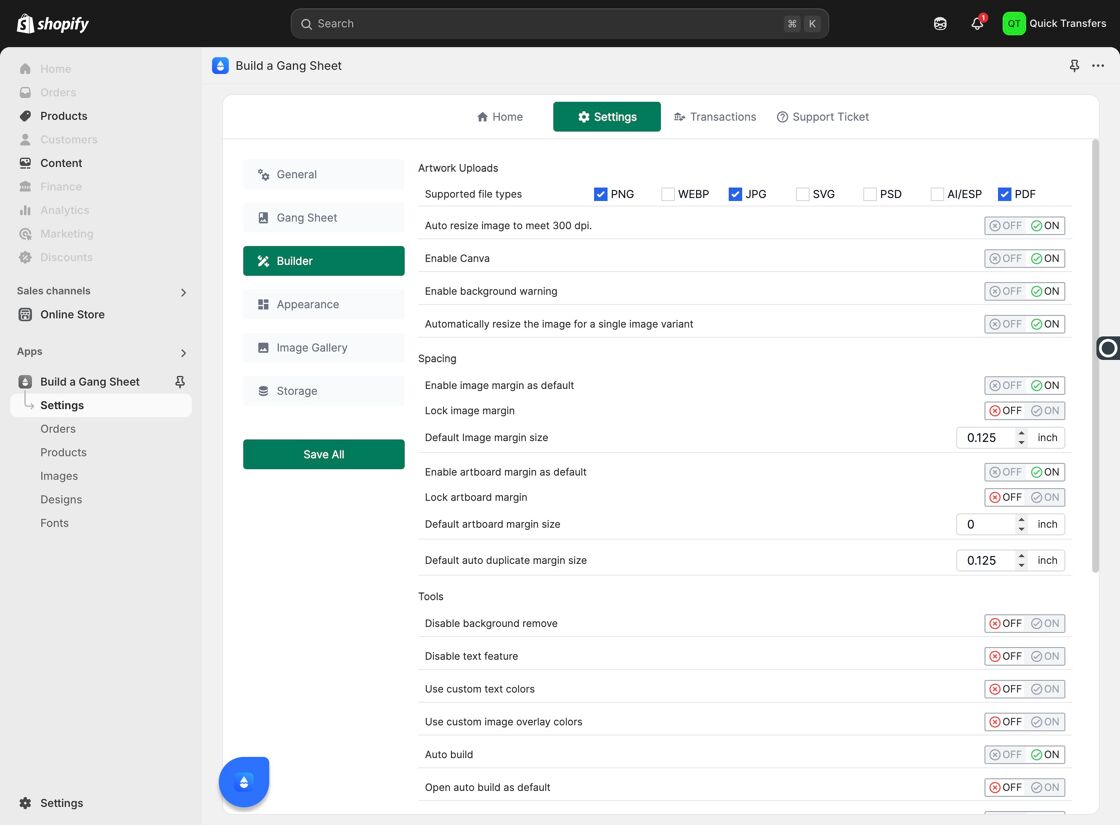
1. Access Builder Settings in Shopify
Go to Apps > Build A Gang Sheet > Settings. Under this panel, you'll find “Supported File Types,” which allows you to define what file formats your customers can upload (e.g., PNG, JPG, SVG).
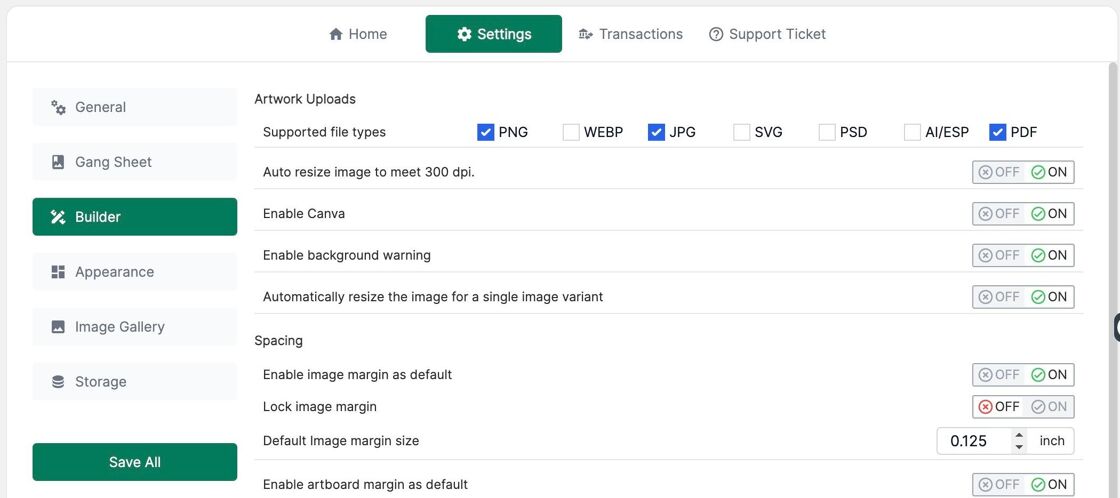
2. Adjust Gang Sheet Spacing
This section lets you control how much spacing is allowed between items on a gang sheet. Customizing this ensures layout flexibility while helping prevent overlap or excessive white space.
3. Set Image Margin (Spacing Between Images)
Image Margin controls the amount of space between individual images placed on the sheet. You can enable this option and define a fixed value to maintain design consistency.
Tip: Lock Image Margin to prevent customers from altering it.

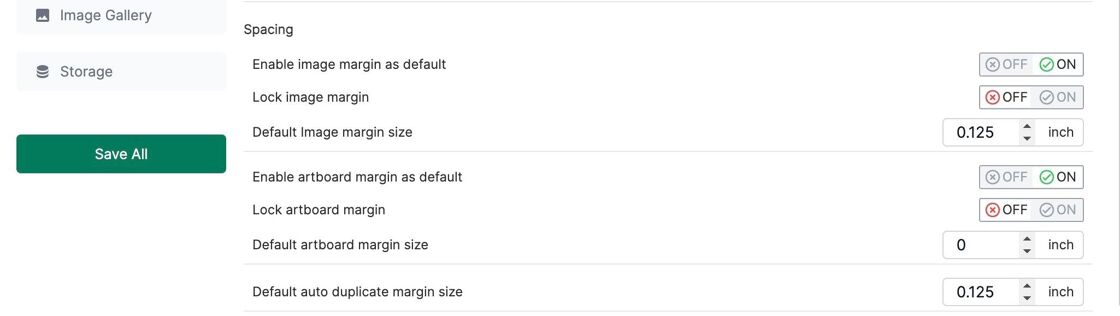
4. Set Artboard Margin (Design to Edge Padding)
Artboard Margin defines the padding between the edge of the gang sheet and the design area. This is helpful to avoid printing right up to the edge or to preserve bleed space.
Tip: Lock Artboard Margin to keep control over the layout dimensions.
Why Margin Settings Matter
- Ensure consistent spacing between design elements.
- Prevent overlap or cutoff issues during printing.
- Preserve visual balance and alignment in the final sheet.
- Maintain control over customer-generated layouts.
Tags
builder settings, image margin, artboard margin, gang sheet spacing, Shopify app, Build A Gang Sheet