


Wordpress
Image Gallery Tab in Gang Sheet App
Learn how to upload, categorize, tag, and manage design images for your Gang Sheet application. This guide walks you through managing the image gallery tab step-by-step.
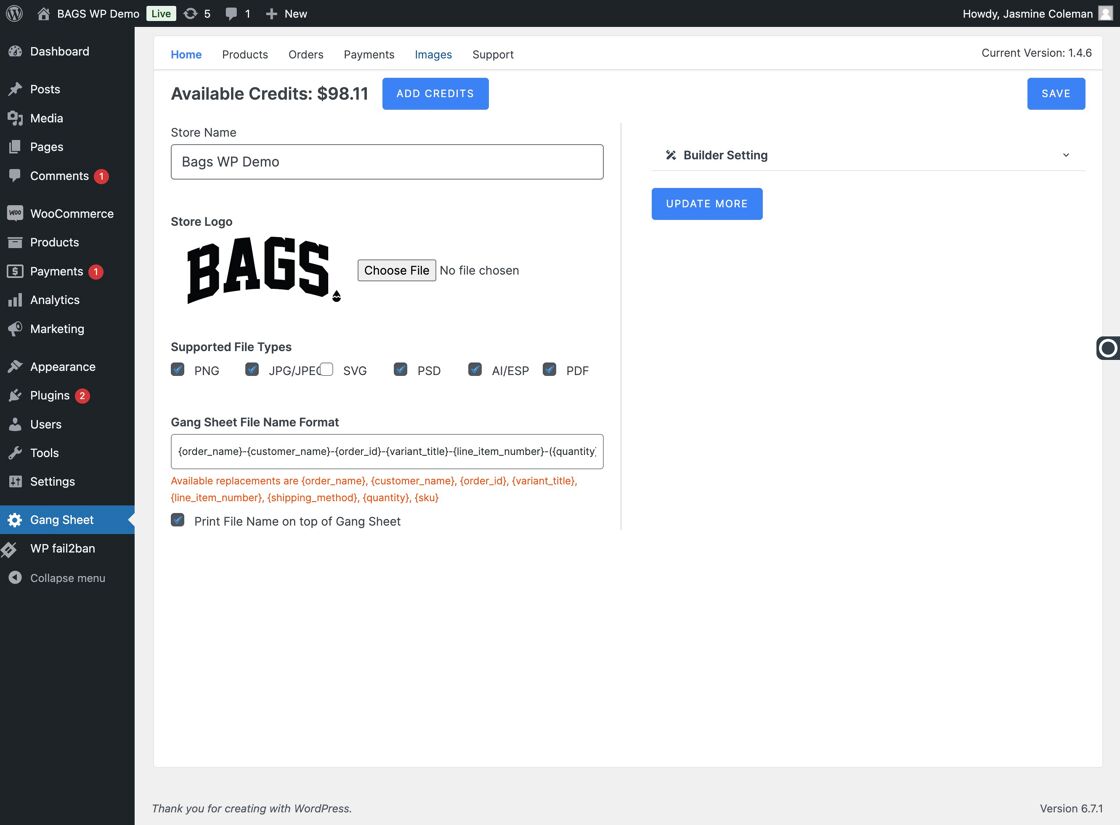
1. Access Image Gallery
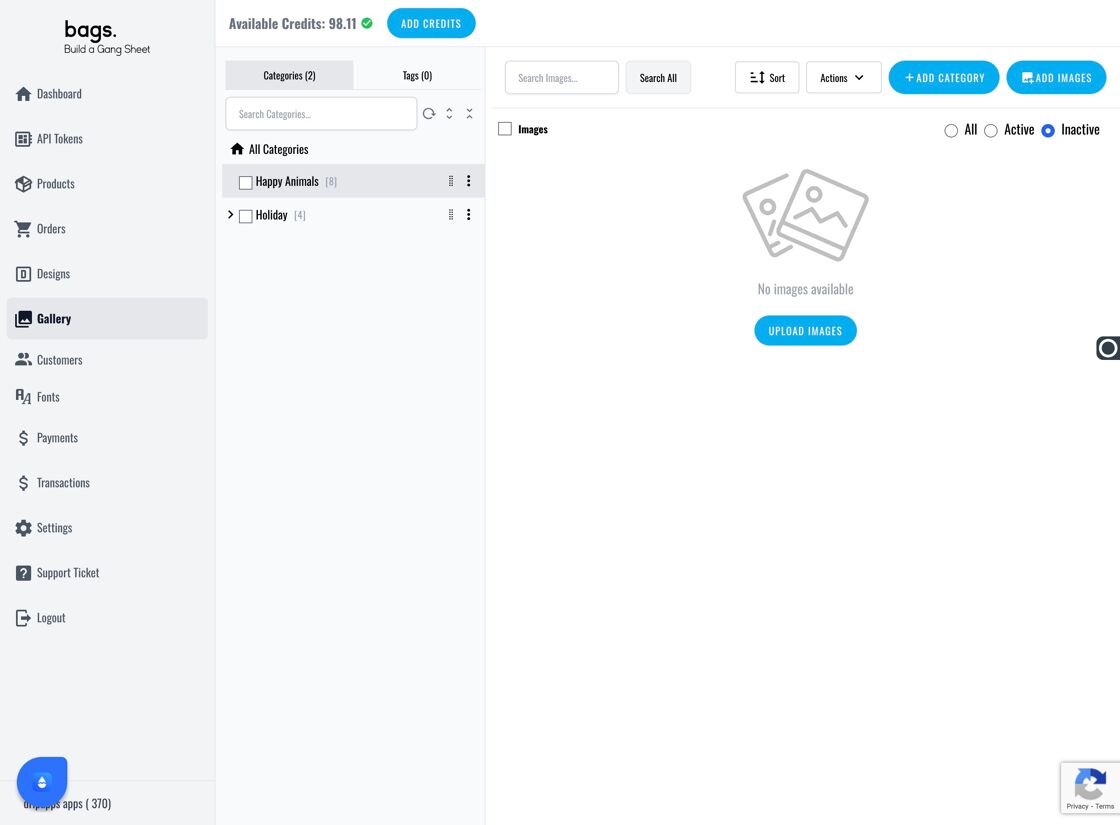
Click on Gang Sheet to reveal the Images section.
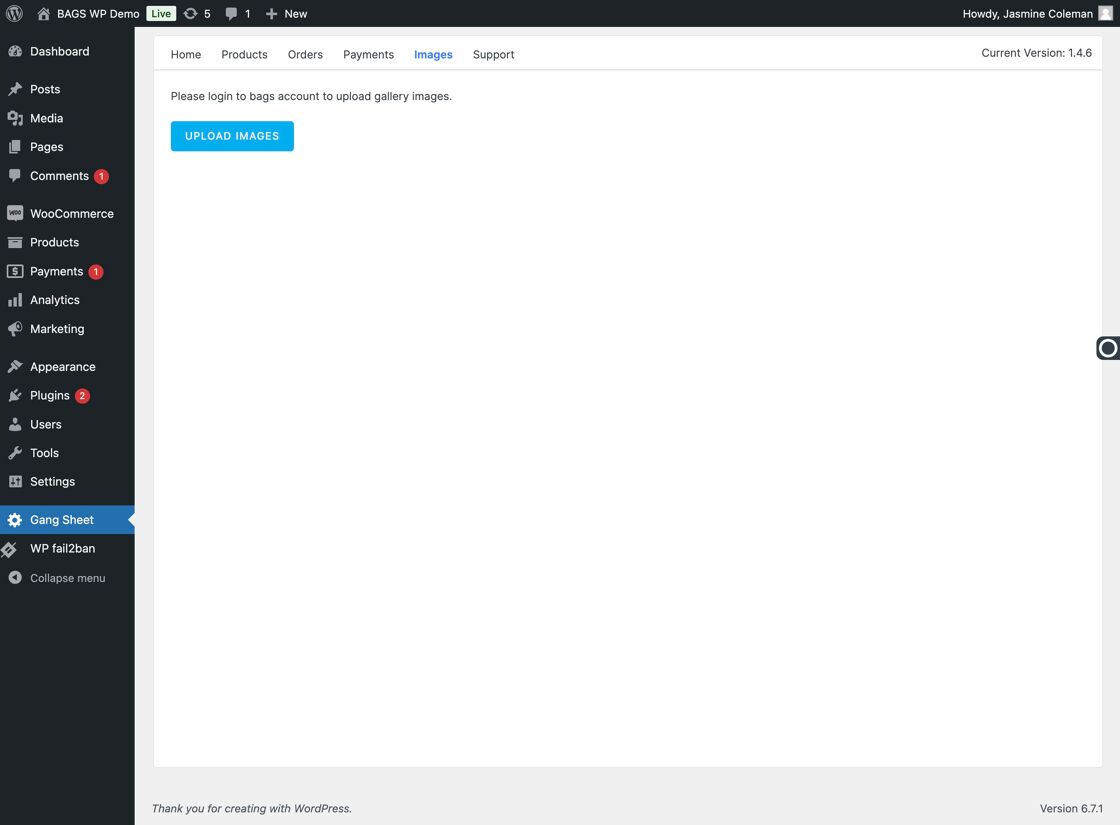
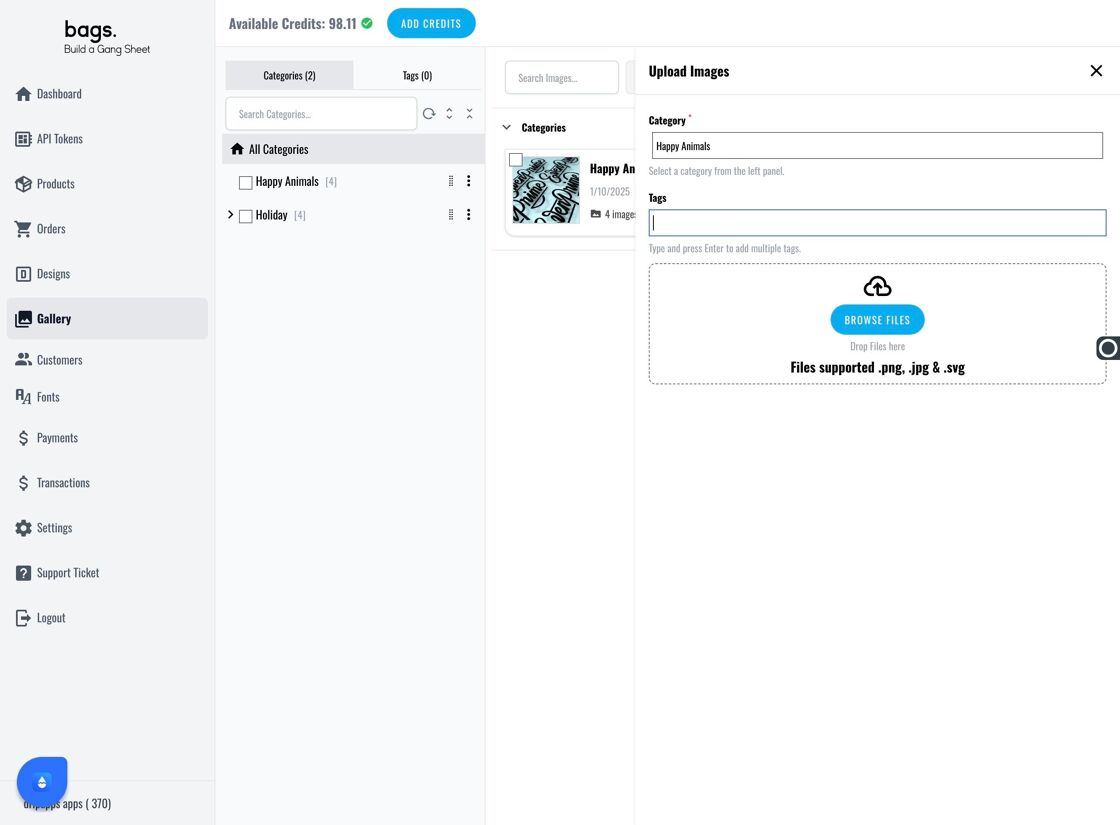
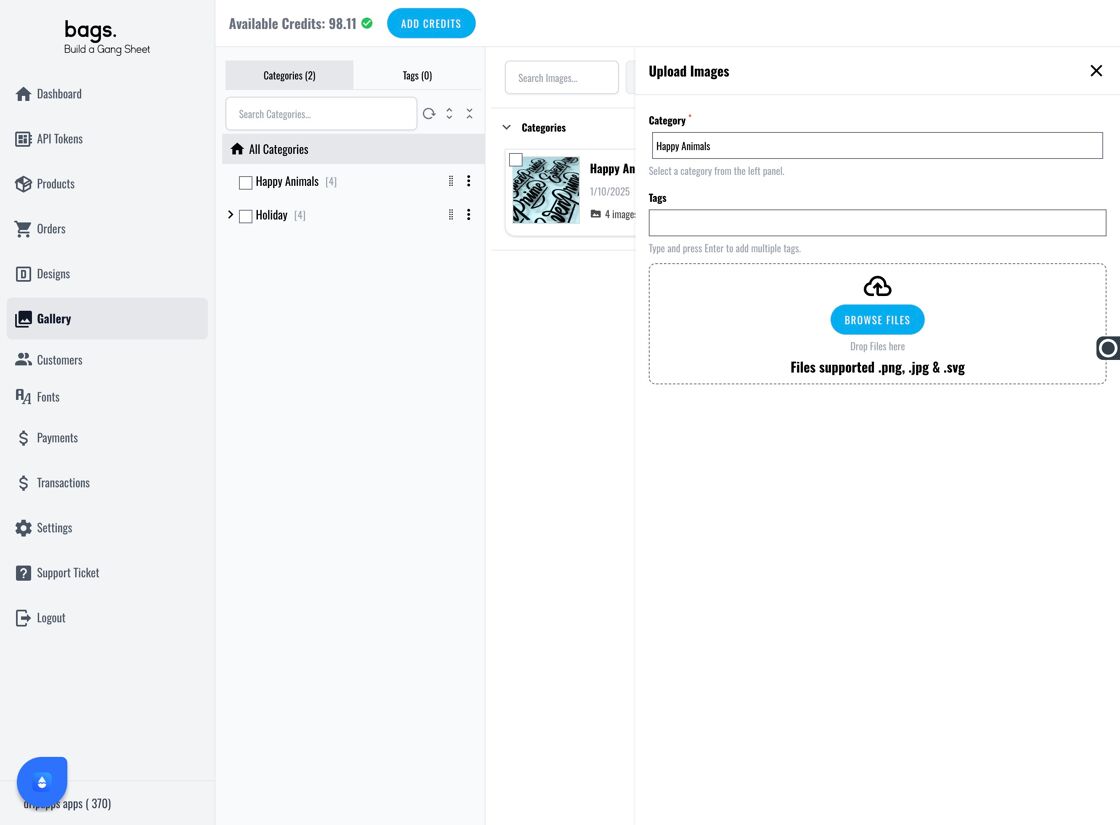
2. Upload New Images
Click Upload Images to begin uploading assets to make them available for customers.
3. Navigate to the Gallery Tab

4. Add a Category
Click Add Category and enter a meaningful name for the group of designs.

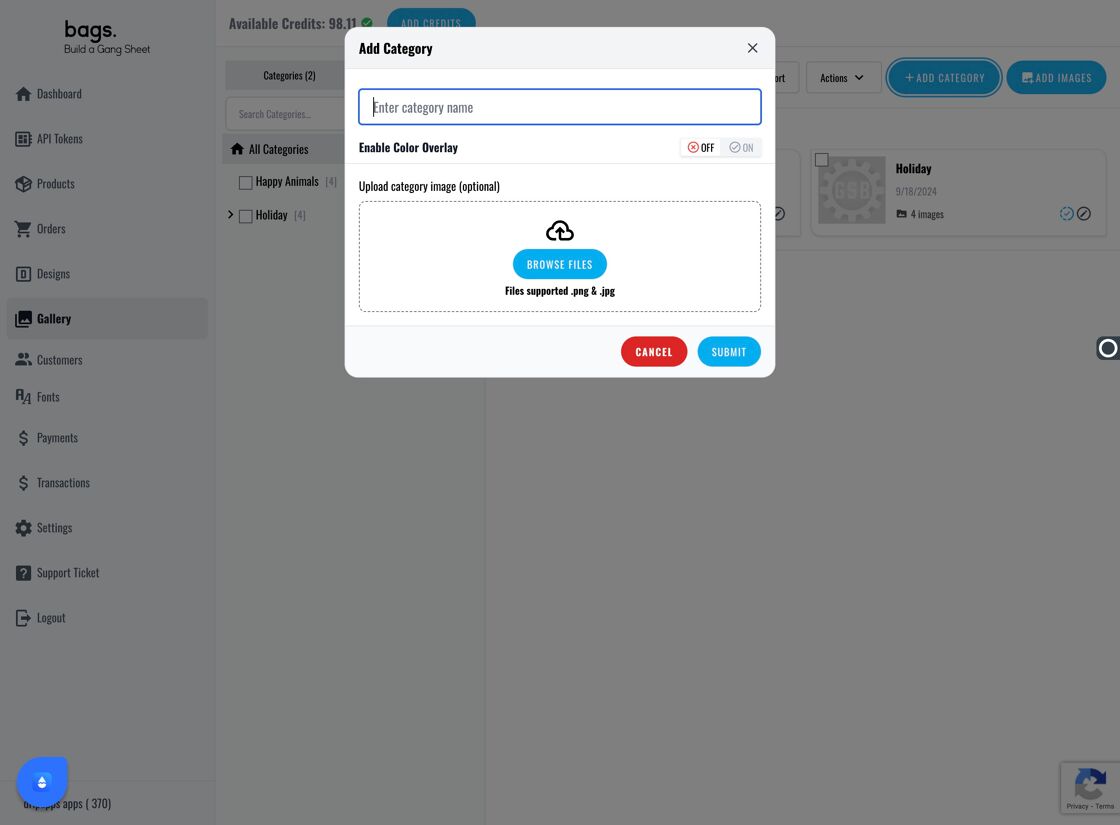
5. Configure Overlay & Cover
Enable Color Overlay and select a cover image for the category.


6. Add Images to Categories
Click Add Images, choose your category, and apply relevant tags to the designs.


7. Bulk Upload Images
Use the Browse Files button to upload up to 100 images at once. The platform supports unlimited data.
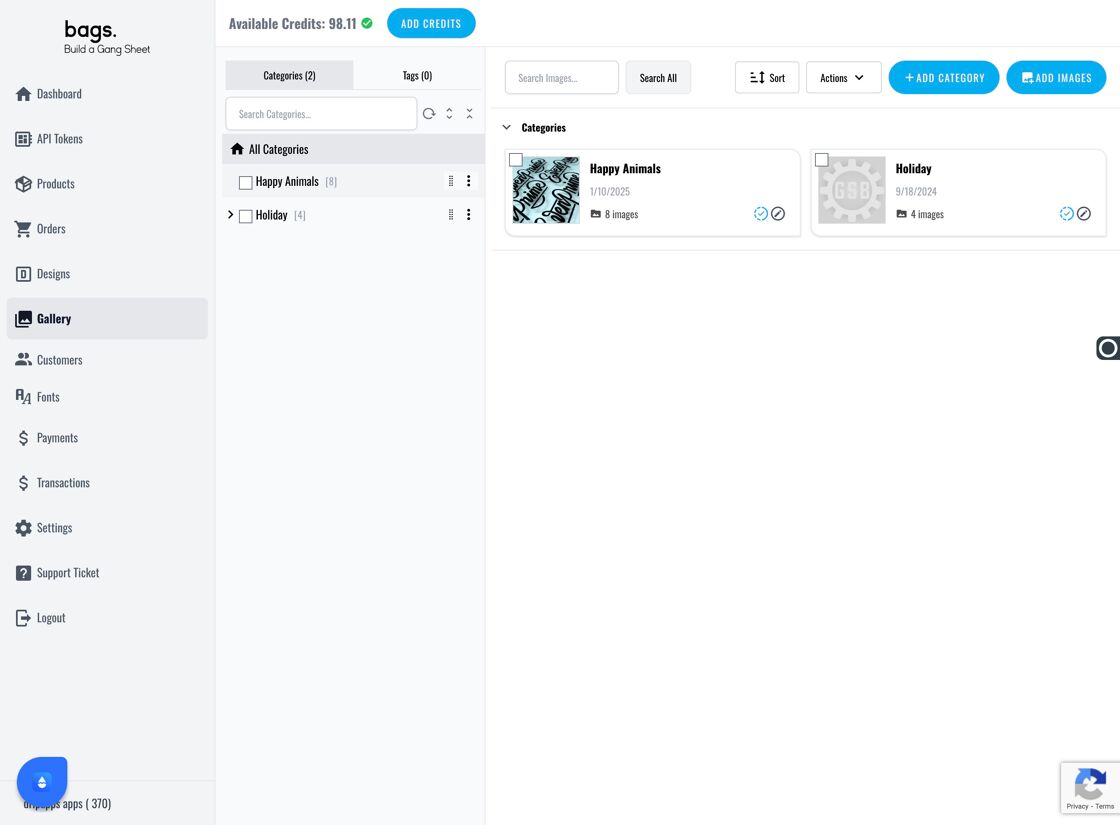
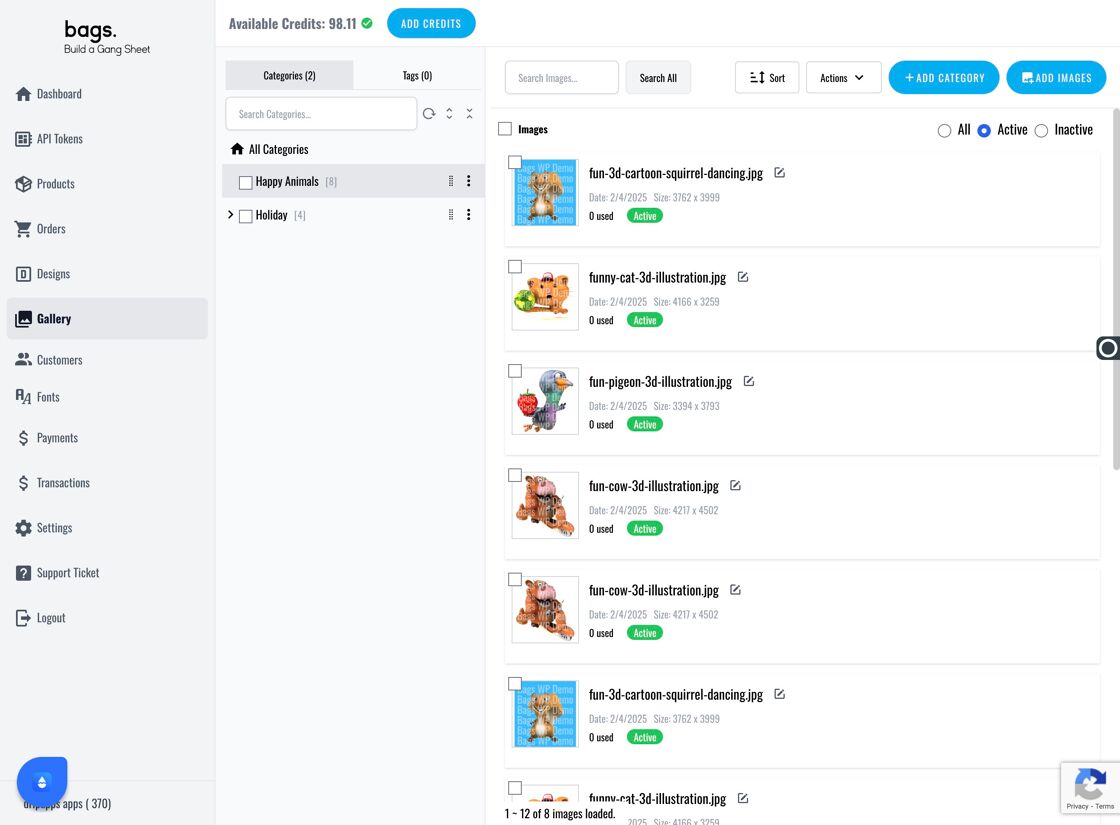
8. View and Organize Uploaded Designs
You can now view your designs under their category, filter them by Active, Inactive, or All, and use various tools to manage them.
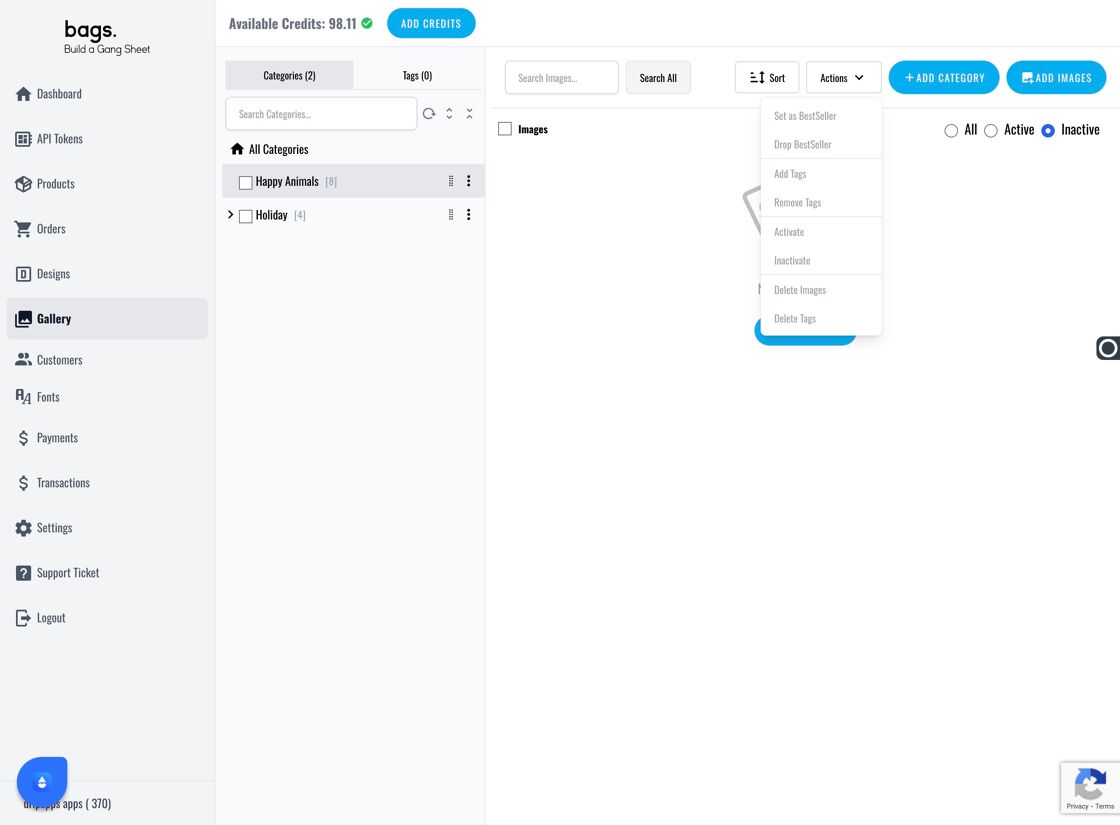
9. Use Actions Panel
The Actions dropdown allows you to:
- Set or drop bestseller
- Add/remove tags
- Activate/inactivate images
- Delete images or tags
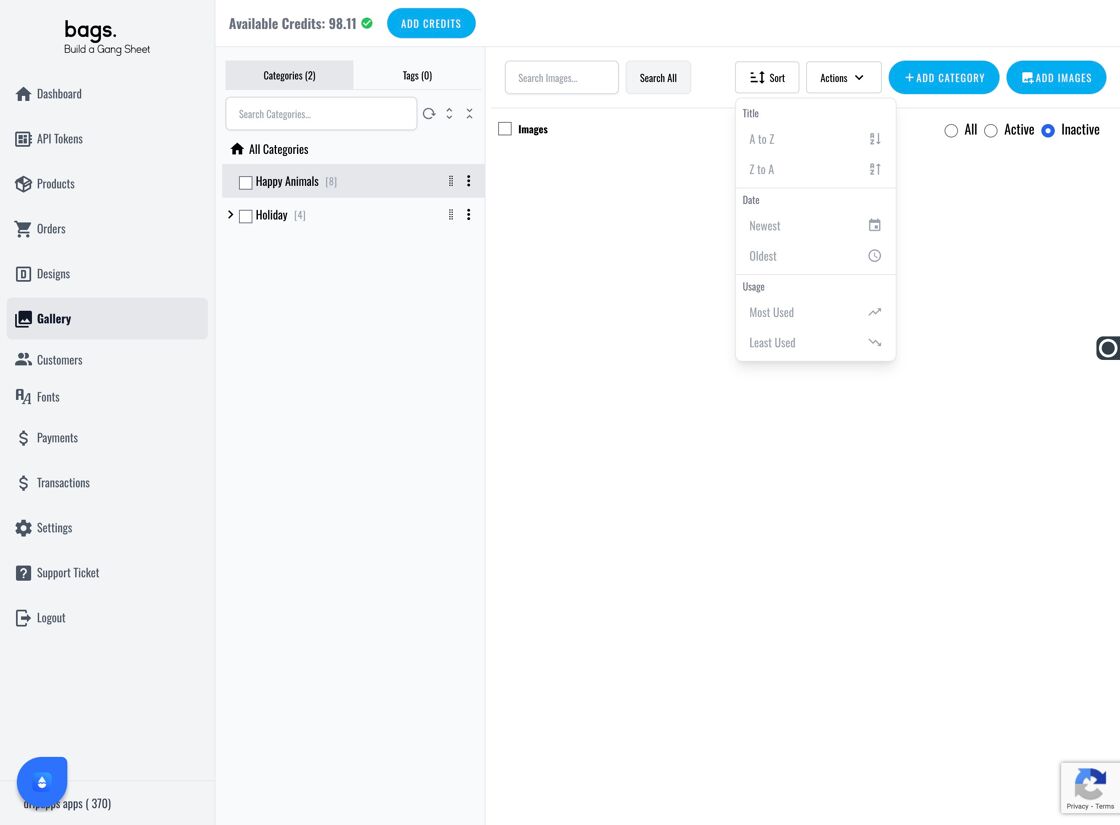
10. Sort and Search
Use Sort to reorganize image order, or search via the Search Images... bar.

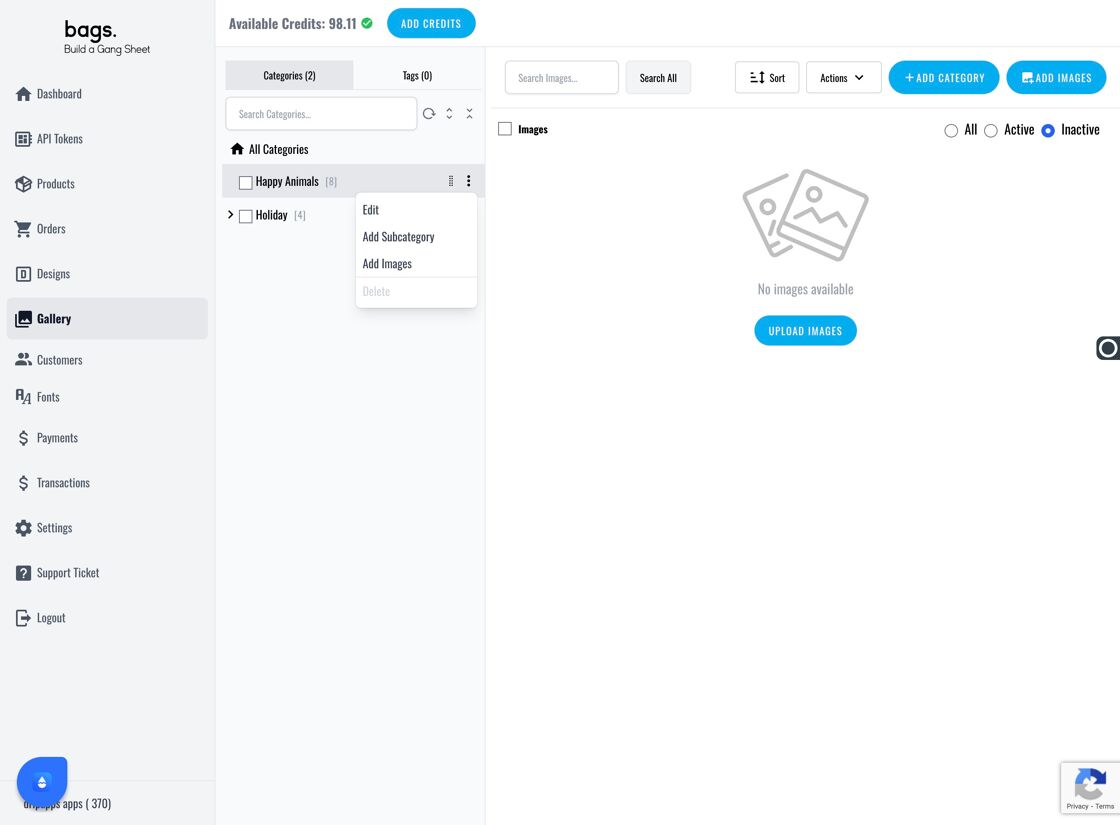
11. Edit Categories
Click the three dots on a category to edit, add subcategories, or upload more images to that category.

12. Search by Tags
You can also locate specific designs by searching for their associated tags.
Tags
image gallery, gang sheet app, upload images, customer design selection, design organization, bulk upload