


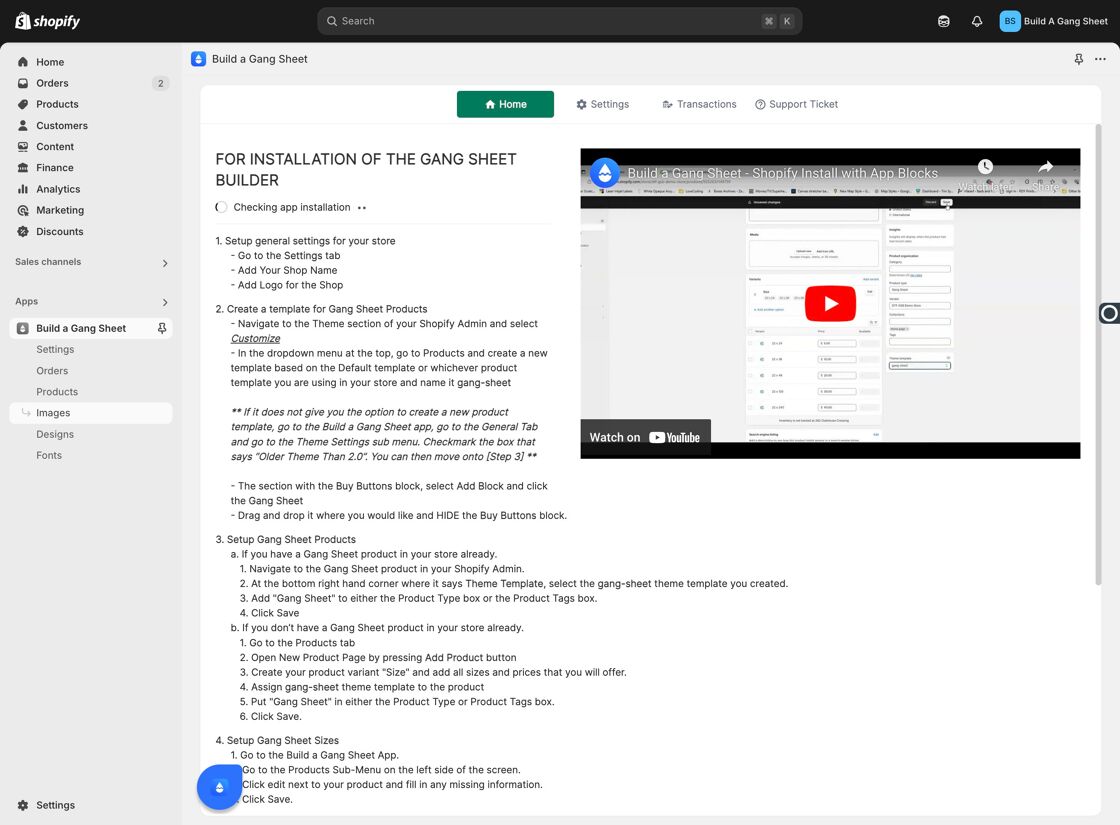
Shopify
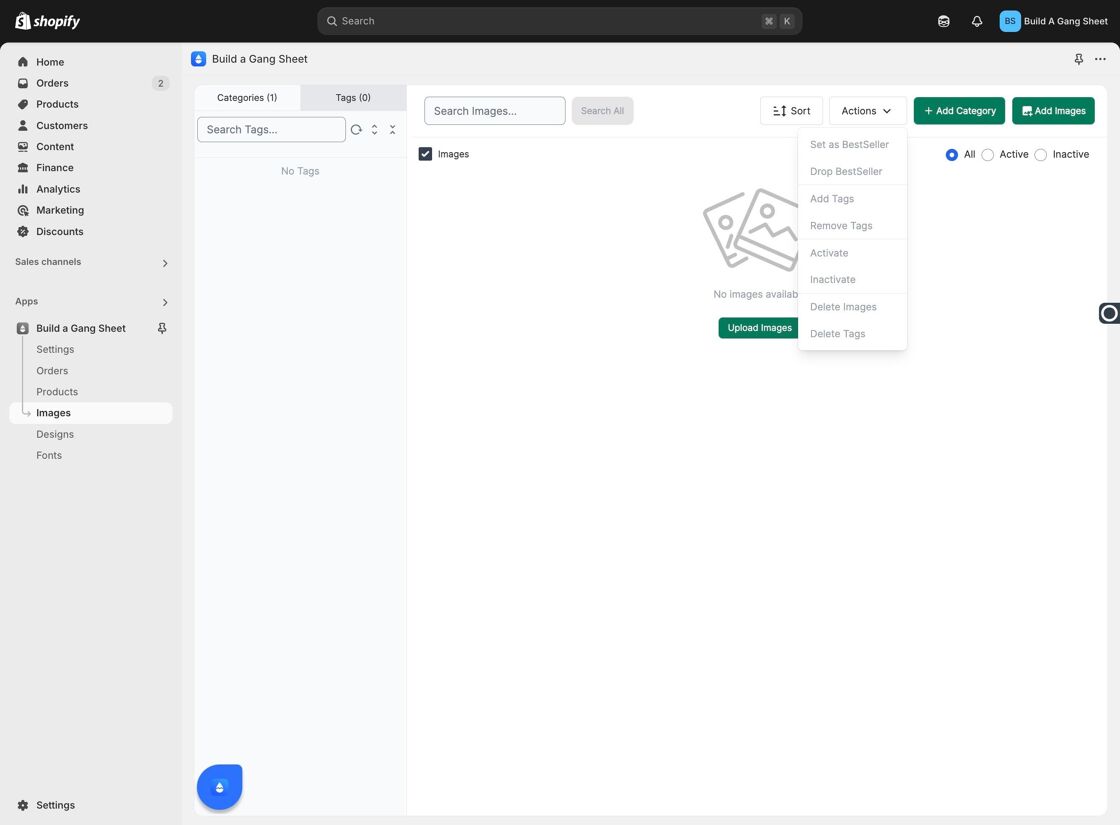
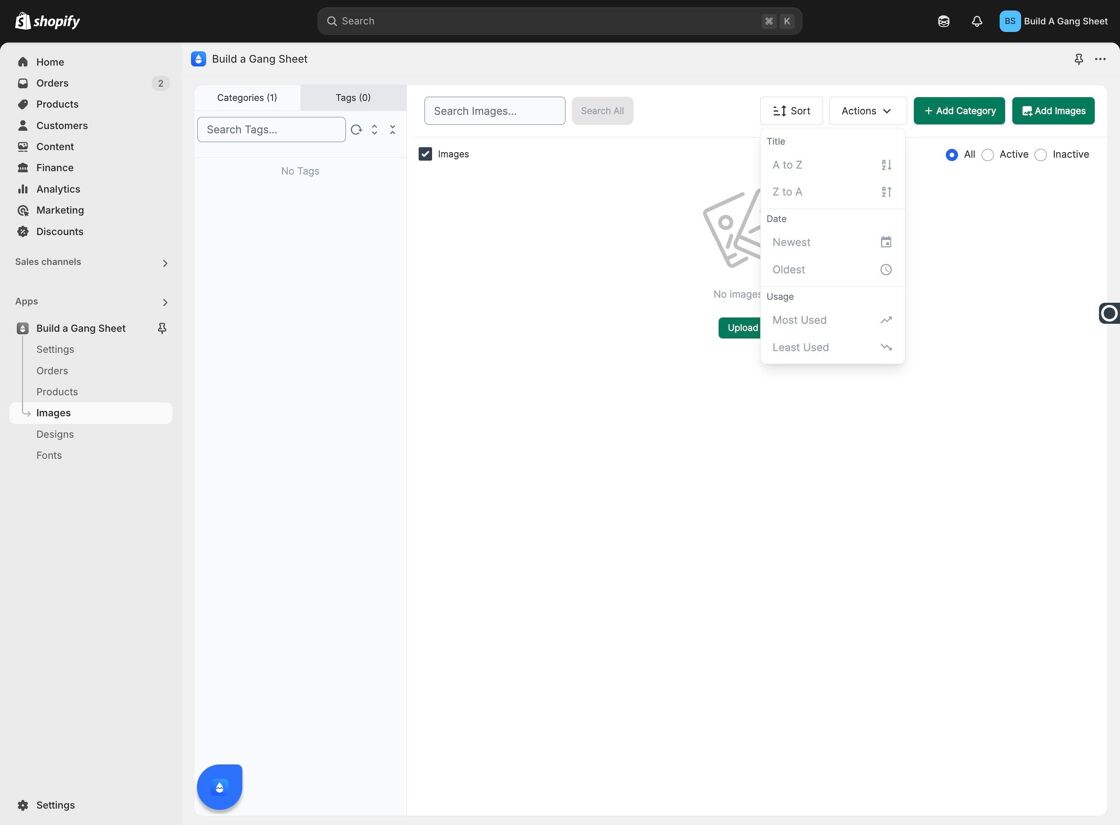
Images: Actions Buttons
The Actions button in the Images tab provides powerful options to manage your uploaded images. Whether you need to edit, rename, replace, or perform batch operations, this feature helps streamline your gallery workflow. Here's how to use the Actions menu effectively.
1. Navigate to the Images Tab
From the Shopify builder, click on the Images tab to access your image gallery and begin organizing content.
2. Use the Actions Button
Click on the Actions button next to an image or selected group of images. This opens a menu that lets you perform edits directly within the image gallery—such as updating titles, toggling status, assigning categories, or deleting unwanted assets.
3. Refresh to Confirm Changes
After using any Actions menu tool, click the Refresh button to ensure your changes are reflected in the live view. This helps sync recent updates across your builder session.
Why Use the Actions Button?
- Simplifies gallery management with quick-edit controls.
- Reduces the need to navigate away from your current workspace.
- Enables bulk operations for faster workflow on large galleries.
Tags
images tab, actions menu, image management, gallery editing, Shopify image tools