


Shopify
Fonts Settings: How to Add Fonts
This guide will walk you through the process of adding new fonts to your Shopify-based "Build A Gang Sheet" app. You can upload custom font files or search and select from an existing font library to give your customers more creative control.
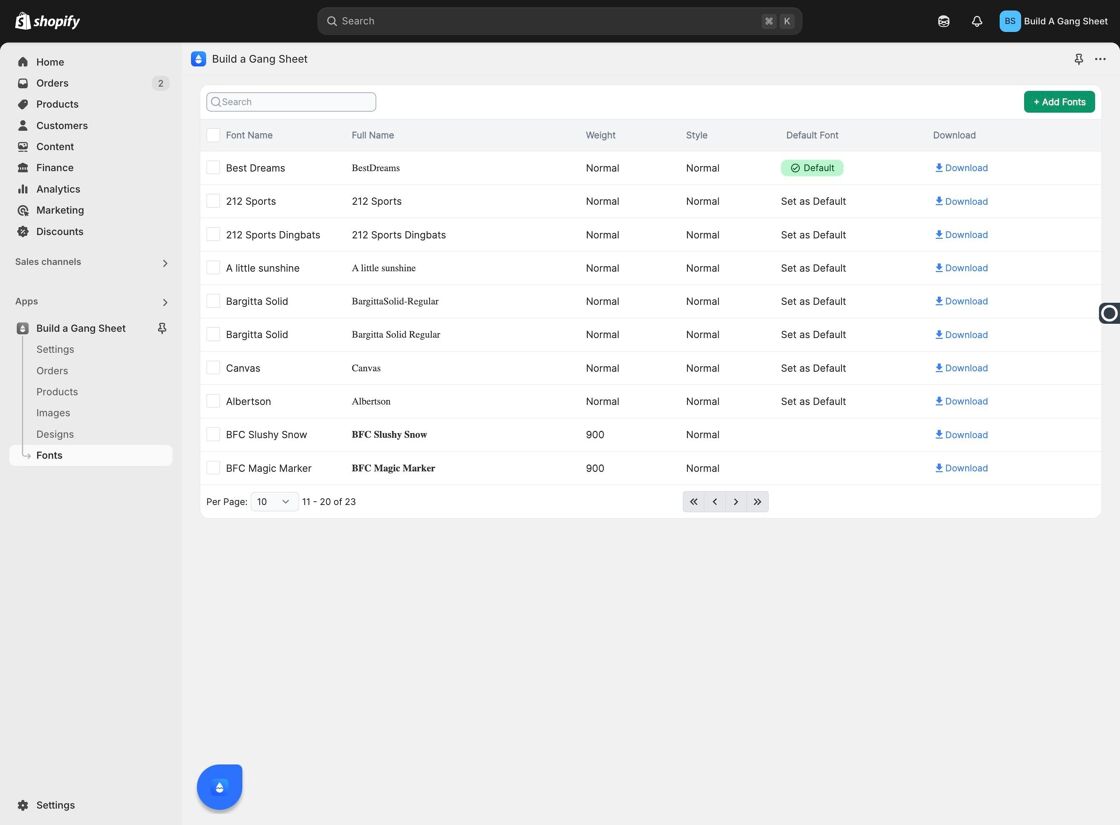
1. Navigate to Fonts Settings
Go to Apps > Build A Gang Sheet > Fonts.
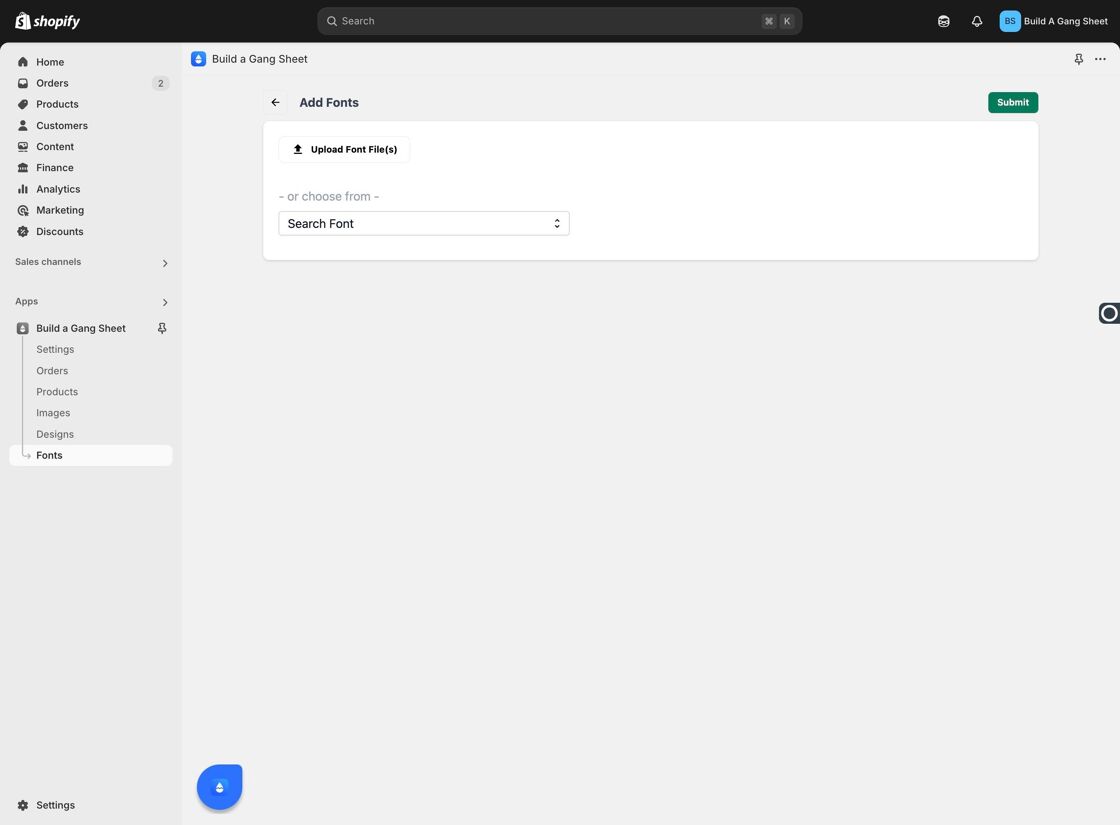
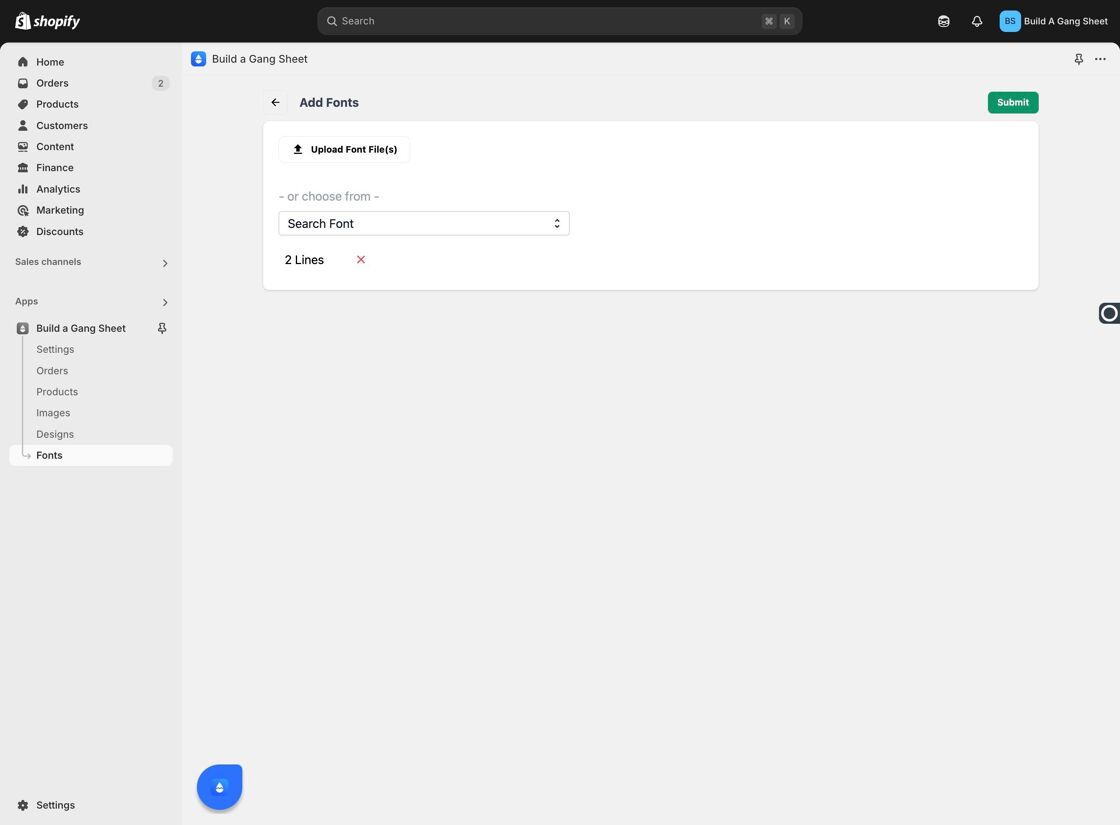
2. Upload or Search for Fonts
You can either upload your own font files or use the "Search Font" option to select from the preloaded font database.

3. Submit Your Font Selection
Once you've selected or uploaded your desired fonts, click "Submit" to apply them to your app environment.
4. Use the Search Field
If you're having trouble locating a specific font, use the "Search" field to find it quickly by name.
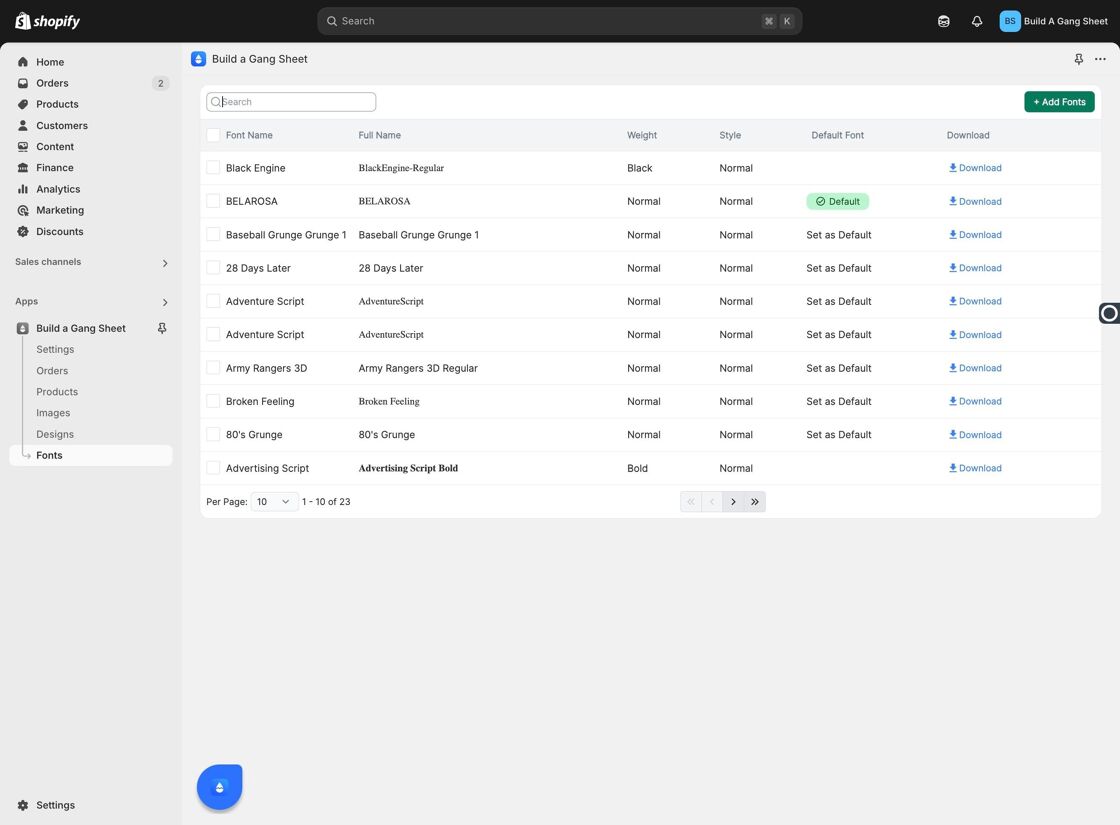
5. Download Fonts Locally
You also have the option to download fonts directly from the app if you need to preview or reuse them elsewhere.
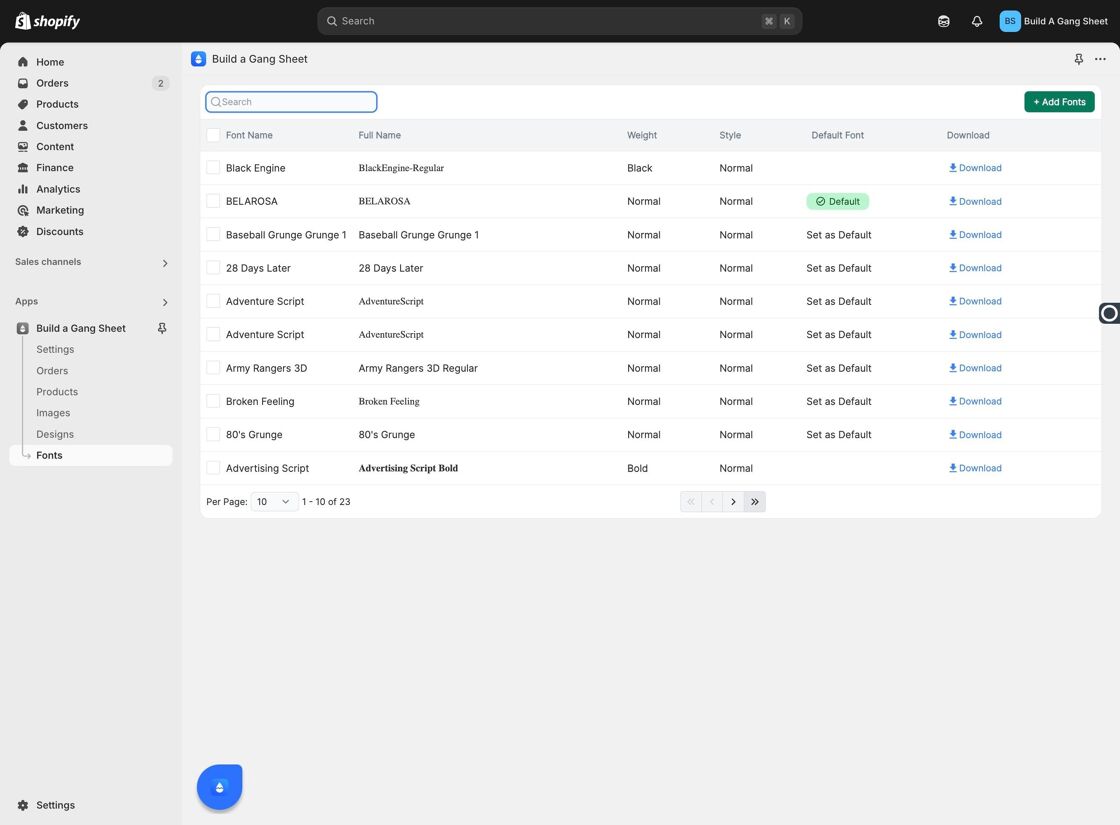
6. Add More Fonts
If you discover additional fonts that you want to make available to your customers, simply click the "+ Add Fonts" button.
Why Use Custom Fonts?
- Enhances your store's branding by offering unique typefaces.
- Gives customers a broader range of design options for personalization.
- Simplifies workflow by centralizing font options within the builder app.
Tags
fonts, builder settings, custom fonts, gang sheet, upload fonts, Shopify