


Shopify
Builder Settings: Open Auto Build As Default
The Open Auto Build As Default setting ensures that selected products always default to Auto Build mode. This simplifies the user experience by removing manual placement options and guiding customers directly into automated design generation. Follow the steps below to activate and configure this feature for specific products.
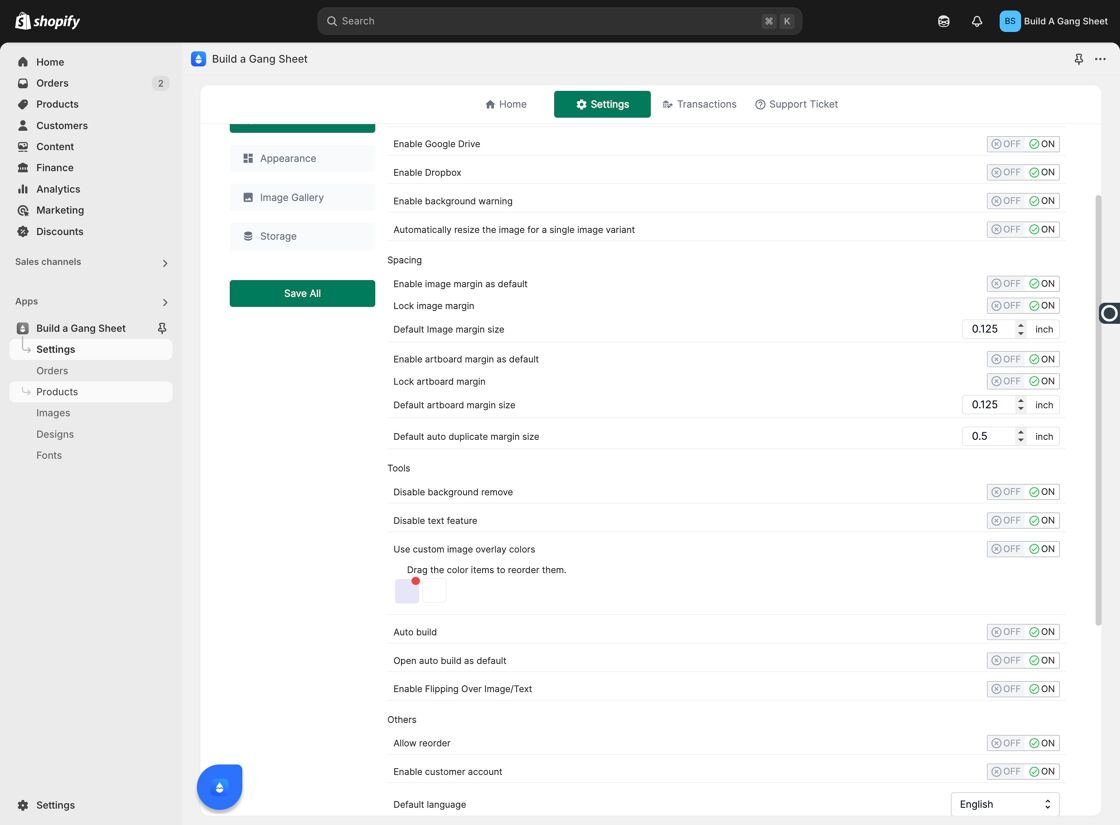
1. Click "Settings"
From the Shopify admin, begin by going into the BAGs app and selecting the Settings tab to access your builder configurations.
2. Enable "Open Auto Build As Default"
Within the Builder section, locate the setting labeled "Open Auto Build As Default". Turning this on will configure any product using this setting to automatically open the Auto Build interface, skipping the manual builder view.
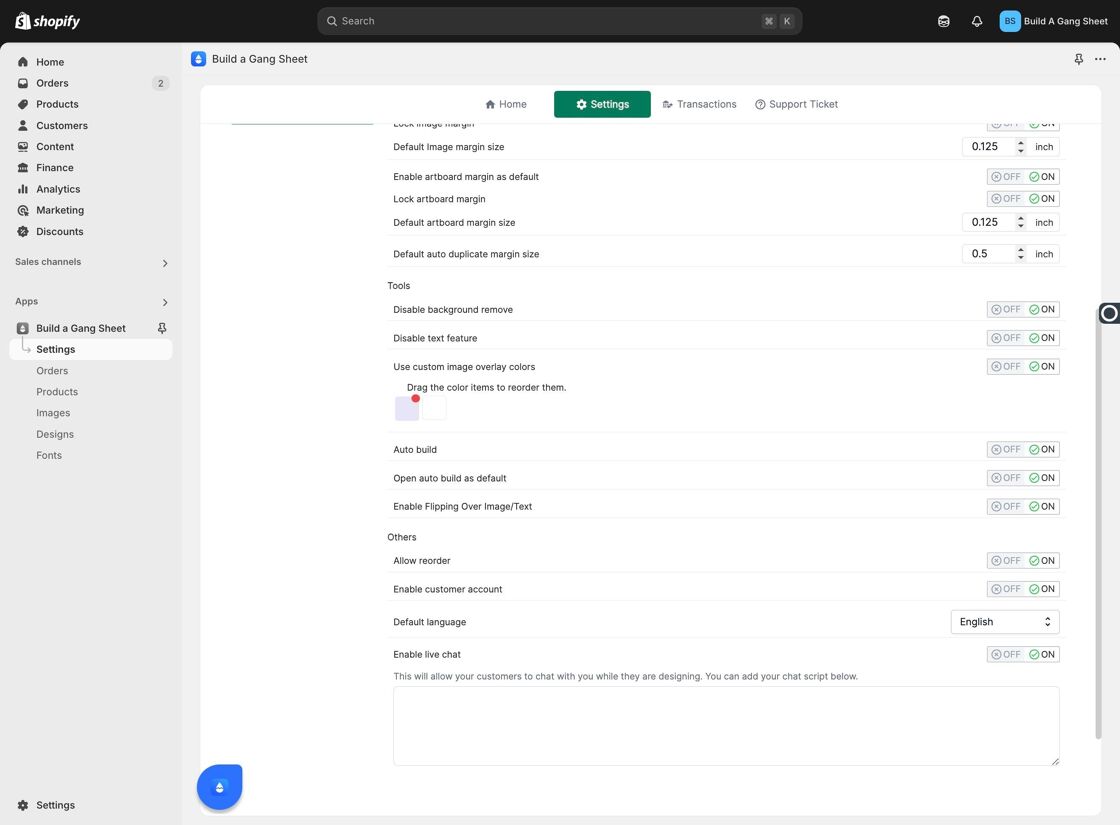
3. Click "Save All"
Once enabled, be sure to click Save All to confirm your changes.

4. Go to "Products"
Next, navigate to the Products section in your dashboard to enable the feature for individual items.
5. Click "Edit" on Desired Product
Select the Edit button next to the product for which you want to make Auto Build the default mode.
6. Go to Product Settings
Inside the product editor, click on the Settings tab to view and enable Auto Build settings.
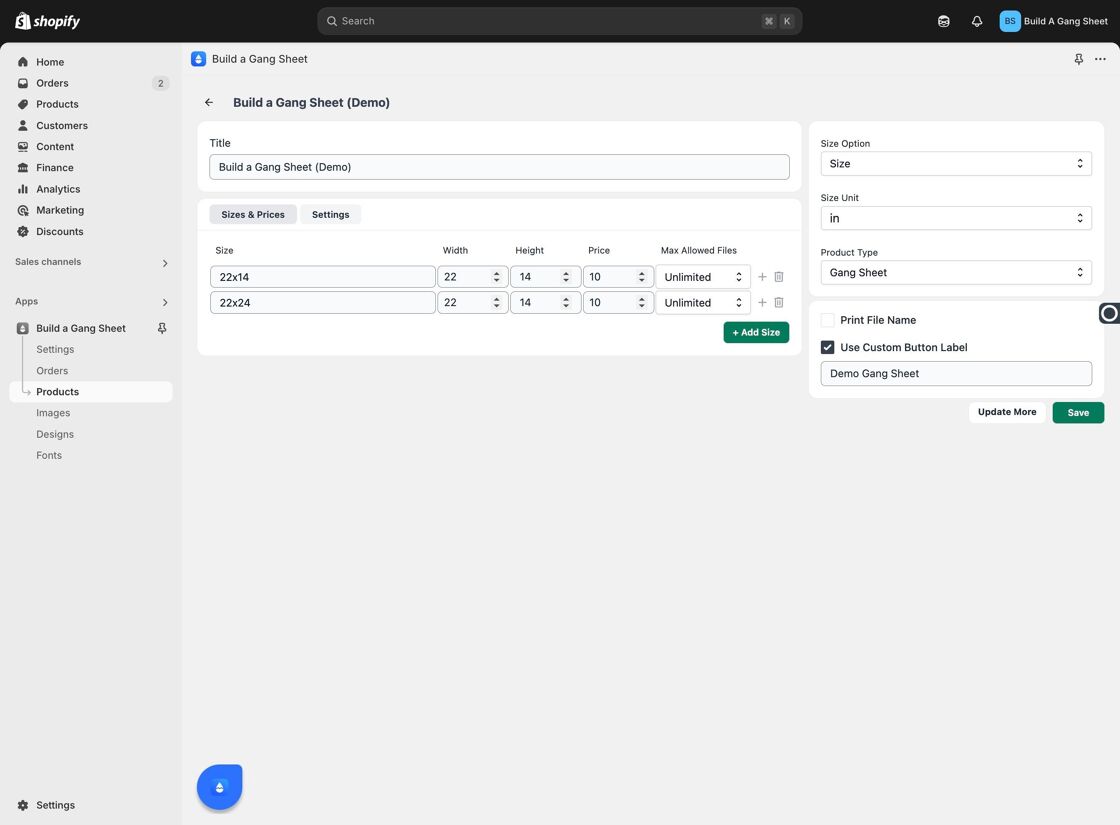
7. Enable Auto Build by Default
Locate the option "Open Auto Build As Default" and turn it ON for the specific product.
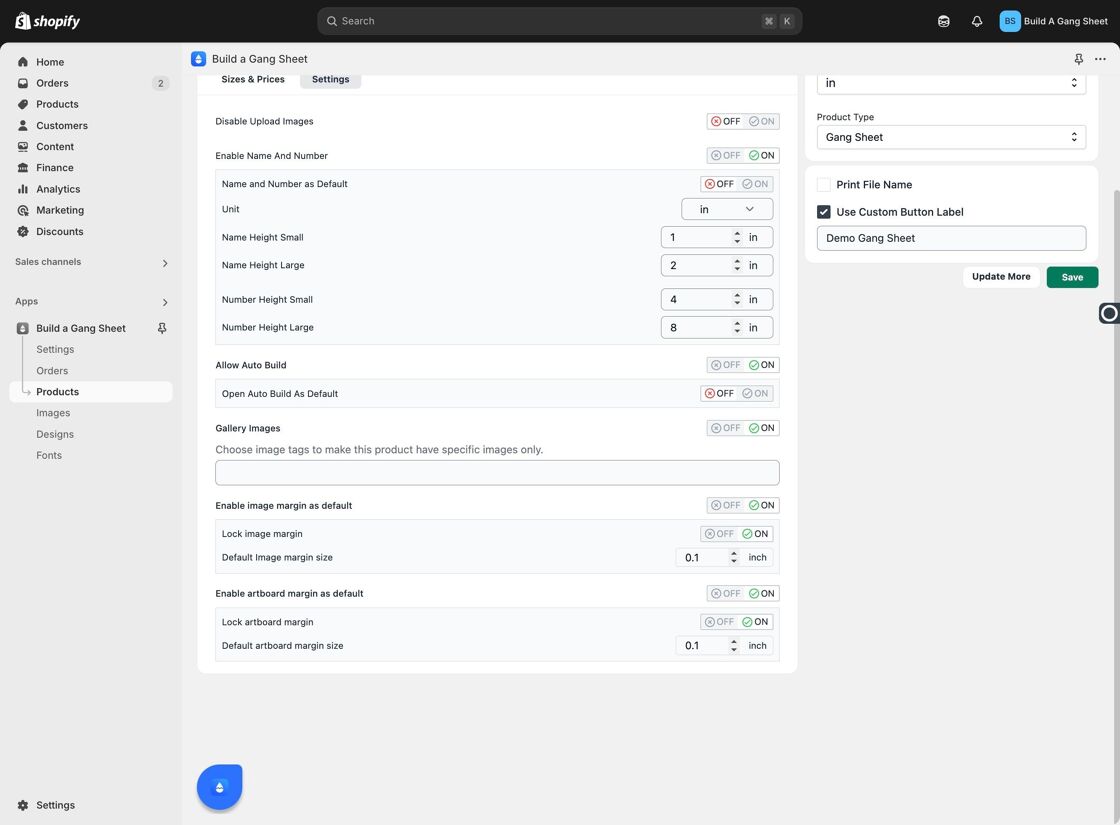
8. Click "Save"
Click the Save button to confirm the setting for this product.
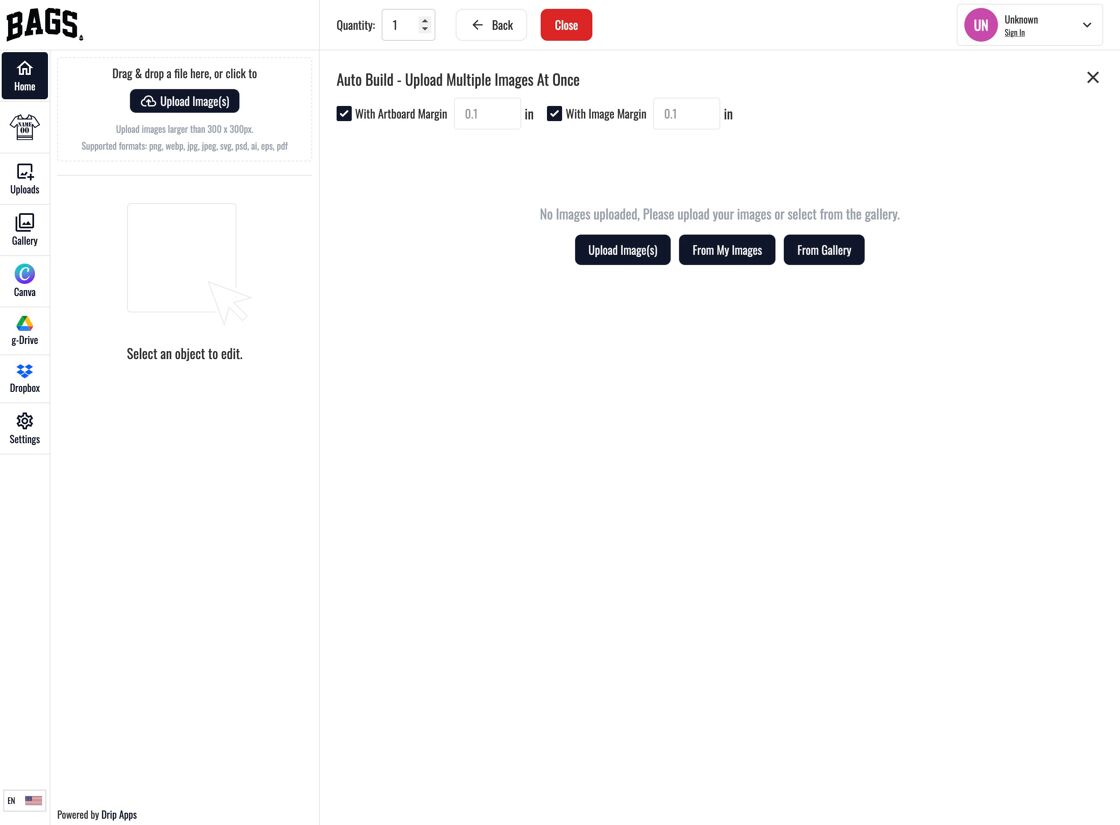
9. Preview the Auto Build Experience
You can now preview the experience for yourself by navigating to that product's live page and clicking on Build a Gang Sheet.
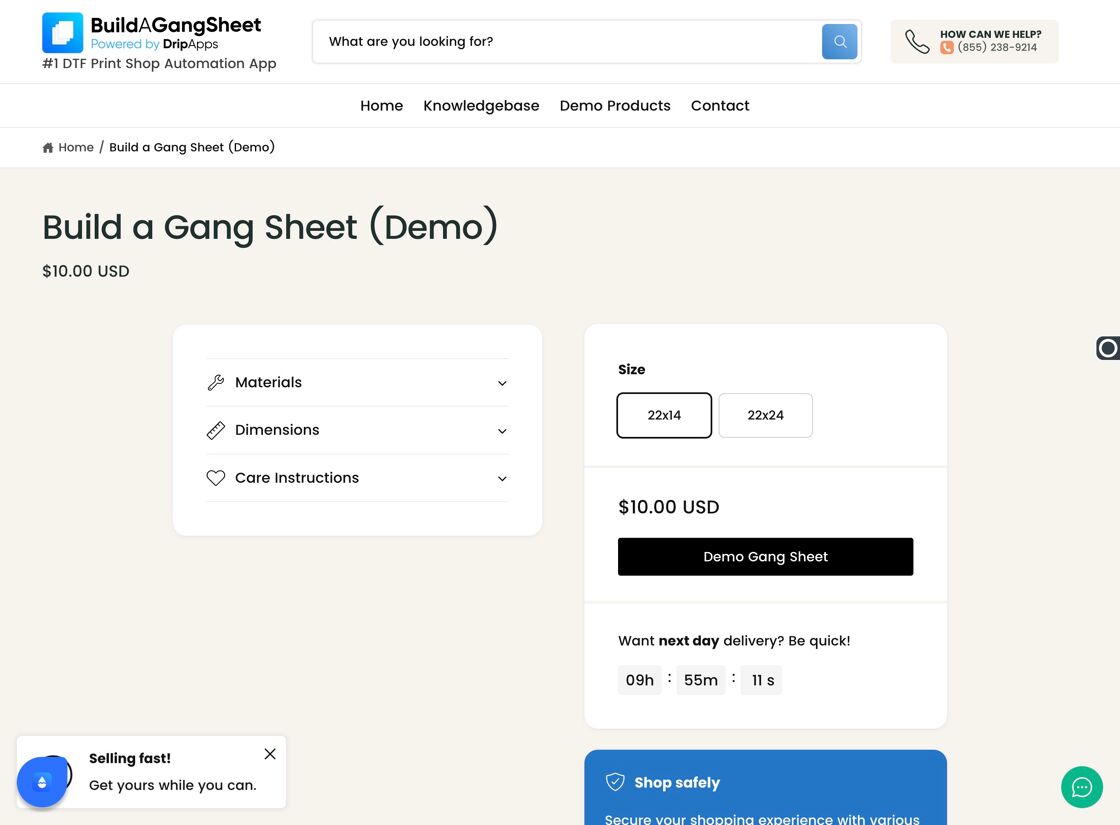
10. Customers See Auto Build First
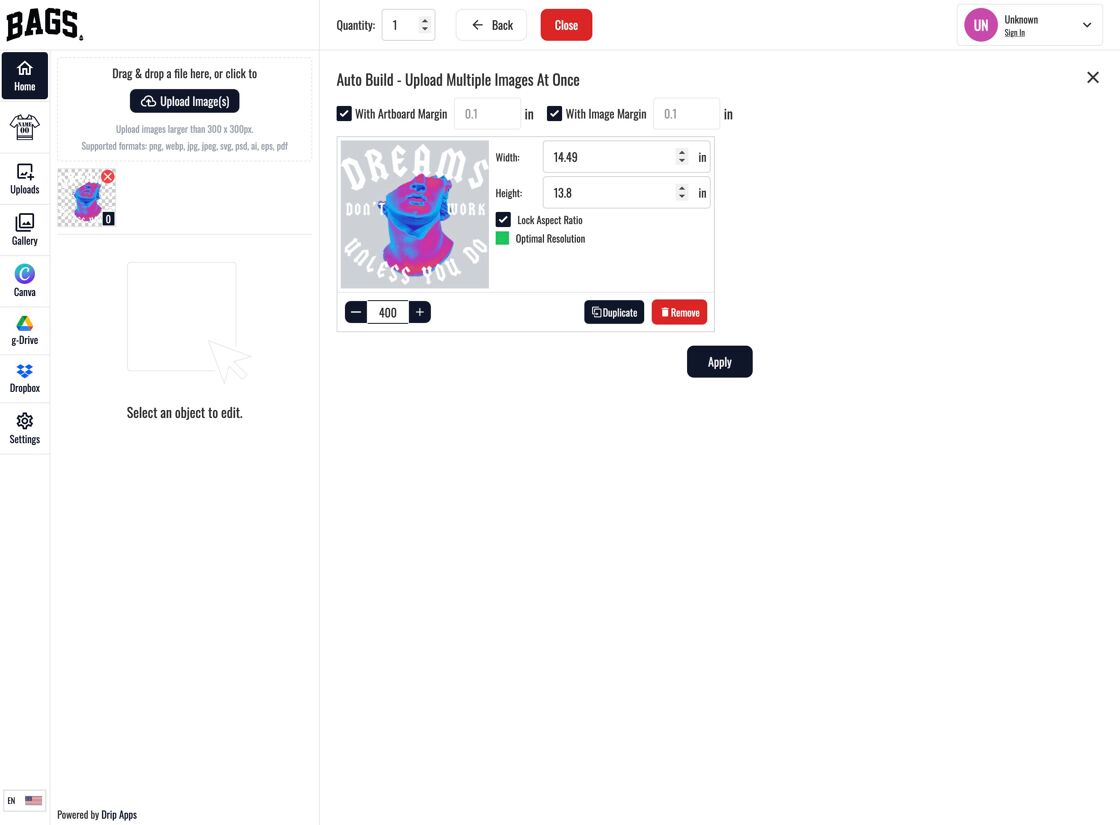
When customers click the Build a Gang Sheet button, they'll be taken directly into Auto Build mode, where they can upload and arrange as many designs as they'd like.
11. Customers Click "Apply"
After finalizing their gang sheet layout, customers click Apply to submit the configuration.
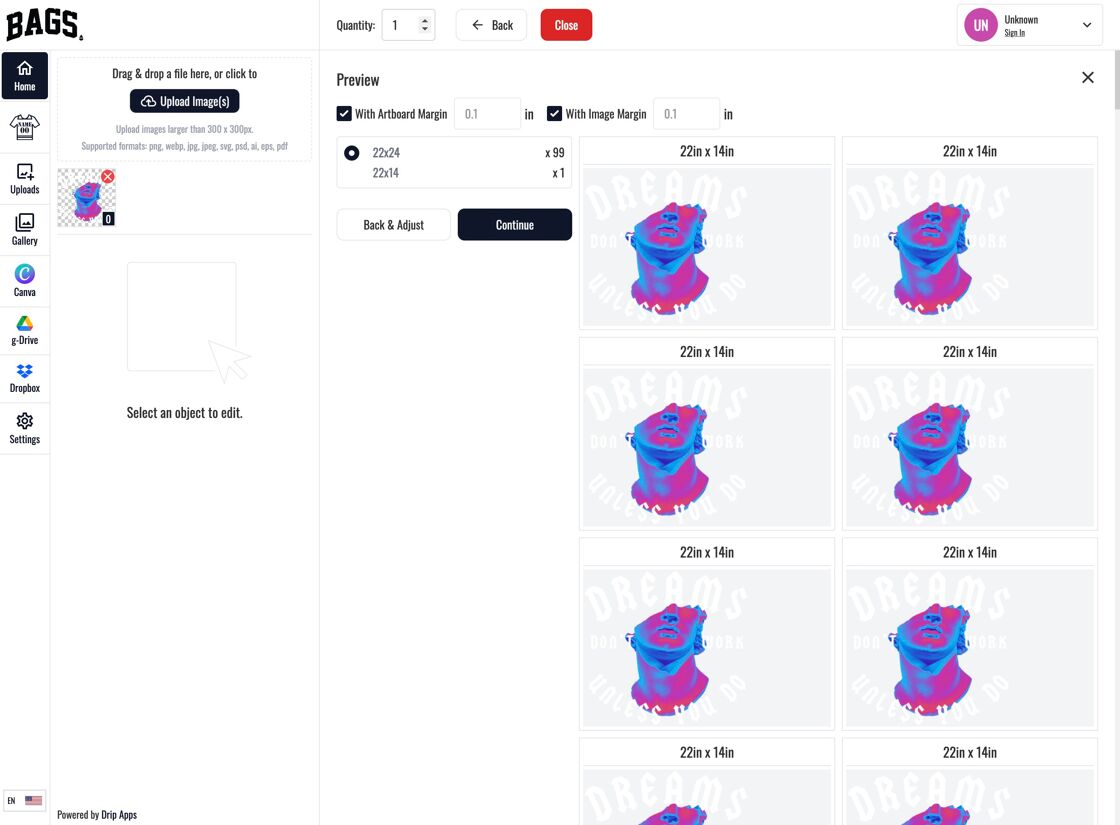
12. View Available Gang Sheet Options
Once applied, the system shows which gang sheets their design fits into, offering flexibility and visual feedback.

13. Click "Continue"
After reviewing the fit, the customer clicks Continue to finalize their submission or proceed to checkout.
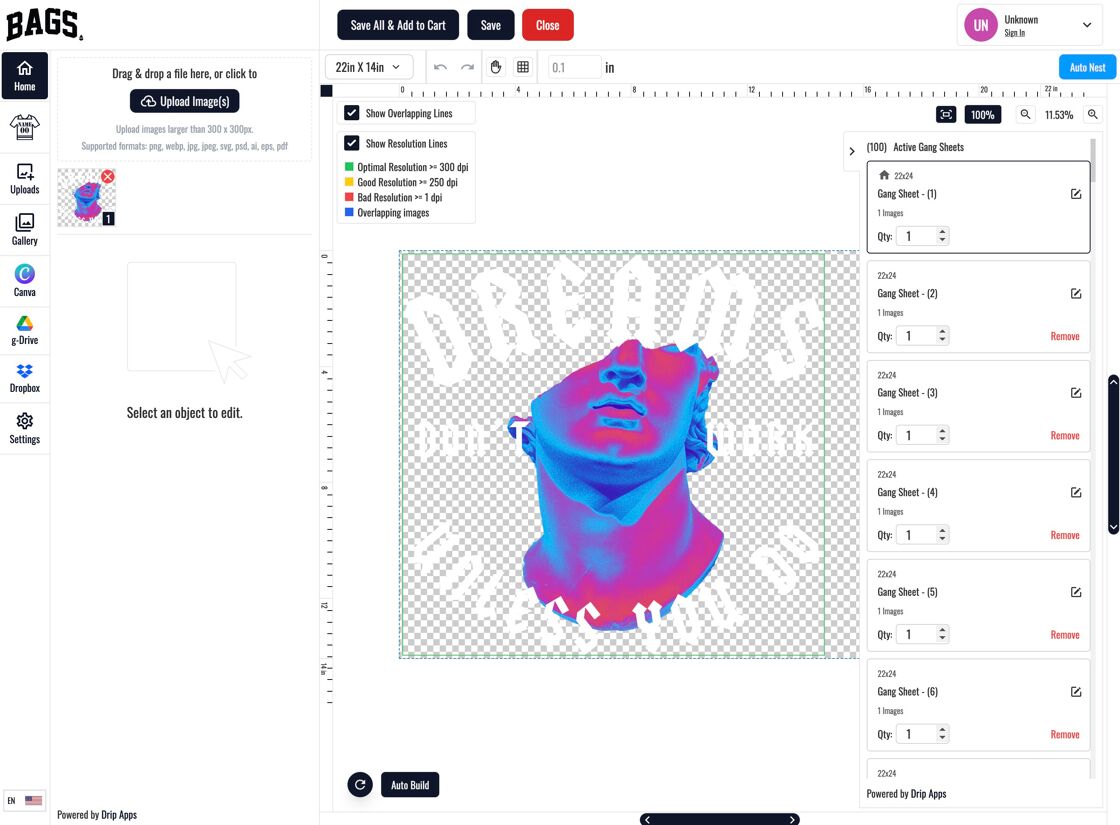
14. Customers Can Edit or Proceed
At this point, customers can either edit their gang sheets further or proceed directly to checkout, based on their final preferences.
Why Use This Feature?
- Streamlines the design workflow by eliminating manual placement options.
- Provides a simplified, beginner-friendly experience.
- Encourages faster checkout and fewer abandoned design sessions.
- Perfect for shops that prioritize quick ordering and minimal user friction.
Tags
builder settings, auto build, default mode, gang sheet builder, streamlined design