


Shopify
Builder Settings: Auto Resize Image To Meet 300 dpi in Shopify
The Auto Resize Image to Meet 300 dpi feature automatically adjusts design uploads to maintain high print resolution. This ensures images meet minimum quality standards without requiring manual intervention. This guide shows how to enable and understand this setting.
1. Click "Settings"
Start by going into the BAGS app and opening the Settings section from the main dashboard to access builder configurations.

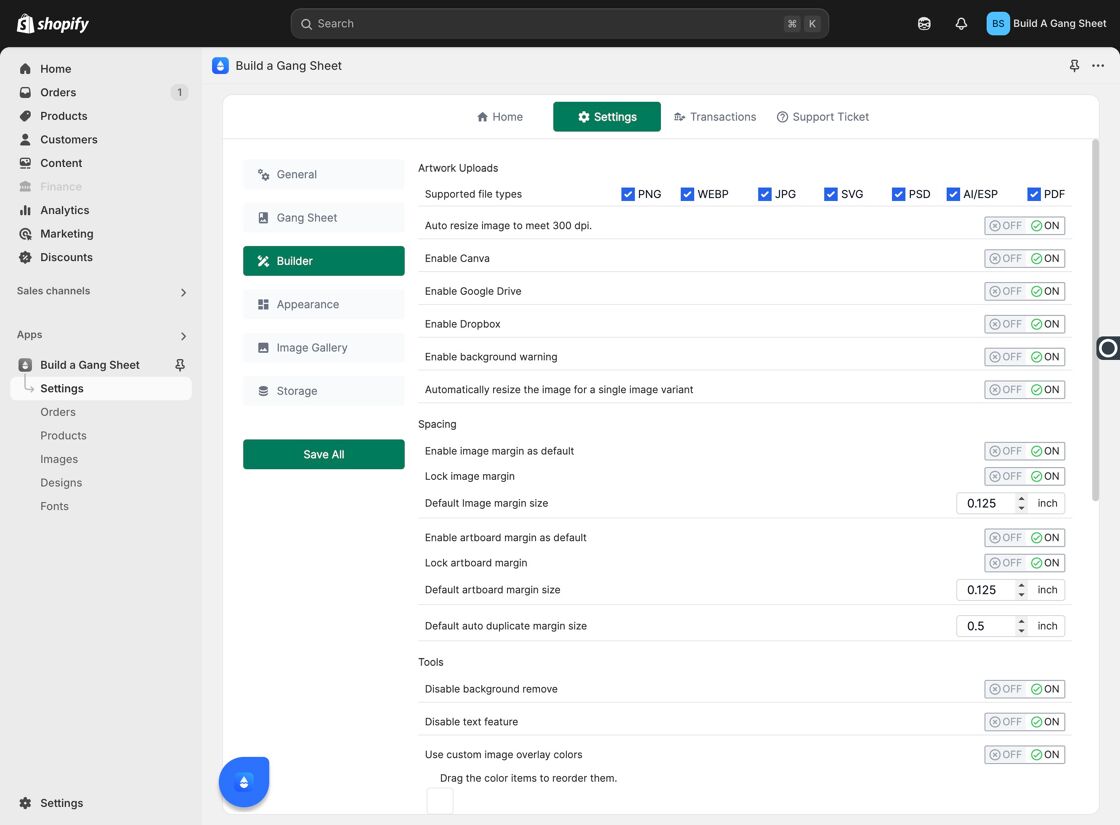
2. Select "Builder"
Next, click on the Builder tab where image settings and builder tools are found.

3. Enable "Auto Resize Image To Meet 300 dpi"
This setting automatically resizes uploaded images to meet 300 dpi for print quality. Customers can still stretch images, but if resolution drops below optimal, a warning border appears.

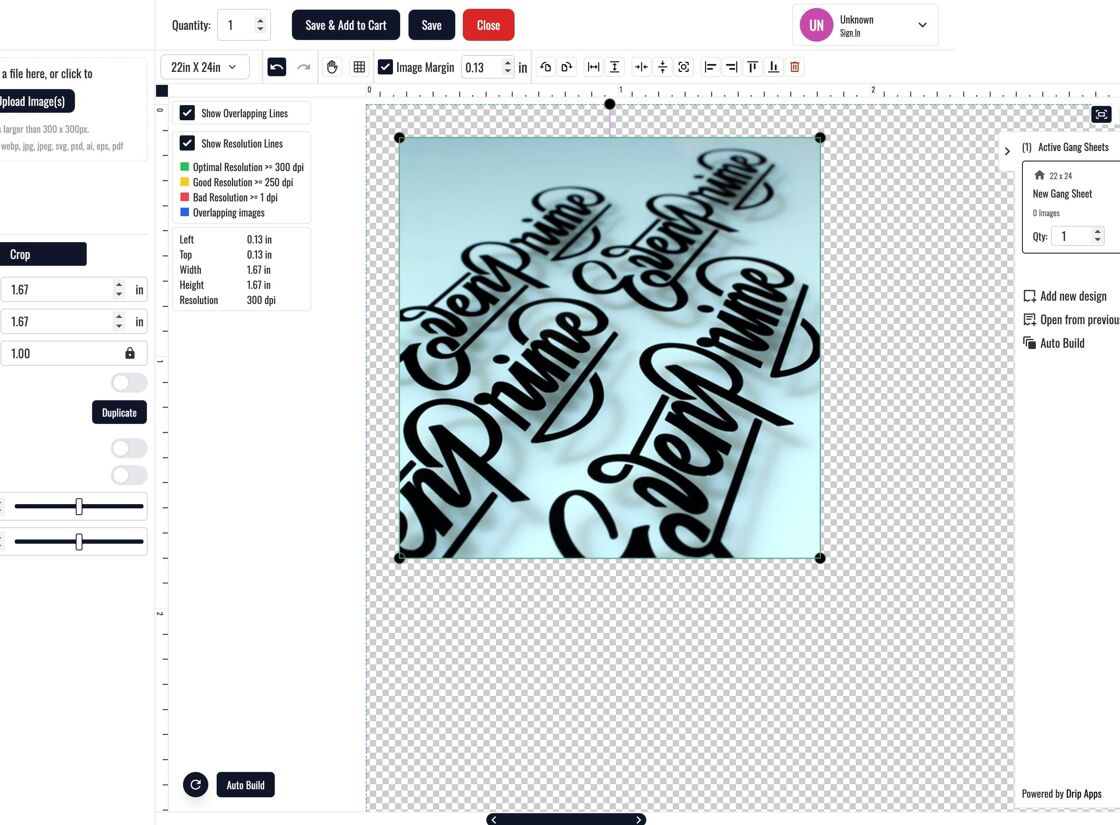
4. Auto-Upload at Optimal Size
Once enabled, images are uploaded at a size that meets 300 dpi automatically. A green outline indicates optimal resolution.
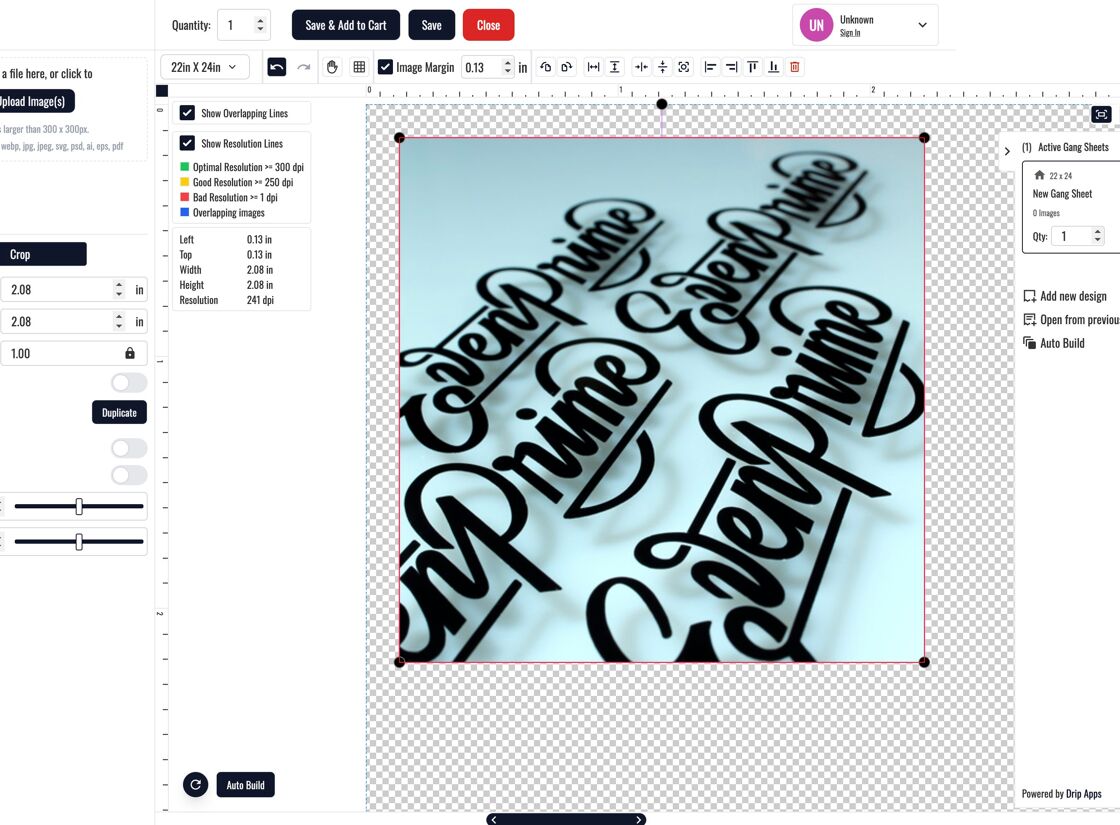
5. Stretching Lowers Resolution
If customers stretch the image beyond its 300 dpi threshold, the resolution will drop, and warnings will appear via border indicators.
6. Save to Activate the Setting
To apply the change, make sure to click Save. The feature will now actively resize future uploads based on resolution criteria.
Why Use This Feature?
- Ensures uploaded designs meet 300 dpi print quality standards.
- Helps customers avoid blurry or pixelated prints.
- Reduces support tickets related to resolution issues.
- Visually guides users with clear borders and warnings.
Tags
builder settings, 300 dpi, auto resize image, optimal resolution, design upload quality