


Shopify
Images: How To Add Images
Adding images to your Shopify gallery allows you to visually organize product files, design templates, or artwork categories. This guide shows how to add images correctly, use tags for sorting, and leverage Shopify’s bulk upload feature with unlimited storage support.
1. Open the Images Tab
Start by clicking on the Images tab from your BAGS app to access the image management panel.
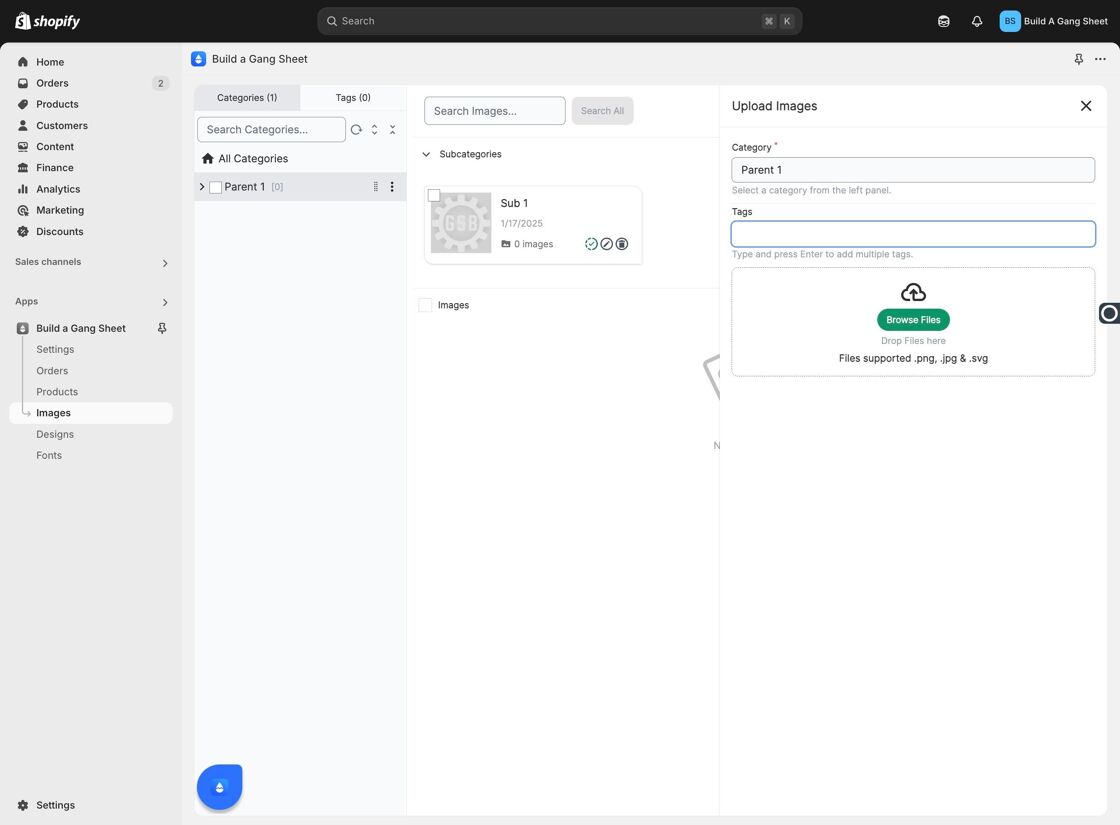
2. Click "Add Images" After Creating a Category
Once you've created a category, the Add Images button will become available. Categories act as folders to organize your uploads.
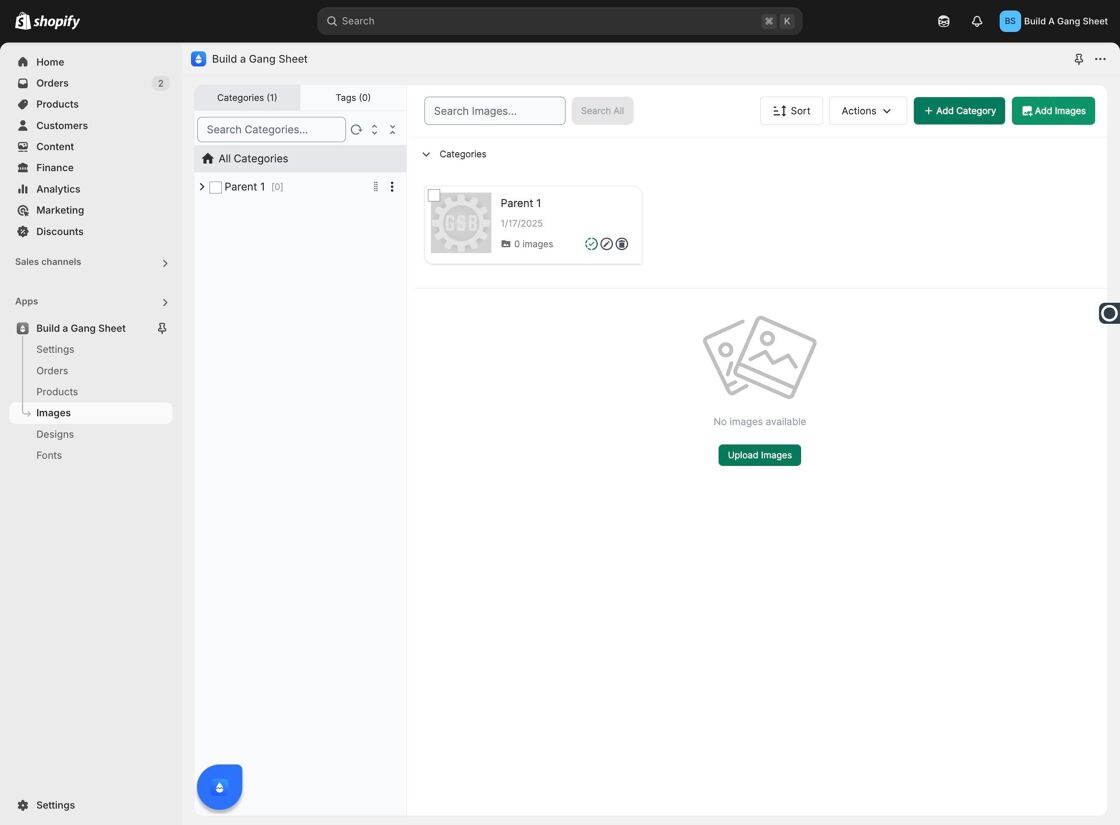
3. Select a Category for the Upload
You must assign uploaded images to an existing category. This helps with organization and ensures your images are placed in the appropriate section of the gallery.
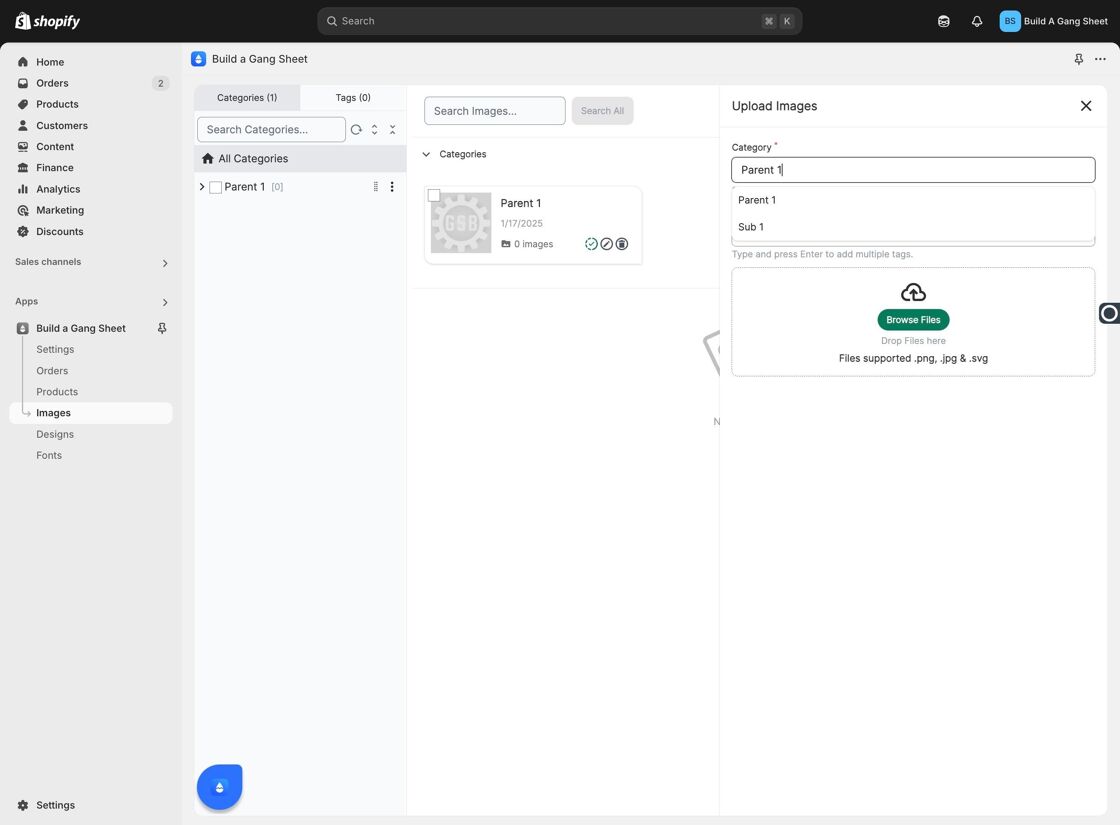
4. Add Tags to Images (Optional)
Tags make it easier to find images later using the search bar or filters. Add tags like “holiday,” “vector,” or “black and white” to enhance discoverability.
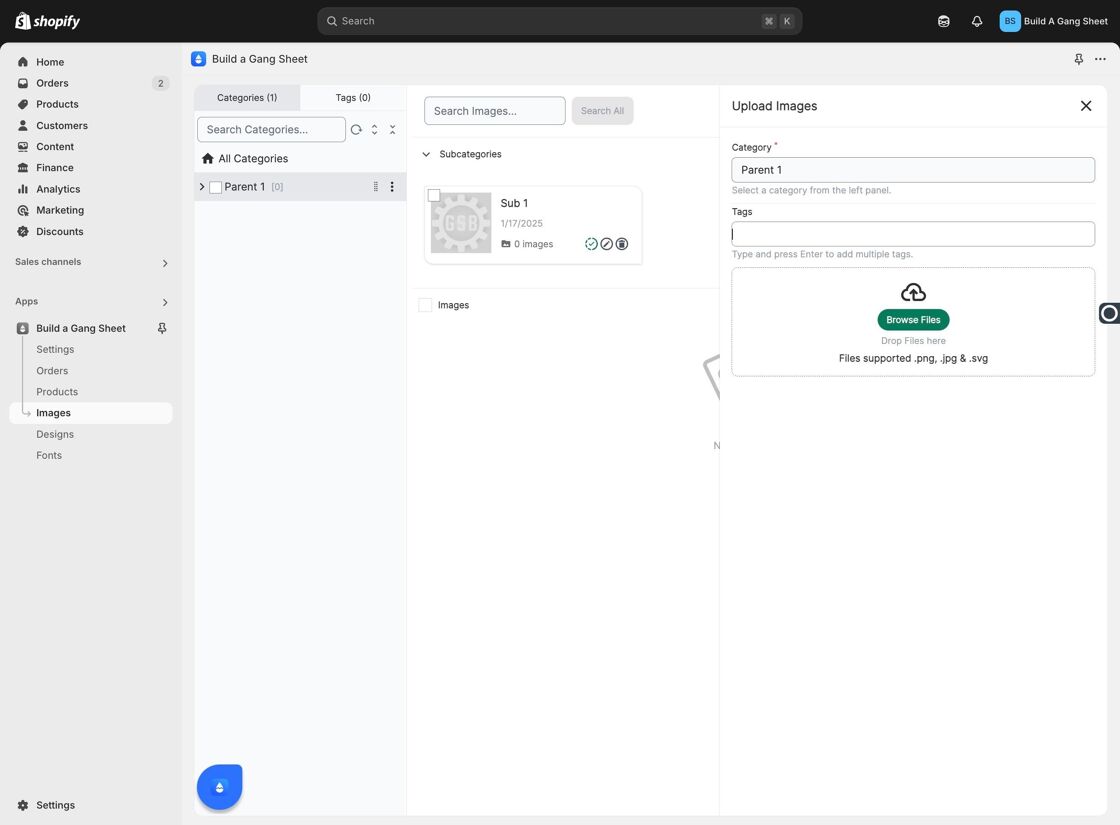
5. Use "Browse Files" to Upload Images
Click Browse Files to select images from your device. You can upload up to 100 images at once, and storage is unlimited—ideal for large collections or seasonal bulk updates.
Why Use Categories and Tags?
- Keeps your gallery visually and functionally organized.
- Improves image discoverability with tags and filters.
- Streamlines workflow for both admins and customers interacting with image-based tools.
Tags
images tab, add images, image upload, gallery organization, Shopify bulk upload